
Skip to Main Content

Air Dry Clay Winter Votive

Kick off the holiday season with a #DIY Air Dry Clay Winter Votive! Use Air Dry Clay and metallic paint to create a custom piece of winter decor!

Ages: 8 and up, 6 and up

Create It Yourself

Supplies Needed

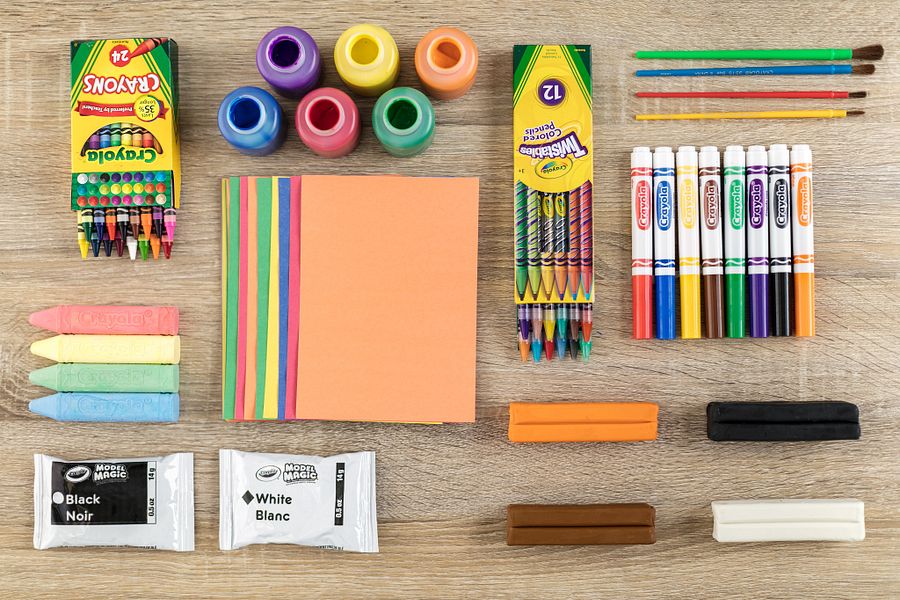
Gather all the supplies needed to bring your craft ideas to life! ...

  • Air Dry Clay
  • Paint
  • Battery Operated Tea Light(s)
  • Heavy Paper
  • Rolling Pin(s)

Steps

  • Step 1

    Roll out a medium sized ball of Air Dry Clay on a piece of wax paper.

  • Step 2

    Create or download a cone shaped stencil on paper, cut out and place on top of rolled Air Dry Clay. Use a modeling tool to cut out the clay around the stencil.

  • Step 3

    Create a design in the Air Dry Clay using small cookie cutters, straws or other objects that can be used to create shapes.

  • Step 4

    Carefully roll the clay over to create a cone shape. If the cone does not stand up, add more clay to create thicker walls of the votive. Allow to dry overnight.

  • Step 5

    When the votive is completely dry, mix Silver Metallic paint and the Glitter Paint Medium together. Use a paintbrush to paint the votive. Use two or three coats to cover completely. Allow to dry.

  • Step 6

    When dry, use Glitter Glue to accent the cut out's of the votive. Allow to dry before displaying with a battery operated tea light!

Crafts

CIY Staff Tips

Use your imagination and have fun making your craft as creative as you are—there’s no wrong way to do it!

More Activities & Ideas

Unlock creativity with fun activities, free printables, and seasonal project ideas!