Skip to Main Content

Marker Marbleized Slime

Have gooey fun by making swirled, stretchy Marbleized Slime with Markers and School Glue. Follow the steps of our DIY slime recipe!

Ages: 8 and up, Tween and up

Create It Yourself

Supplies Needed

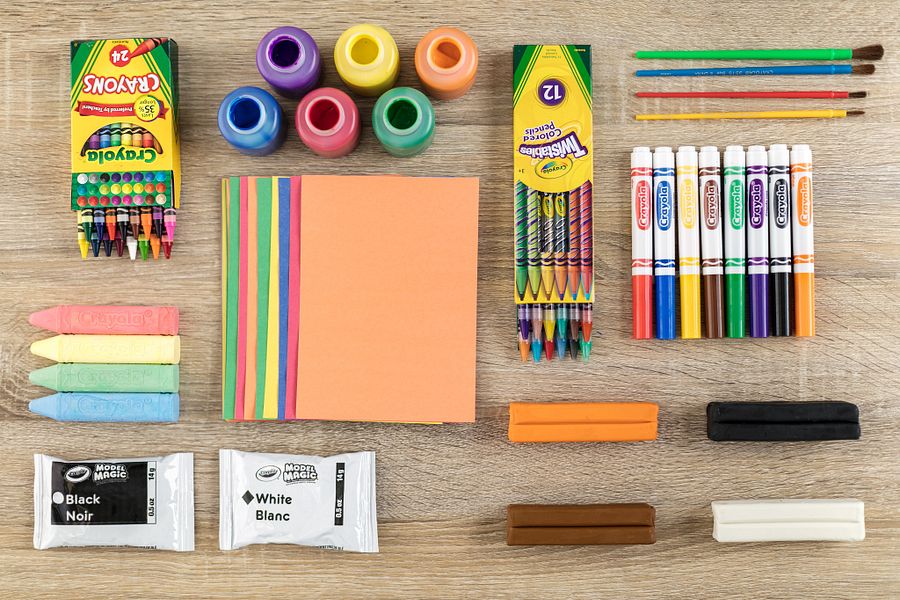
Gather all the supplies needed to bring your craft ideas to life! ...

  • Glue
  • Markers
  • Baking Soda
  • Contact Lens Solution
  • Craft Sticks
  • Lotion
  • Measuring Cups
  • Measuring Spoons
  • Mixing Bowl(s)

Steps

  • Step 1

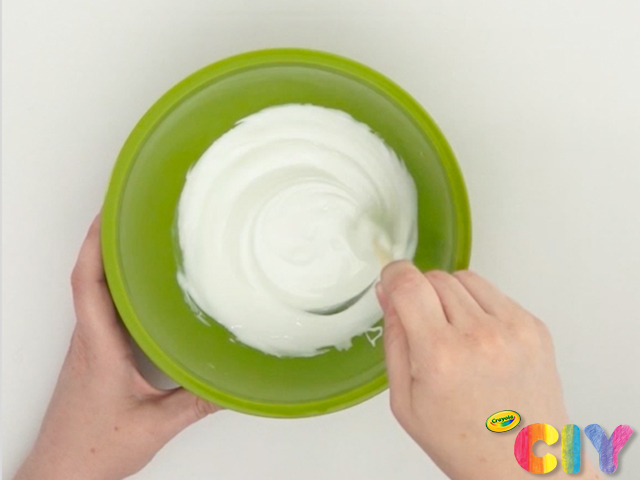
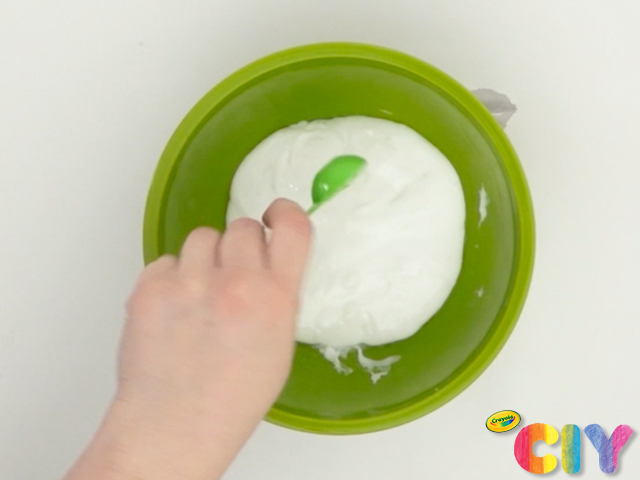
    Pour 3/4 cup glue, 1/8 tsp baking soda, and 1 Tbsp lotion into a bowl, stirring well with a craft stick until completely mixed.

  • Step 2

    Add contact lens solution in 1/2 tsp increments. Mix the contact lens solution in each time it’s added, up until 3 tsp have been added or until the slime mixture is easily coming off the bowl.

  • Step 3

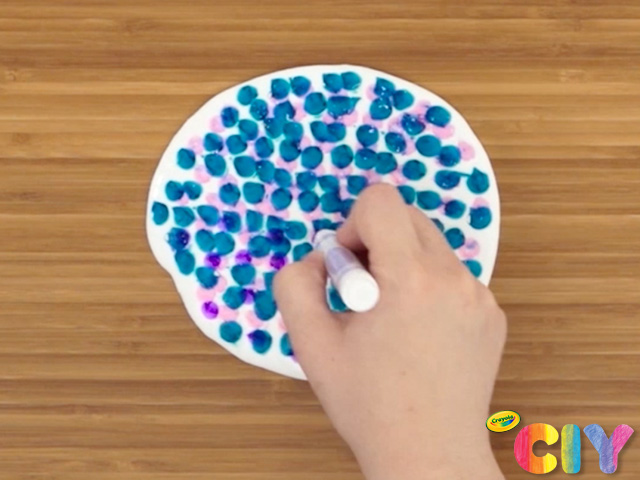
    Remove your slime mixture from the bowl and add dots of color using markers.

  • Step 4

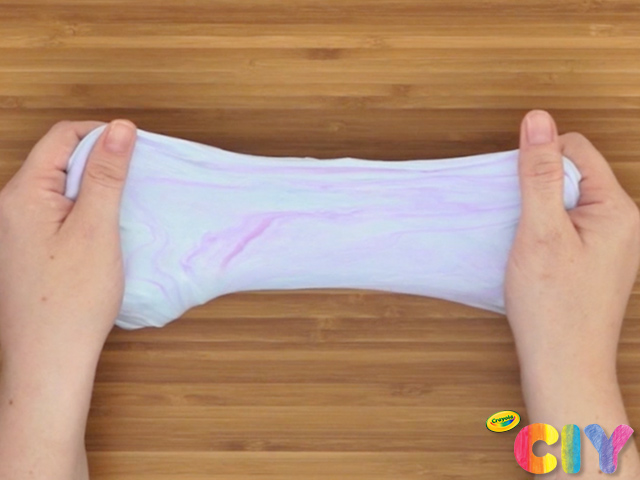
    Fold the slime together until smooth and well-mixed, and your desired marbleized effect is reached.

Crafts

CIY Staff Tips

  • If slime is still too sticky after adding 3 tsp contact lens solution, add extra contact lens solution in small increments until the slime mixture easily slides out of the bowl. If needed, add a small amount of contact lens solution to your hands and rub them together before removing the slime from the bowl.
  • Adult supervision required. This project is not appropriate for children under the age of 3 years. Warning: If large quantities of contact lens solution are accidentally ingested (greater than a tablespoon), get medical attention immediately.
  • To keep slime from drying out, store in a resealable plastic bag or airtight container

More Activities & Ideas

Unlock creativity with fun activities, free printables, and seasonal project ideas!