Skip to Main Content

Magical Miro Collage

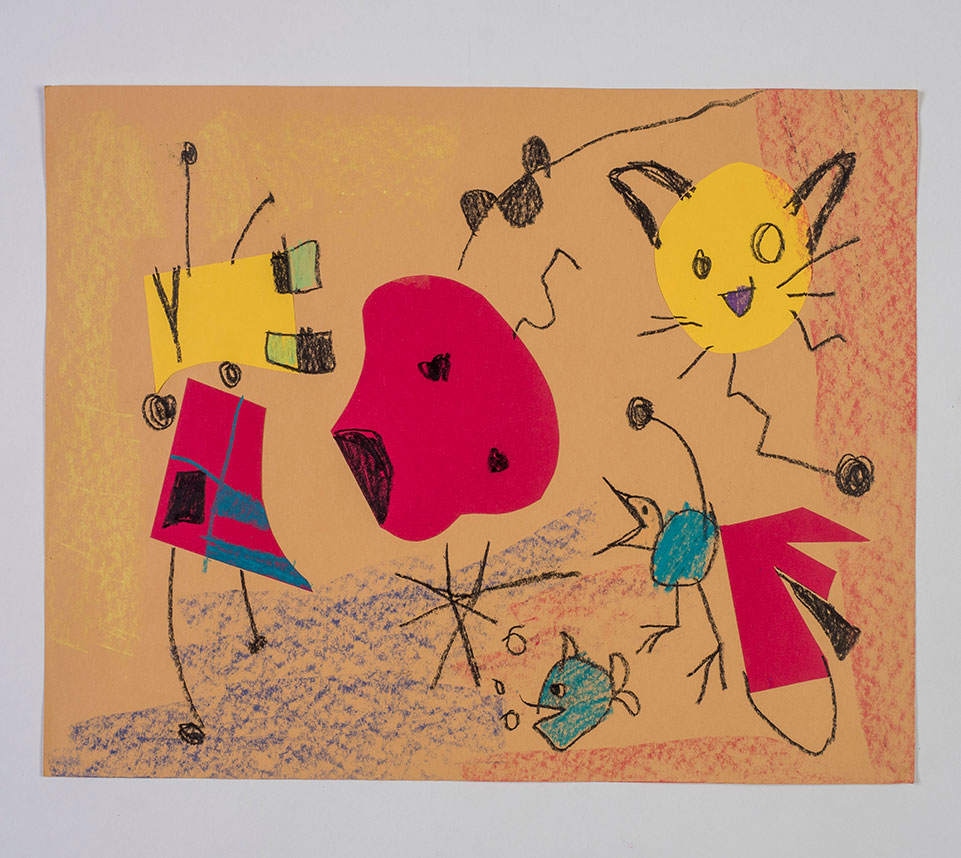
Students critique the imaginative, surreal images of artist Joan Miro and create a mixed media collage that combines colorful shapes with life-like details of living animals and objects.

Lesson Plan

Supplies Needed

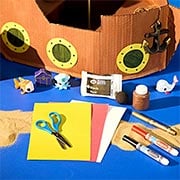
Gather all the supplies needed to bring your craft ideas to life! From paints and markers to glue and scissors, our crafts section has everything to spark creativity and make every project truly special.

Steps

  • Step 1

    Prior to the opening of this lesson, twist the ends of each student's chenille stick so that it forms a closed, rounded shape. Each student chooses a 12" X 18" (30.48 cm x 45.72 cm) sheet from an assortment of colors, and an assortment of 6" X 9" (15.24 cm x 22.86 cm)construction sheets are at each table.

  • Step 2

    Show students a pair of Joan Miro's paintings, such as "The Escape Ladder, 1940," and "The Catalan Landscape, The Hunter, 1923," encouraging them to describe what they see using visual art vocabulary words like shape, line and color. Ask them to decide if the subjects in the drawings look realistic or imaginative, and defend their responses.

  • Step 3

    Share examples of geometric shapes made out of chenille sticks. Show the circular shape each student has and explain that to make it organic you can push in or pull out a section until it does not look like the original geometric shape. Place the chenille stick on a 6" X 9" sheet of colored construction paper, and show how to trace around the outside of the shape.

  • Step 4

    Encourage students to re-shape the chenille stick by making different shapes and trace them, until their smaller sheet is full of shapes. Using Crayola Blunt-Tip Scissors, students cut out all their shapes. Encourage each table to swap colors until they have at least three different colors of shapes.

  • Step 5

    Model how to use the broad side of a broken crayons, after peeling off the paper, to create shaded spaces and make shapes of color on the 12" X 18" paper.

  • Step 6

    After shading is done, model how to paste the shapes down by putting the glue around the edges of the shapes and pressing them down until they fill up the empty spaces of the paper.

  • Step 7

    Show students how to use different color crayons to turn the shapes into animals, insects and objects. Challenge students to fill their paper up with lots of different ideas about what their shapes can look like.

  • Step 8

    Display student work prominently in the classroom for peers to view and discuss.

Standards

LA: Engage effectively in a range of collaborative discussions (one-on-one, in groups, and teacher-led) with diverse partners on grade level topics, texts, and issues, building on others’ ideas and expressing their own clearly.

MATH: Reason with shapes and their attributes.

SCI: Make observations of plants and animals to compare the diversity of life in different habitats.

VA: Elaborate on an imaginative idea.

VA: Develop artwork based upon observation of surroundings.

Adaptations

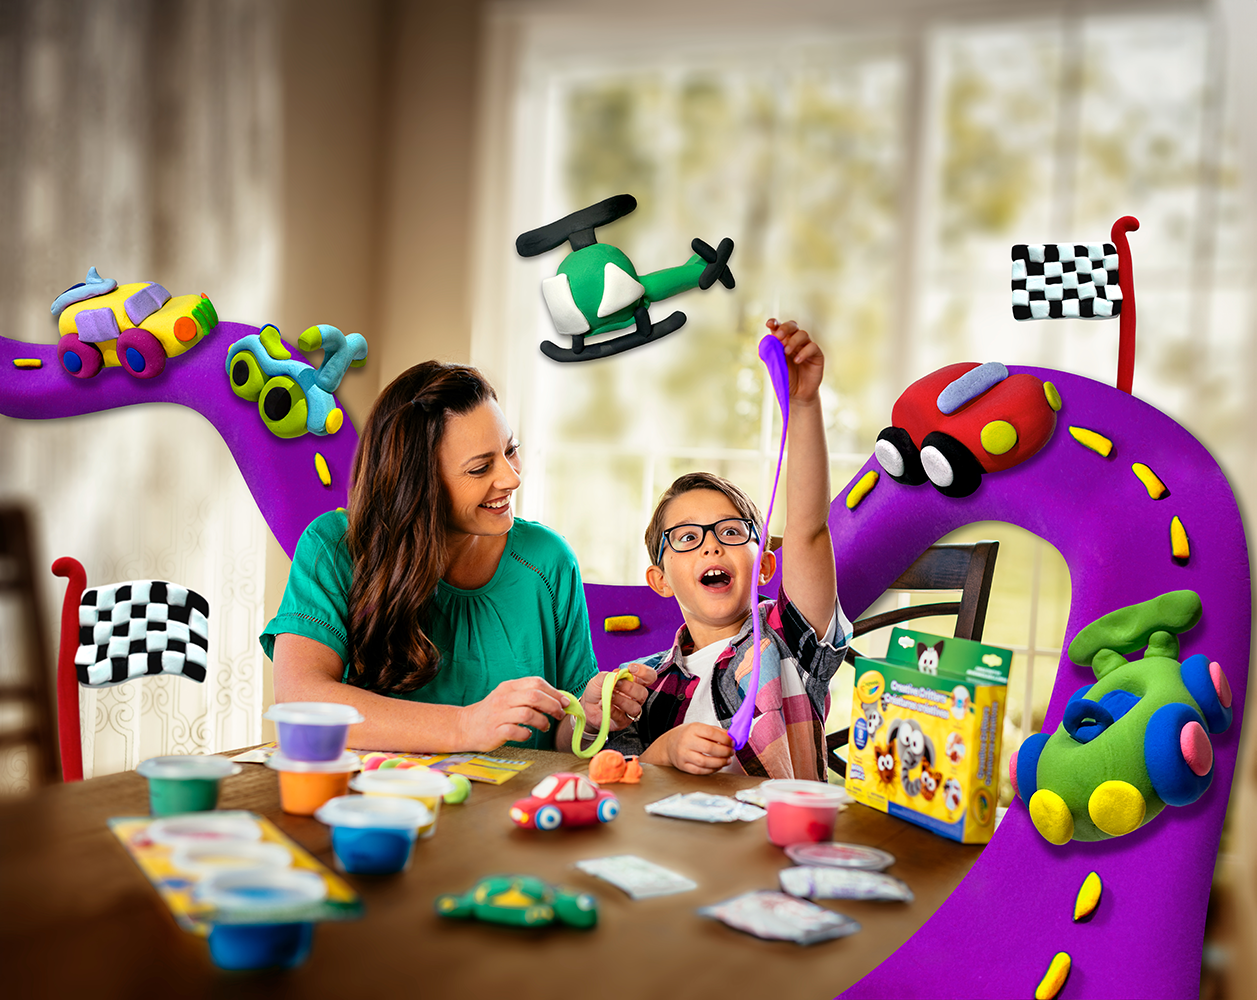
Open different colors of Crayola Model Magic packets and cut the bars in half. Have students make different animals or objects inspired by their artwork.

Have students fold a piece of construction paper in half, open it up, and put blobs of paint in the middle, than fold the paper and re-open it. After the paper dries, encourage students to add details to make it look like an animal, insect or object.