Skip to Main Content

Kwanzaa Kinara and Kwanzaa Candle Place Cards

Celebrate a joyous feast together with a DIY Kwanzaa Kinara & homemade Kwanzaa Place Cards that add a personal touch to your Kwanzaa table setting.

Ages: 8 and up, Tween and up, 6 and up

Create It Yourself

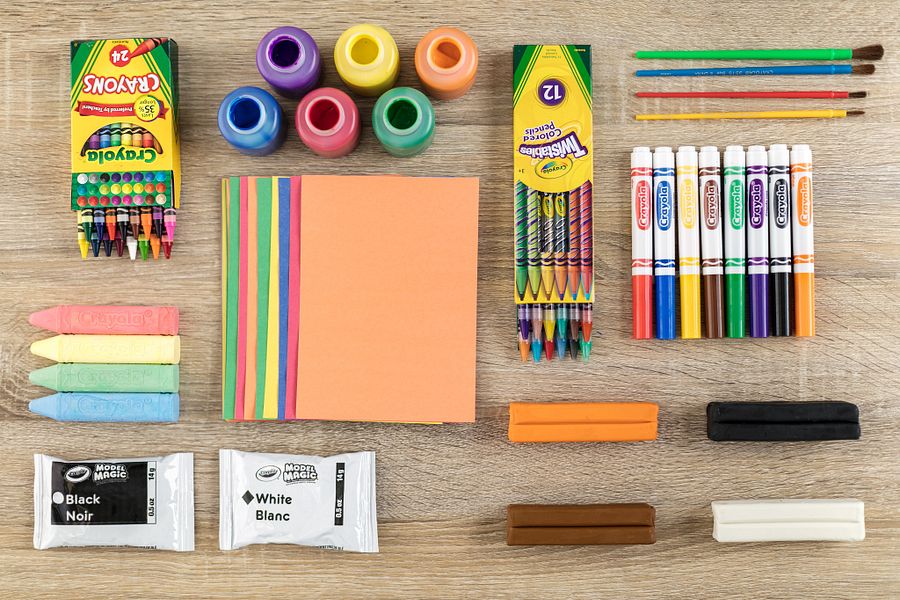
Supplies Needed

Gather all the supplies needed to bring your craft ideas to life! From paints and markers to glue and scissors, our crafts section has everything to spark creativity and make every project truly special.

  • Construction Paper
  • Glitter Glue
  • Glue
  • Model Magic
  • Paint
  • Paint Brushes
  • Clothespin(s)
  • Craft Sticks
  • Napkins
  • Pencil(s)
  • Ribbon

Steps

  • Step 1

    To create Kwanzaa Kinara: Cut paper towel roll in half. Set 1 half aside. Cut 2 paper towel rolls into thirds.

  • Step 2

    Cover 3 short paper towel rolls with red paint, 3 short paper towel rolls with green paint, and tall paper towel roll with black paint. Dry 1–2 hours. Add second coat. Dry 1–2 hours.

  • Step 3

    Cover 3 craft sticks with red paint, 3 craft sticks with green paint, and 1 craft stick with black paint. Dry 1–2 hours. Add second coat. Dry 1–2 hours.

  • Step 4

    Sketch 7 candle flames on gold construction paper.

  • Step 5

    Cover candle flames with thin layer of gold glitter glue. Dry 3–4 hours. Cut out.

  • Step 6

    Glue candle flame to each craft stick.

  • Step 7

    Glue each craft stick into paper towel roll of corresponding color. Let all glue steps dry 1–2 hours.

  • Step 8

    Shape long, rectangular Model Magic kinara base.

  • Step 9

    Firmly press black candle into center of Model Magic base.

  • Step 10

    Working left to right, firmly press 3 red candles to left of black candle and 3 green candles to right of black candle.

  • Step 11

    To create Kwanzaa Candle Place Cards: Cover clothespins in black, red, or green paint. Dry 1–2 hours. Add second coat. Dry 1–2 hours.

  • Step 12

    Sketch candle flames on gold construction paper.

  • Step 13

    Write names on candle flames. Cut out.

  • Step 14

    Clip a clothespin to each candle flame.

  • Step 15

    Roll a napkin and tie it with ribbon to complete place card. Repeat steps 11–15 for all your guests!

Crafts

CIY Staff Tips

Use your imagination and have fun making your craft as creative as you are—there’s no wrong way to do it!

More Activities & Ideas

Unlock creativity with fun activities, free printables, and seasonal project ideas!