Skip to Main Content

DIY Terrarium

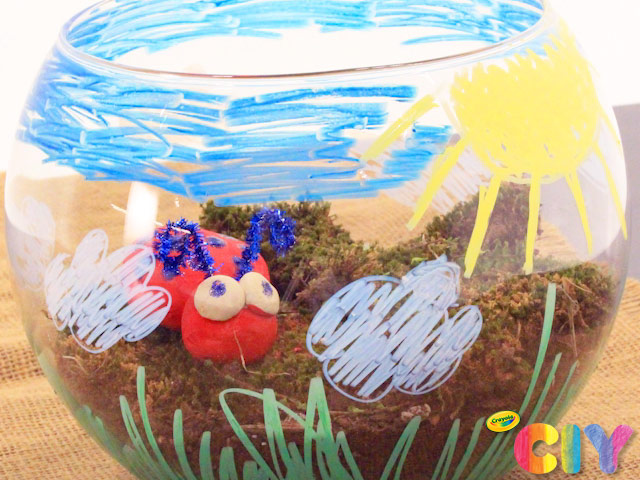
A homemade terrarium, coming right up! Let sunny weather inspire this kids’ terrarium, complete with a ladybug made from air drying clay.

Ages: 8 and up, 6 and up

Create It Yourself

Supplies Needed

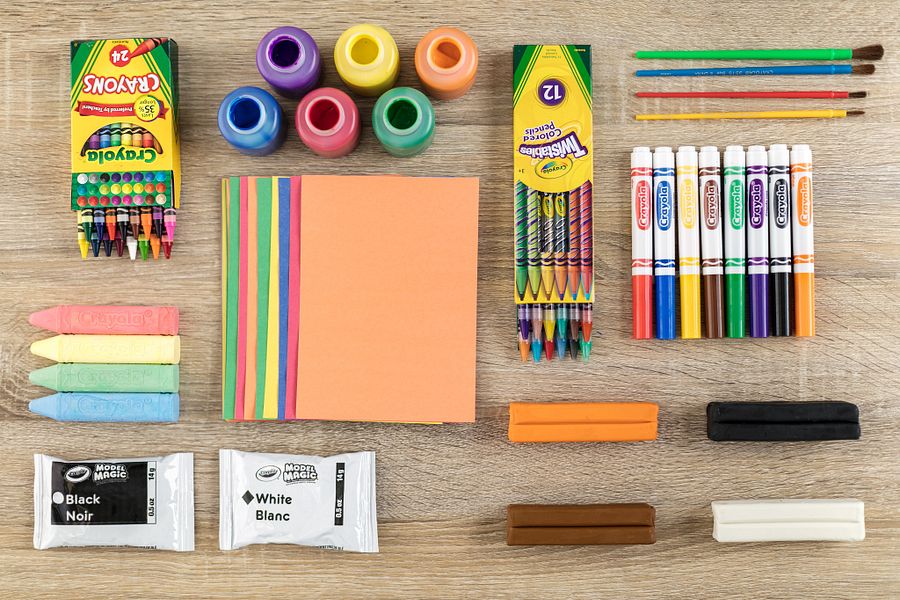
Gather all the supplies needed to bring your craft ideas to life! ...

  • Air Dry Clay
  • Crayons
  • Glitter Glue
  • Paint
  • Paint Brushes
  • Chenille Stems
  • Disposable Plate(s)
  • Glass Bowl
  • Moss
  • Soil

Steps

  • Step 1

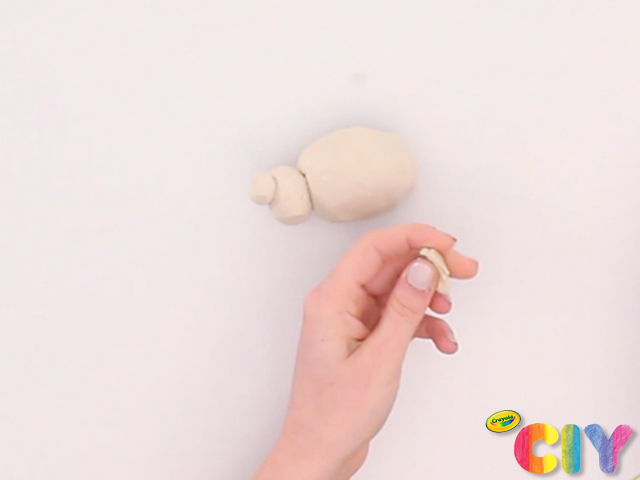
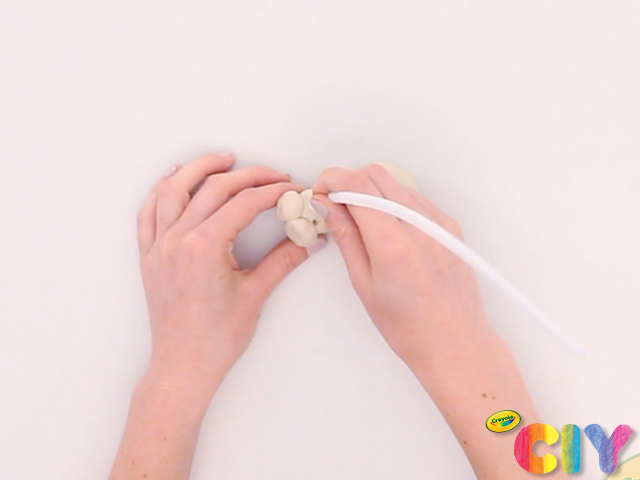
    Make a ladybug for inside the terrarium. Roll 1 large and medium ball of clay, then connect to make the body and head. Roll 2 small balls of clay for the eyes, flatten, then connect them to the medium ball.

  • Step 2

    Using a chenille stem, poke 2 holes in the medium ball of clay. Dry overnight.

  • Step 3

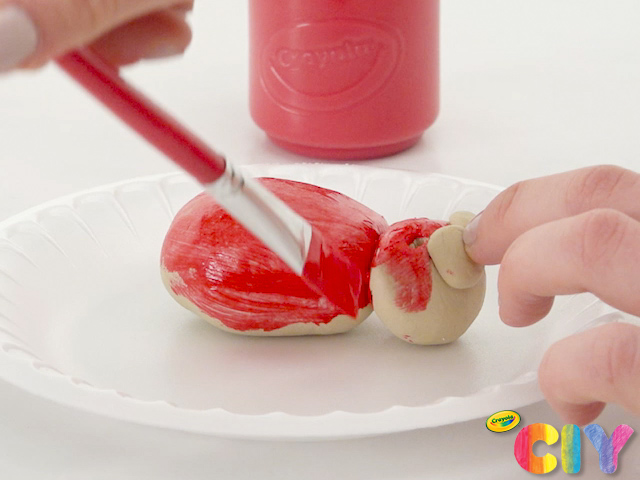
    Set the ladybug on a disposable plate, then paint the large and medium balls red with paint brush. Dry 1–2 hours.

  • Step 4

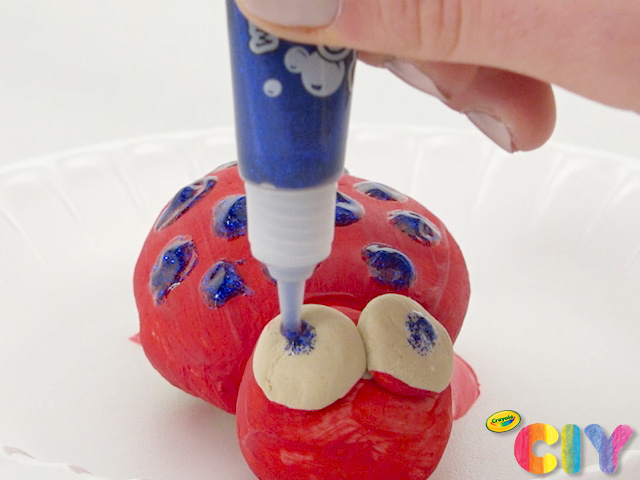
    With blue glitter glue, make spots across the body. Put 2 dots on small clay balls for eyes. Dry 3–4 hours.

  • Step 5

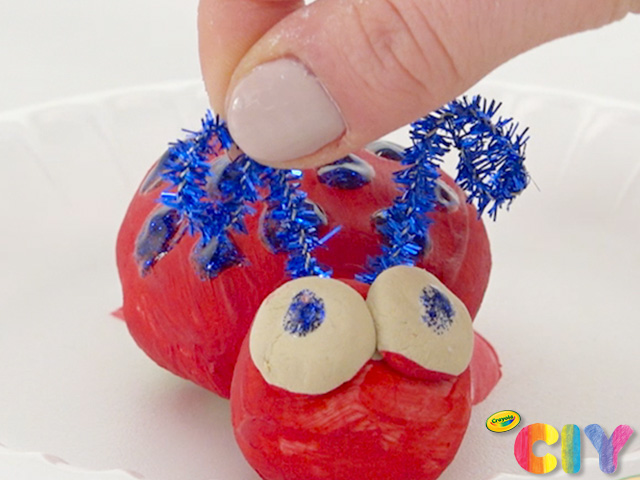
    Cut a chenille stem for antennae and insert into each of the poked holes.

  • Step 6

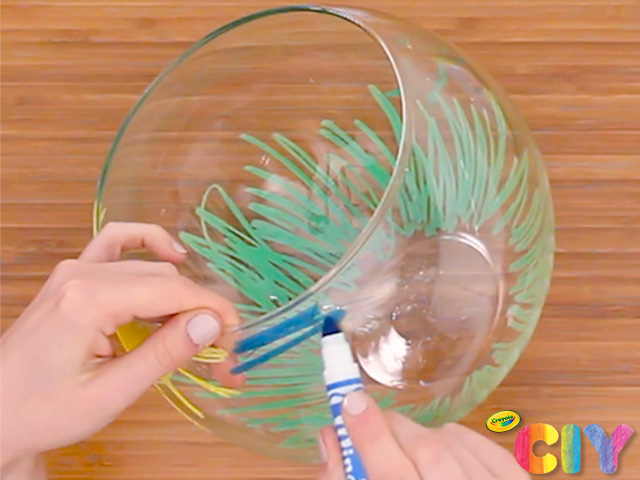
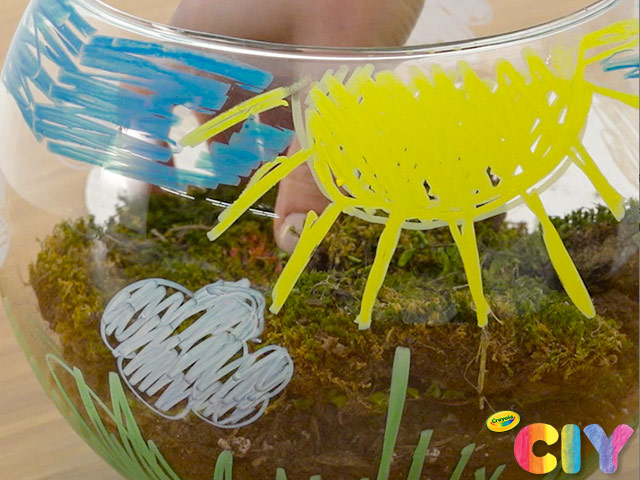
    Use window crayons and markers to color and draw an outdoor scene on the outside of the bowl.

  • Step 7

    Fill your terrarium with soil and moss, then place in the ladybug.

  • Step 8

    Display the homemade terrarium anywhere around the house.

Crafts

CIY Staff Tips

  • Make a smaller version of this terrarium craft inside a mason jar!
  • Fill the glass container with other found objects and earthy elements.
  • Want a different theme? Create a different animal out of Model Magic and draw a corresponding scene on the outside of the bowl.

More Activities & Ideas

Unlock creativity with fun activities, free printables, and seasonal project ideas!