Skip to Main Content

Emoji Magnets and Magnet Board

How you doin'? You're going to be all smiles (or laughs!) over these DIY magnets & magnet board.

Ages: 8 and up, Tween and up, 6 and up, Adult

Create It Yourself

Supplies Needed

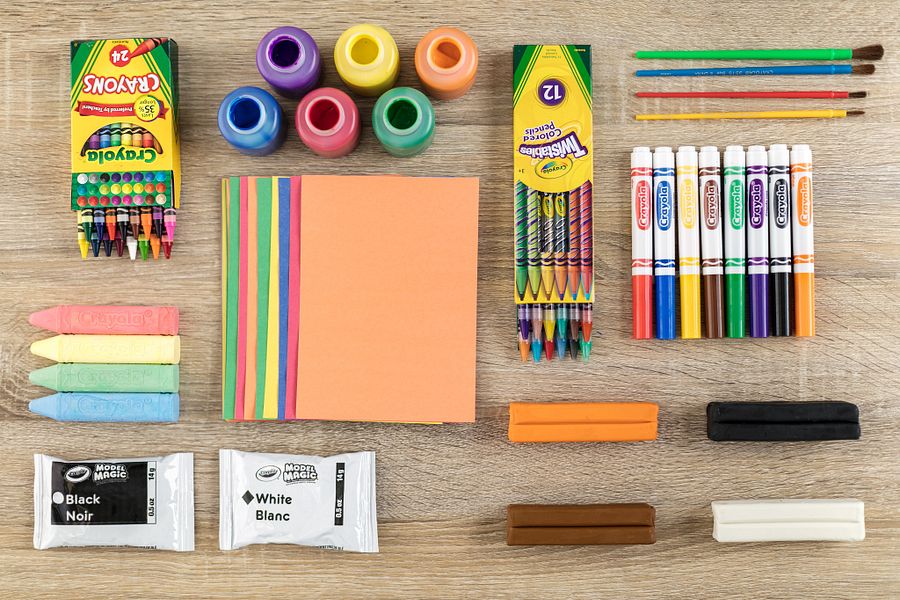
Gather all the supplies needed to bring your craft ideas to life! From paints and markers to glue and scissors, our crafts section has everything to spark creativity and make every project truly special.

Steps

  • Step 1

    Press large piece of Model Magic to approximately 1/2" thick on smooth, flat surface.

  • Step 2

    Cut model magic into circles using a small circular shape to create emoji faces.

  • Step 3

    Add emoji details with Model Magic and permanent markers.

  • Step 4

    Attach small piece of magnetic tape to back of Model Magic. Let Model Magic dry overnight.

  • Step 5

    Write message for your magnet board on construction paper with permanent markers. Cut out.

  • Step 6

    Glue construction paper to cardstock. Cut cardstock into fun pattern.

  • Step 7

    Glue message and other cardstock accents to full sheet of construction paper.

  • Step 8

    Add details to construction paper with emoji markers.

  • Step 9

    Secure construction paper to cookie sheet with double-sided tape to create magnet board.

  • Step 10

    Add sparkly accents to magnet board with glitter glue. Let all glue steps dry 3–4 hours.

  • Step 11

    Place emoji magnets onto magnet board to reflect your daily mood!

Crafts

CIY Staff Tips

  • Model Magic pieces that haven’t dried will easily adhere to one another. For added strength, or to attach dried pieces of Model Magic together, use our No-Run Washable School Glue.

  • For best results, use a metal cookie sheet that does not have a nonstick surface.

More Activities & Ideas

Unlock creativity with fun activities, free printables, and seasonal project ideas!