 Australia
 Belgium
 Canada
 China
China Italy
Italy Mexico
 Netherlands
 UK
UK France
 Japan
Japan


Shoebox Guitar
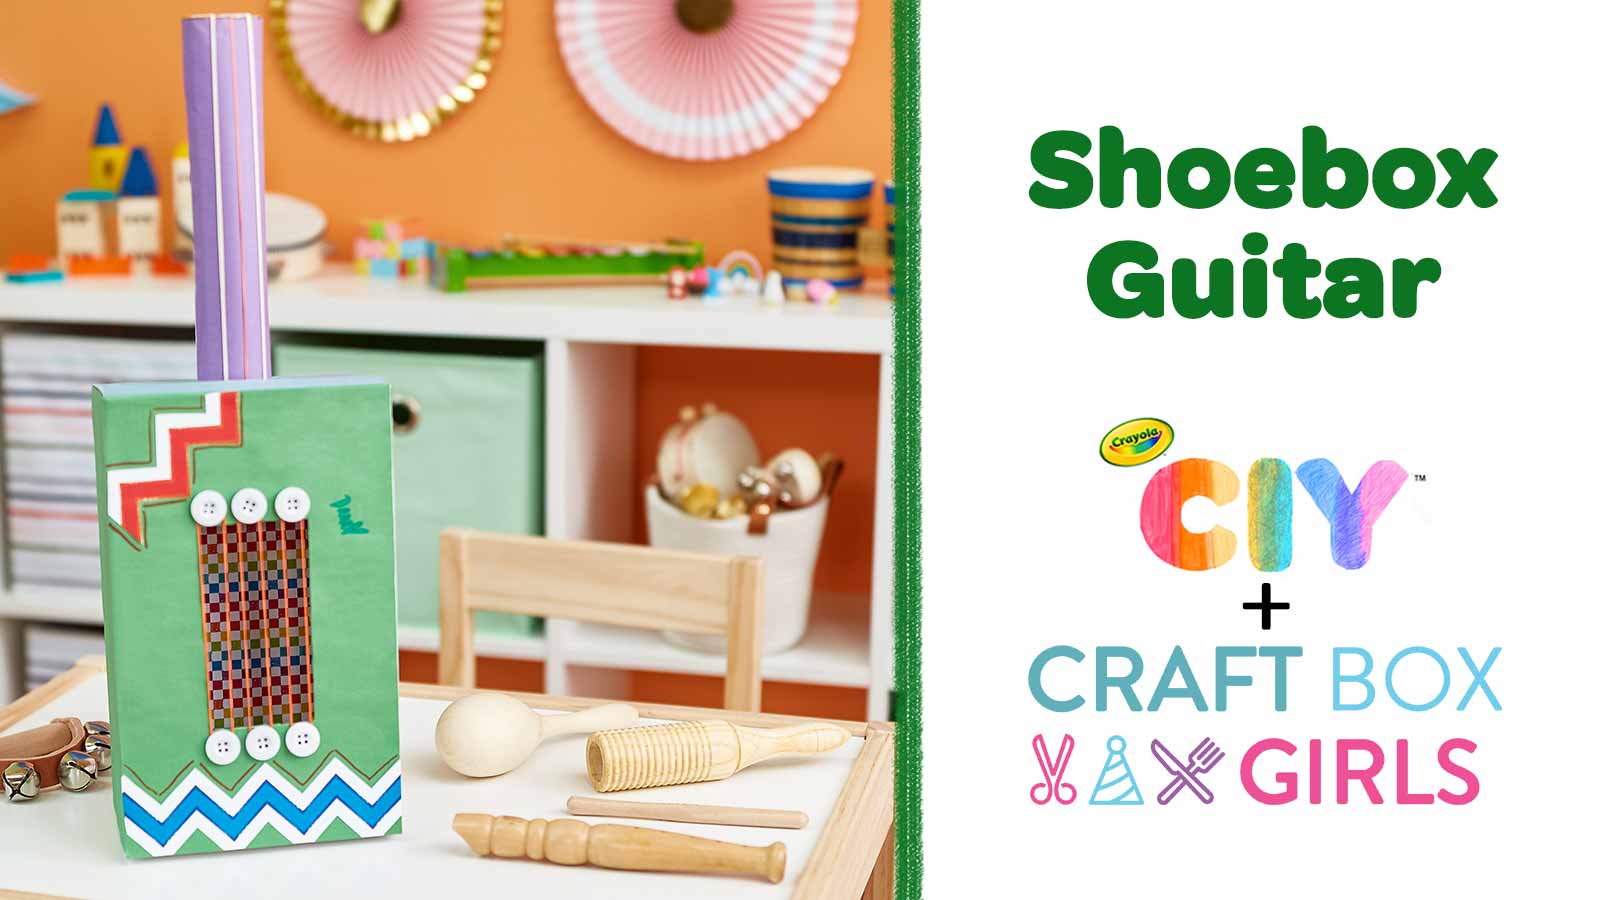
Just keep strumming! Kids can play pretend & create this shoebox craft with rubber band guitar strings.
Supplies:
- Pencil
- Crayola No-Run School Glue
- Crayola Scissors
- Shoebox
- Paper Towel Roll
- Rubber Bands
- Hot Glue Gun
- Crayola Bright Pop! Cardstock
- Crayola Construction Paper
- Crayola Markers
- Ruler
- Craft Knife
- Buttons
- Tools: Construction Paper, Markers
- Theme: Rainy Day Crafts, Music
- Age: 6+, 8+, Tween+
Steps:
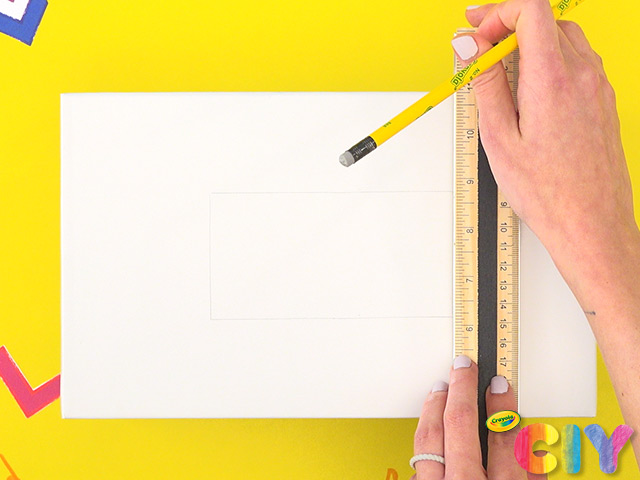
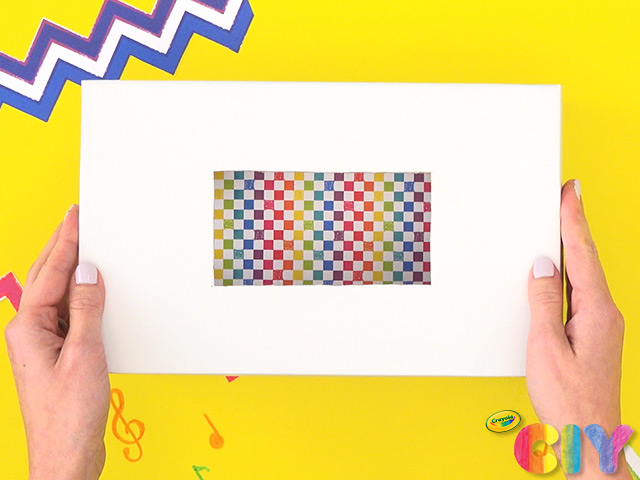
1 Use ruler to sketch small rectangle in middle of shoebox lid.
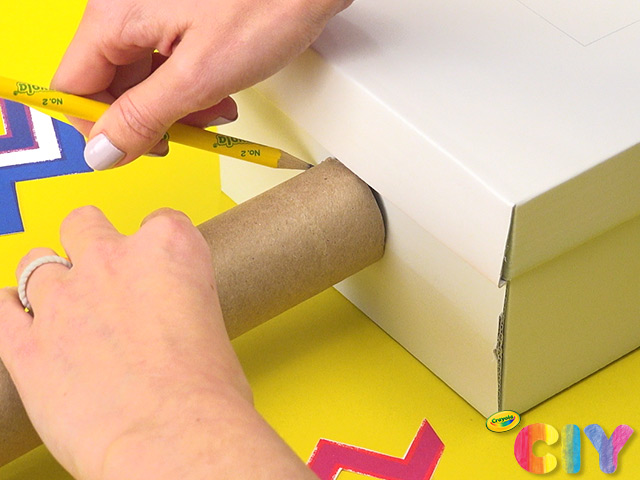
2 Place paper towel roll against side of shoebox and trace with pencil.
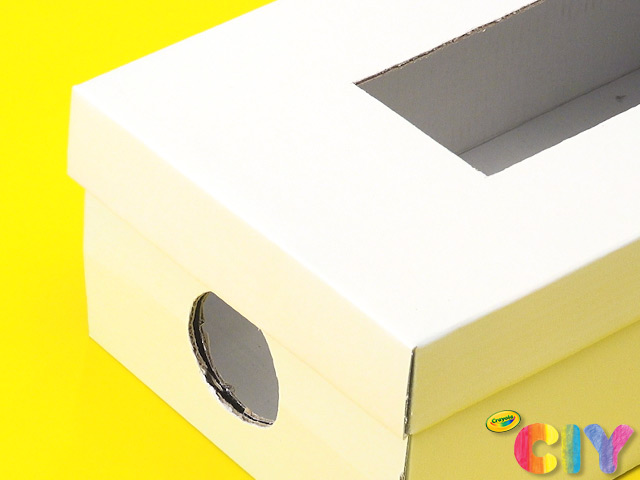
3 Ask an adult to cut out openings with craft knife.
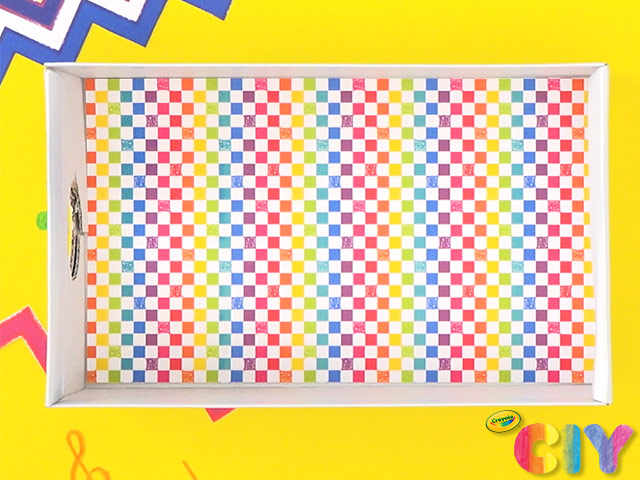
4 Remove lid from shoebox. Trim and glue cardstock to bottom of box.
5 Add glue to rim of shoebox and replace lid.
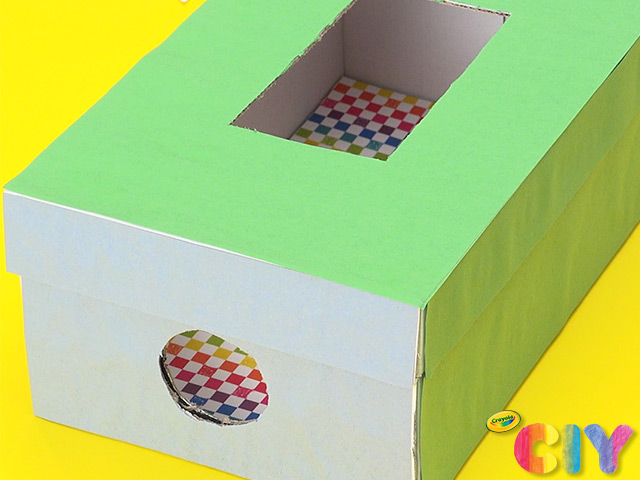
6 Trim and glue construction paper to lid and sides of box.
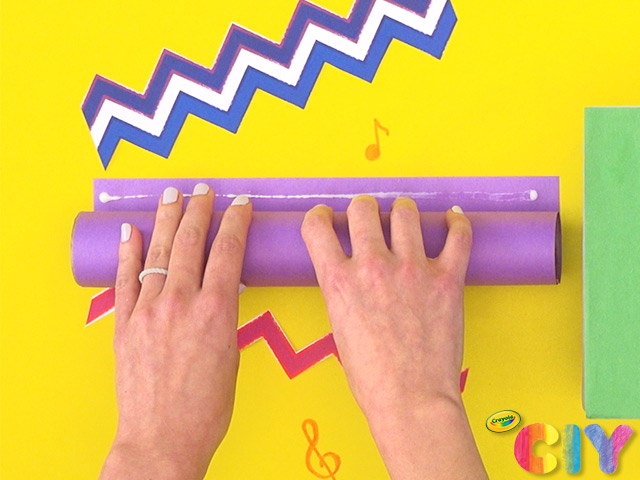
7 Add glue to top and bottom of piece of construction paper. Place paper towel roll on glue and roll to secure paper. Let all glue steps dry 1–2 hours.
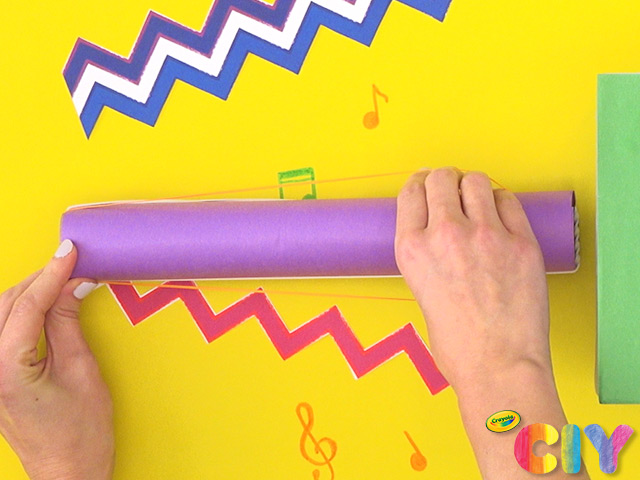
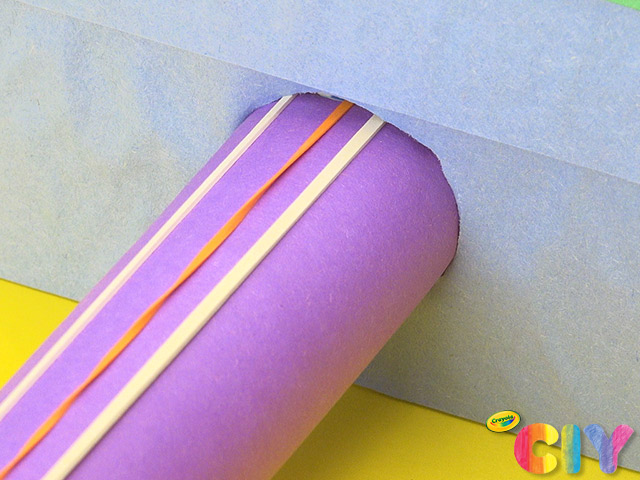
8 Stretch 3 rubber bands around length of paper towel roll.
9 Insert paper towel roll into round opening.
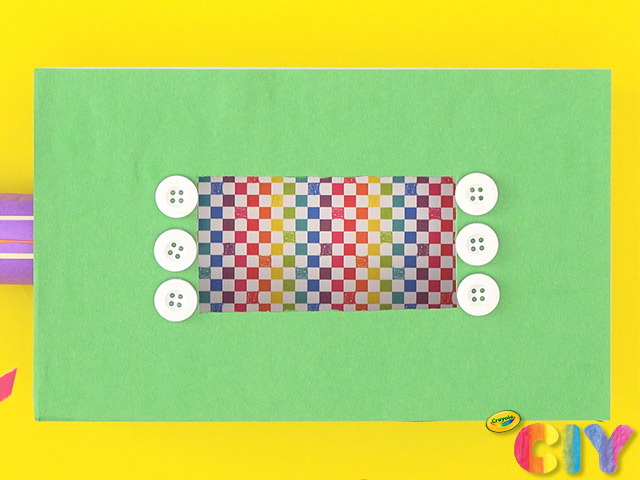
10 Ask an adult to hot glue 3 buttons on both sides of rectangular opening. Cool 15 minutes.
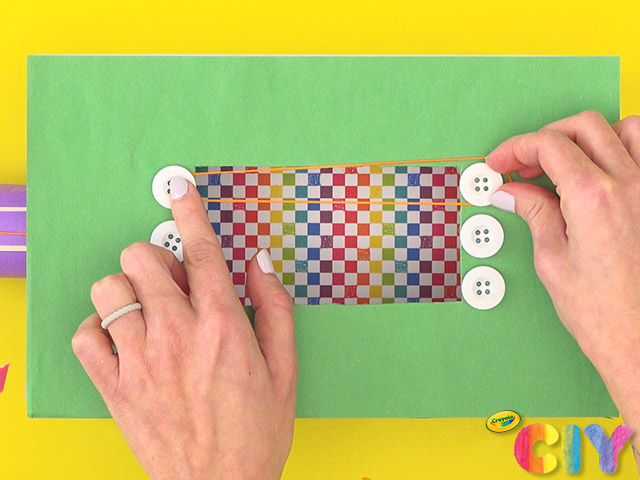
11 Stretch rubber band across rectangular opening and hook on top pair of buttons. Repeat for each pair.
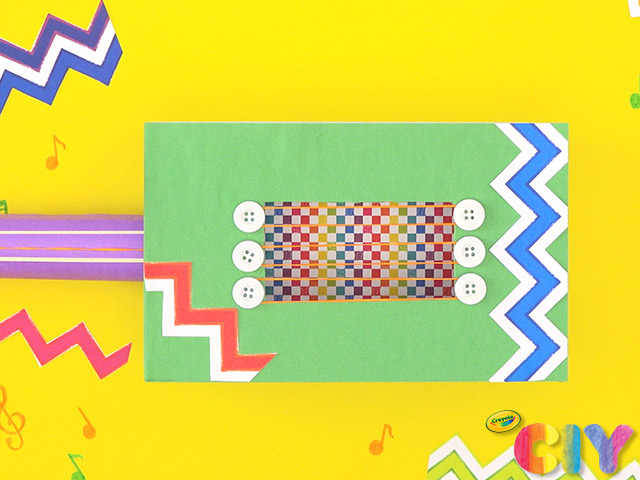
12 Cut out cardstock pieces and glue colorful designs to box.
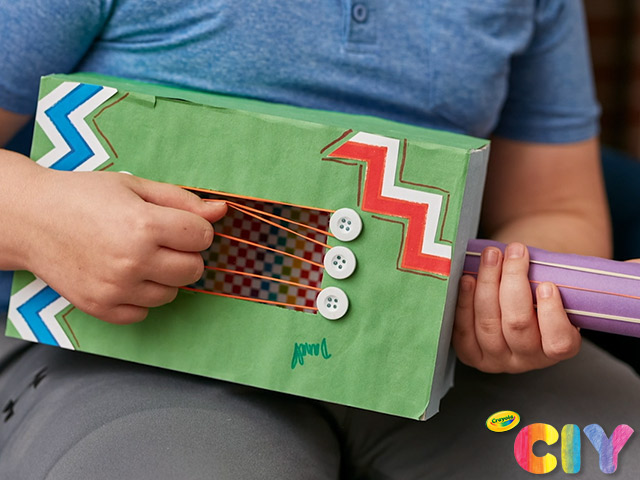
13 Add details and autograph to guitar with marker & strum away!
CIY Staff Tips:
- This project uses a craft knife and hot glue gun. Adult assistance required.
- Our rectangular opening was approximately 5” x 2.5” on the shoebox lid