 Australia
 Belgium
 Canada
 China
China Italy
Italy Mexico
 Netherlands
 UK
UK France
 Japan
Japan


Snowflake Stamp Wrapping Paper
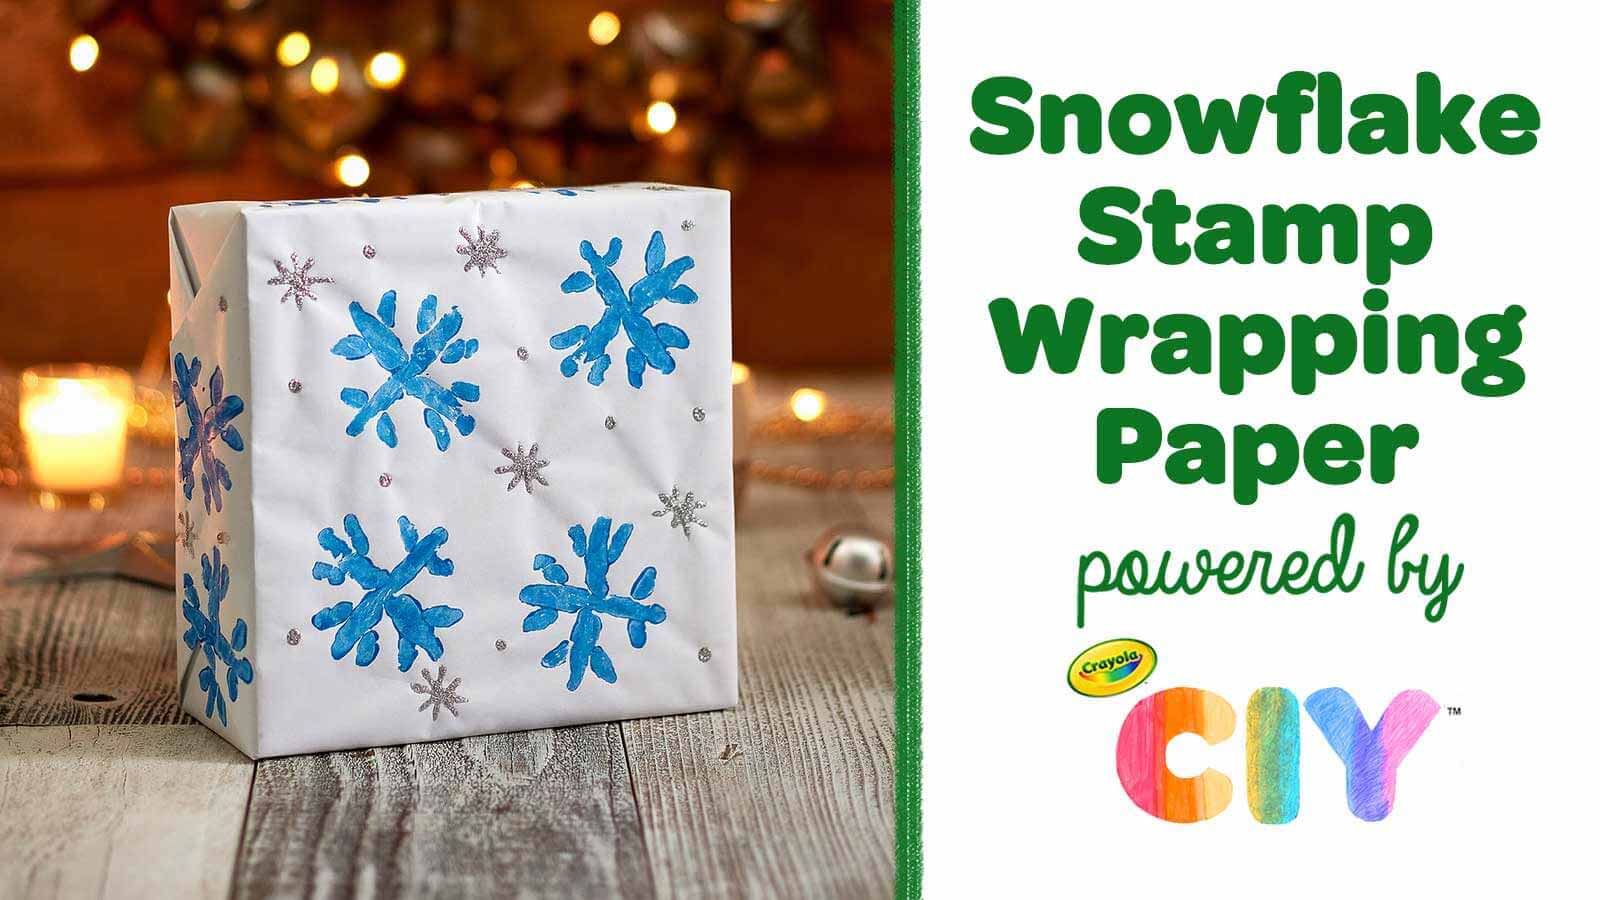
Snow cute! Make a snowflake stamp out of Model Magic, then use it to decorate DIY wrapping paper.
Supplies:
- Crayola Model Magic
- Crayola Paint Brush
- Gift Box
- Clear Tape
- Crayola Washable Paint
- Crayola Glitter Glue
- Plain Gift Wrap
Steps:
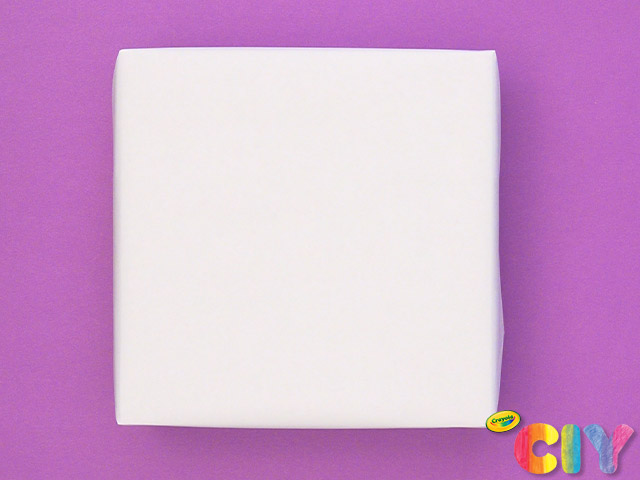
1 Wrap gift box in plain gift wrap.
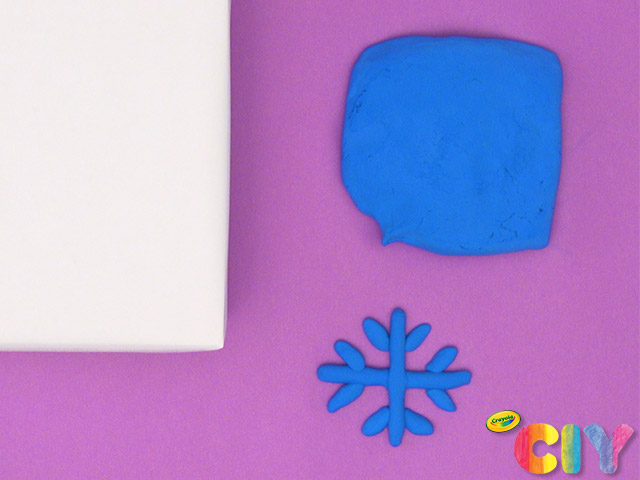
2 Mold snowflake shape out of Model Magic.
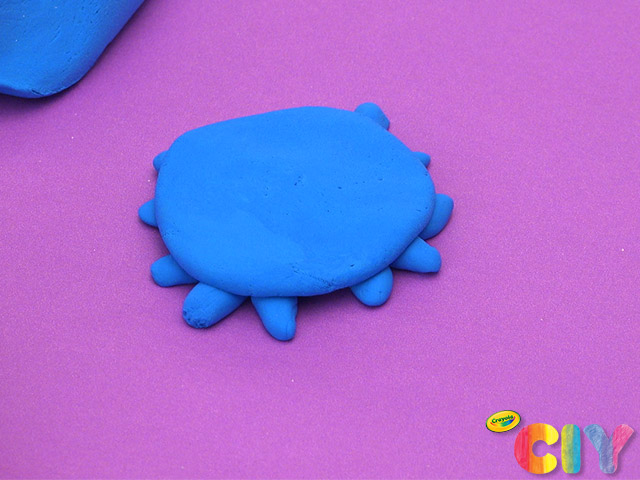
3 Flatten small piece of Model Magic. Place on top of snowflake to create stamp. Dry overnight.
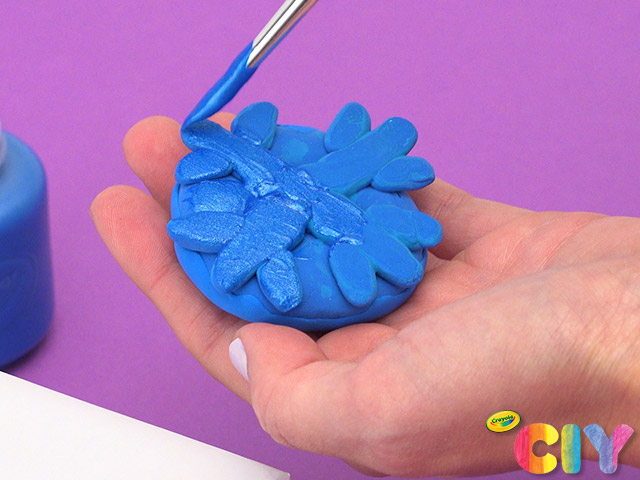
4 Lightly paint snowflake shape and press onto gift wrap.

5 Repeat step 4 until you’ve reached your desired pattern.
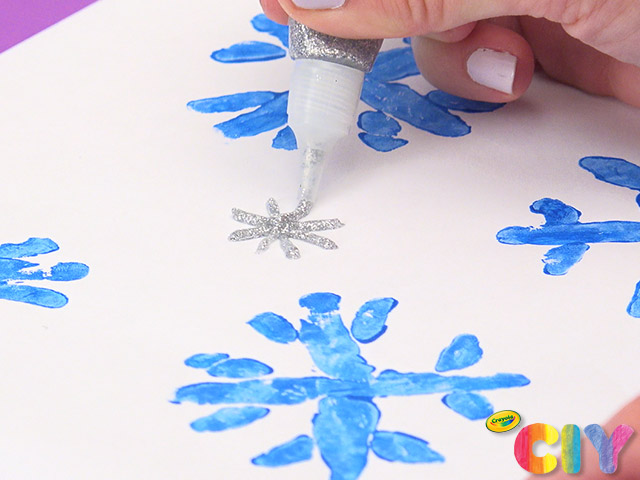
6 Add sparkly snowflake details with glitter glue. Dry all paint and glitter glue steps 3–4 hours.
CIY Staff Tips:
- Want more festive craft ideas? Browse all our Christmas and holiday crafts.