Skip to Main Content

Connect the Dots

Students will use rulers to create geometric shapes and then challenge classmates to reproduce the designs using a connect-the-dots technique.

Lesson Plan

Supplies Needed

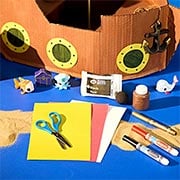
Gather all the supplies needed to bring your craft ideas to life! From paints and markers to glue and scissors, our crafts section has everything to spark creativity and make every project truly special.

  • Paper
  • Ruler
  • Tracing Paper

Steps

  • Step 1

    Have students name and identify geometric shapes. Ask them to notice which have only straight edges and which have curved features.

  • Step 2

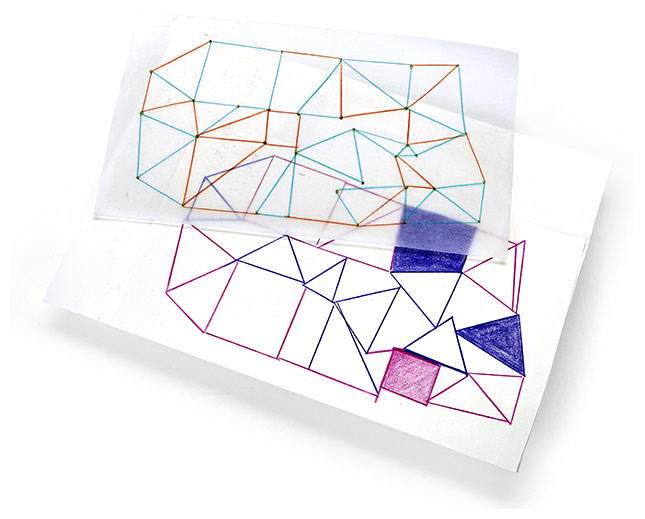
    Have students use a ruler to draw a focal shape that has only straight edges. Ask them to fill that shape with smaller shapes, made of connected lines. Then have them cover the drawing with a piece of tracing paper and make dots on every point where lines intersect.

  • Step 3

    Have students swap their tracings papers with a classmate and challenge this partner to use a ruler to connect the dots and see what interior and overall exterior shapes are formed.

  • Step 4

    Ask the partners to compare their shape drawings. Do they look similar? Completely different? Talk about how simple lines and dots can combine in many ways.

  • Step 5

    The tracing paper drawing and art by both partners should be displayed together to show how each of them interpreted the guide.

Standards

MATH: Analyze, compare, create, and compose math ideas using written, oral, and drawn lines, shapes, forms, and patterns.

MATH: Describe, compare, quantify, and classify objects by attributes. Sort objects into categories.

Adaptations

Read a book such as "Mouse Shapes" by Ellen Stoll Walsh or "City Shapes" by Diana Murray and have students look for and identify the shapes in each illustration.

Challenge students to create a picture using dots, and have a friend connect the dots to decipher the picture.