Skip to Main Content

To The Moon

After listening to and discussing the book "On the Moon" by Anna Milborne and Benji Davies, students incorporate shapes that they view in the illustrations to create outer space pictures and discuss what it would be like traveling to the moon.

Lesson Plan

Supplies Needed

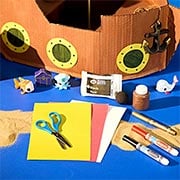
Gather all the supplies needed to bring your craft ideas to life! From paints and markers to glue and scissors, our crafts section has everything to spark creativity and make every project truly special.

Steps

  • Step 1

    Share the book "On the Moon" by Anna Milborne and Benji Davies with students. Review story and illustrations, discussing what it may be like to travel to the moon. Students ask and answer questions about details in the text. (Chart with the words “astronaut, rocket, space, moon, square, rectangle, circle and triangle; display and discuss as needed.) Other rocket and space pictures can also be displayed.

  • Step 2

    Distribute black construction paper 9” by 12”(228 mm x 304.8 mm) to students.

  • Step 3

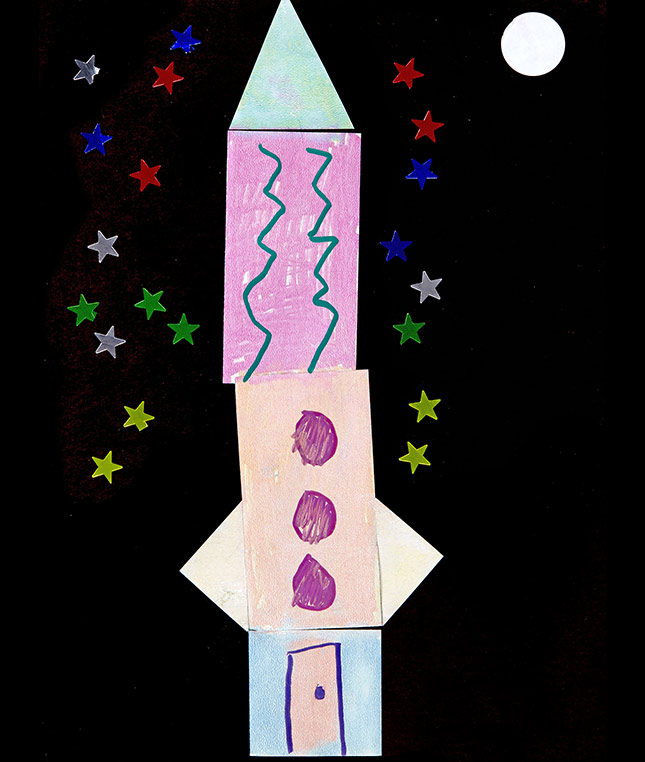
    Following a discussion of shapes (square, rectangle, triangle) and what a rocket is designed to do, demonstrate how rockets can be formed using these simple shapes.

  • Step 4

    Explain to students that they will design their own rockets to go to the moon. Have students cut out several examples of each shape using Crayola Color Wonder paper. Students use their shapes and a Crayola Washable Glue Sticks to “build” their 2-D rockets. Demonstrate how to the place glue on the “back” of paper and press the shapes down using the glue sticks. Circulates around the room to offer help, suggestions, answer questions.

  • Step 5

    Refer again to the read aloud book and other pictures of rockets. Ask students to point out details that can be added to rockets. Students use Crayola Color Wonder Markers to color rockets. Collect the Color Wonder Markers while distributing Crayola Metallic markers which can be used to add more detail on rockets.

  • Step 6

    Students place one large (1”- 25.4 Millimeter) white circle on paper for a moon and add sticky stars to create outer space.

  • Step 7

    Discuss the shapes used for student artwork with students. Take a few minutes to review the new vocabulary words. Ask students if they would like be astronauts and to go to the moon. If they traveled to the moon, what might they see?

  • Step 8

    Display artwork in the classroom for all to view.

Standards

LA: With prompting and support, ask and answer questions about key details in a text.

MATH: Recognize shapes having specified attributes.

MATH: Understand that shapes in different categories may share attributes, and that the shared attributes can define a larger category.

SCI: Construct drawings or diagrams as representations of events or systems.

VA: Select and use subject matter, symbols, and ideas to communicate meaning.

VA: Use different media, techniques and processes to communicate ideas, experiences and stories.

VA: Identify connections between the visual arts and other disciplines in the curriculum.

Adaptations

Students make up stories about a trip to the moon.

Other space travel books can be shared as read-alouds.

Students study more about outer space.