Skip to Main Content

Op Art

Students create art in the Op Art style using measurement.

Lesson Plan

Supplies Needed

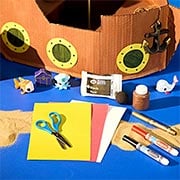
Gather all the supplies needed to bring your craft ideas to life! From paints and markers to glue and scissors, our crafts section has everything to spark creativity and make every project truly special.

  • Eraser
  • Pencil Sharpener
  • Pencil(s)
  • Photo(s)
  • Reference Materials
  • Ruler
  • Wax Paper

Steps

  • Step 1

    Share a variety of art work by the Op artist, Victor Vaserely. Allow students to discuss what they see and how it represents a type of artwork. Inform students that they will be challenged to design their own op art project.

  • Step 2

    Distribute a 12” x 18” (30.48 cm x 45.72 cm) piece of white construction paper to each student, along with a pencil and ruler. Instruct students to measure the length of the paper and divide it into thirds.

  • Step 3

    Along the left side of the paper, starting about 2 inches from the bottom, make a mark at every inch for about 9” (22.86 cm) along the vertical side. Repeat at the beginning of the last third of the paper.

  • Step 4

    At the beginning of the second third of the paper and at the right edge of the paper, repeat the process, but start about 1” (2.54 cm) from the bottom of the paper instead of 2” (5.08 cm).

  • Step 5

    Beginning at the left edge of the paper, measure and mark several quarter inches, then half inches, and then inches working in the first third of the paper from left to right horizontally. (The idea is to go from small increments to larger ones).

  • Step 6

    On the second third of the paper, make marks at several inches, then half inches and then quarter inches. (This time you are going from larger increments to smaller ones.)

  • Step 7

    On the last third of the paper, repeat this procedure by beginning at the left edge and measuring/marking several quarter inches, then half inches and then inches. Marking the paper in this way creates the illusion of going in and coming out.

  • Step 8

    At each of the marks along the horizontal, draw a vertical line from the bottom of the paper to the top.

  • Step 9

    To make it look like the top is going one way and the bottom of the checkerboard is going the opposite way, ass half inch marks (increments smaller than an inch) along the left vertical side for the first 3” (7.62 cm) from the bottom to the midway starting 2” (5.08 cm) from the bottom. Repeat at the beginning of the last third of the paper.

  • Step 10

    Starting 1” (2.54 cm) from the top of the paper, add half inch marks (smaller increments) at the beginning of the second third of the paper for 3”. Repeat along the right edge of the paper.

  • Step 11

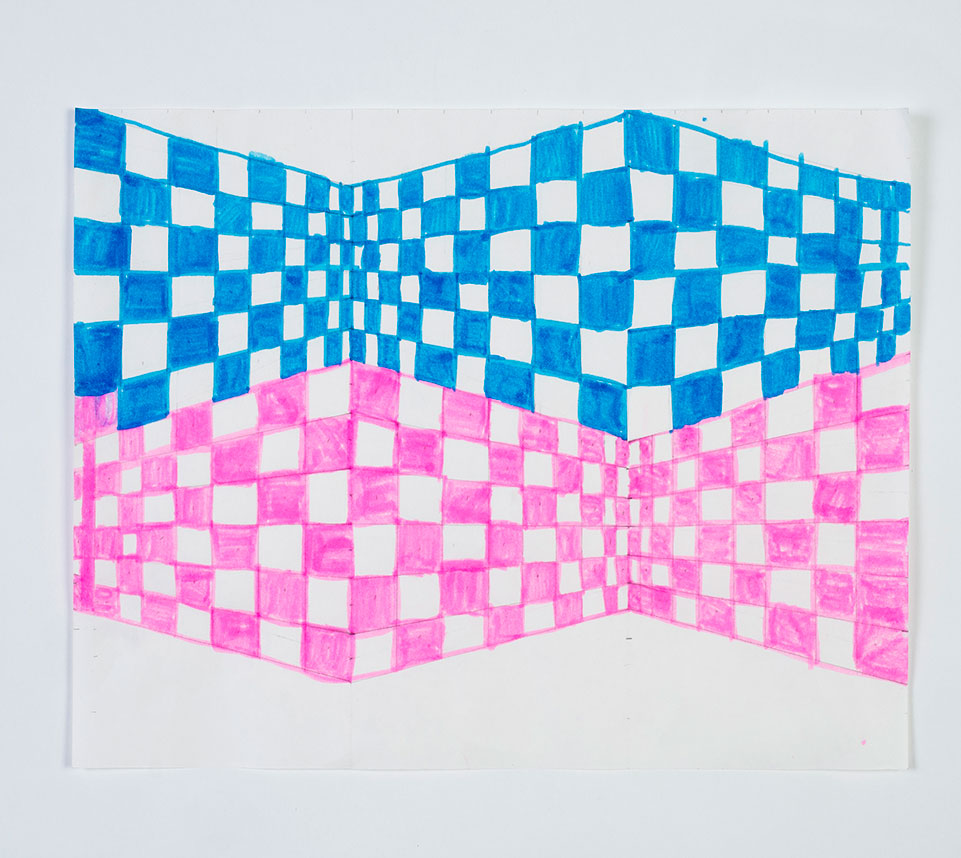
    Connect all the marks from left to right, creating a checkerboard pattern with the illusion of movement in and out. The lines will be diagonal. Erase any extra marks and/or lines.

  • Step 12

    Ask students to select any two colors from a variety of Crayola Washable Markers and color in every other box in the checkerboard.

Standards

LA: Engage effectively in a range of collaborative discussions (one-on-one, in groups, and teacher-led) with diverse partners on grade level topics, texts, and issues, building on others’ ideas and expressing their own clearly.

MATH: Solving real-world and mathematical problems involving volume of cylinders, cones and spheres.

VA: Students will initiate making works of art and design by experimenting, imagining and identifying content.

VA: Students will investigate, plan and work through materials and ideas to make works of art and design.

Adaptations

Examine illusions in art and life. How does the eye interpret what you see? How does an artist trick the eye?

Encourage students to create color illusions.