Skip to Main Content

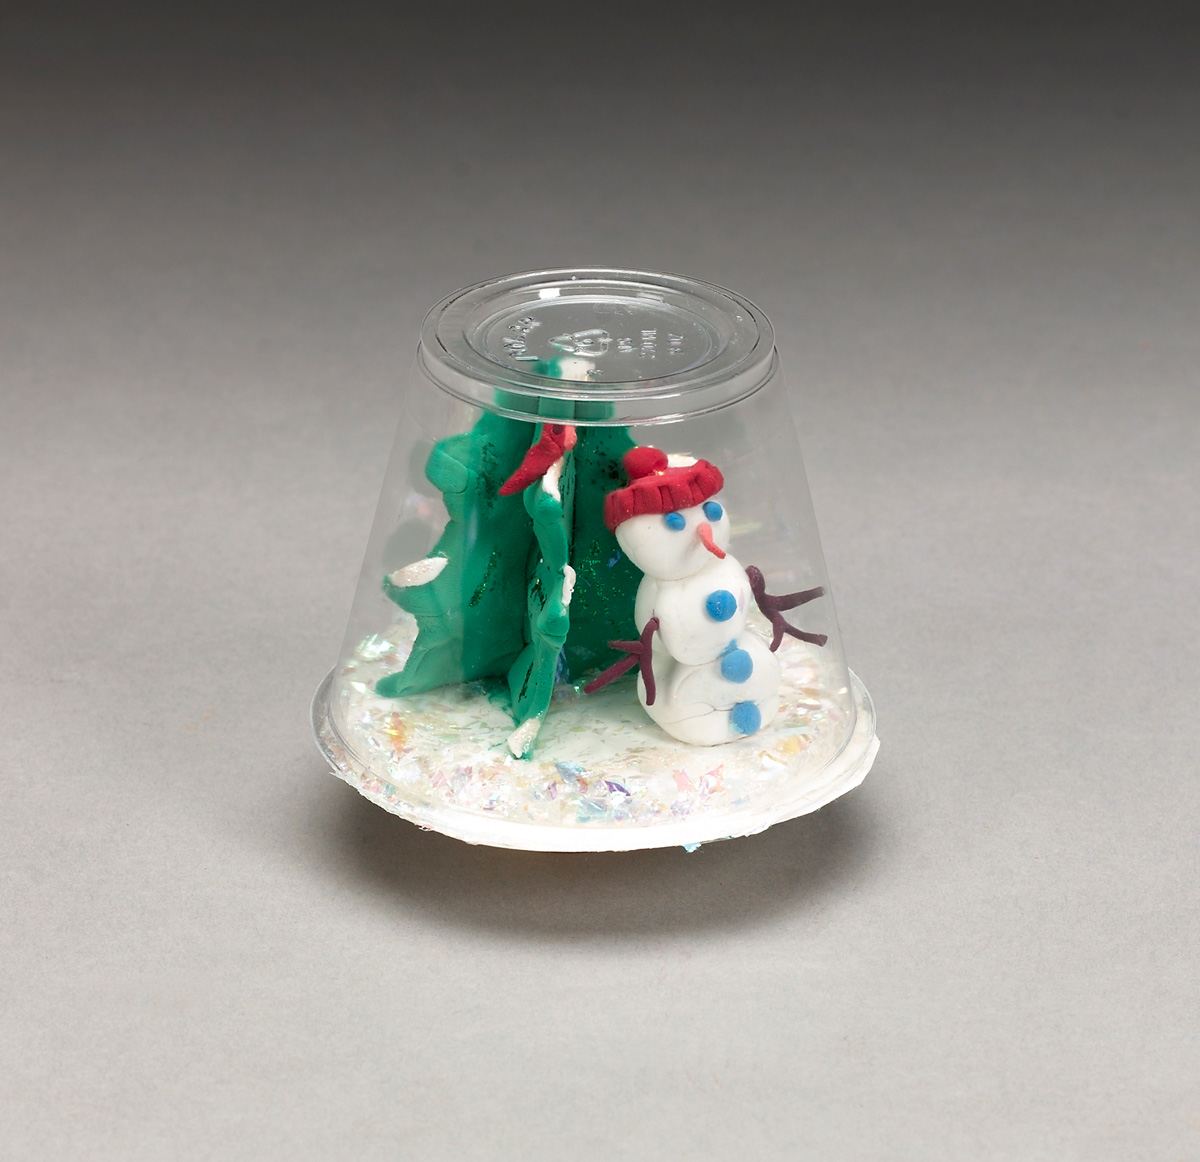
Winter Snow Globe

How does snow form? Students will explore the science behind snow, then create a holiday snow globe to give as a gift.

Lesson Plan

Supplies Needed

Gather all the supplies needed to bring your craft ideas to life! From paints and markers to glue and scissors, our crafts section has everything to spark creativity and make every project truly special.

  • Plastic Cup(s)
  • Recycled Cardboard

Steps

  • Step 1

    Have students explore what snow is and how it forms. Explain that it is composed of ice crystals that form when water vapor freezes into ice without first turning to liquid. A snow crystal grows and changes as it falls through its cloud. Ask students to learn some terms associated with snowflakes, such as hexagon, symmetry, hoarfrost, etc.

  • Step 2

    Snow globes, small decorative objects that contain a scene and white flakes that give the appearance of snowfall when shaken, originated in Austria in the late 19th century. Have students investigate their origin. Who was Erwin Perzy? What invention was he working on that accidentally gave rise to the snow globe? How did Joseph Garaja revolutionize the process of making decorative snow globes, thereby making them less expensive to produce? 

  • Step 3

    Have students create a mock snow globe. Ask them to place a plastic drinking cup on recycled cardboard, trace around the rim, and then cut out the circle. They can then layer white Model Magic on the cardboard circle to create a snowy base. Next, have them sculpt some winter figurines or a scene to place on the cardboard, making the objects small enough to fit inside the cup (which will be inverted and placed over the pieces to form a globe). Students can press the figurines onto the base while the Model Magic base layer is still soft. Or they can glue the items together and to the base.

  • Step 4

    When the Model Magic objects are complete, students will work on the snowflakes and keep them to the side until they are ready to assemble the globe. Snowflakes could be made from tiny bits of Model Magic or from tiny cut scraps of cardboard or scrap paper. If made from moist Model Magic, be sure the main figures/scene and flakes are dry before adding the flakes to the scene. When students feel they have prepared enough snowflakes, they can lay them on the base carefully and then place the cup upside down over the entire scene. Glue the edge of the cup to the cardboard base. When the glue is dry, they can shake their globes and watch the snow fall and scatter.

  • Step 5

    Have students take their snow globes home to use as holiday decorations or to share with someone as a gift.

Standards

SCI: Ask questions based on observations to find more information about the natural and/or designed world(s).

SS: Time, Continuity, and Change: Understand linkages between human decisions and consequences. 

Adaptations

Snow globes are more than casual decorations, and there have been some notable snow-globe exhibitions. Have students explore the Traveler Series by Walter Martin and Paloma Muñoz.

In the United States in the 1940s, snow globes were often used for advertising. Have students think of a product they could advertise using a snow globe, then create a drawing of it and describe how it would promote the product.