






Are acrylic paint markers washable or waterproof?
Acrylic paint markers are water-based, but once the paint dries, it has permanency and is water-resistant on many surfaces. On porous materials like paper, canvas, or wood, color sets into the surface and holds up over time.
On smooth, non-porous surfaces like glass or plastic, the paint may be more likely to wear or wipe away unless sealed. For added durability, a clear acrylic sealer can help protect finished designs.
For more information on Crayola Acrylic Markers check out our Brush Tip & Bullet Tip Varieties.
Is tempera paint the same as acrylic paint?
While both are water-based, tempera paint and acrylic paint are designed for different experiences.
Learn more here: What are the differences between Crayola acrylic, tempera, and washable paints?
How do you set or seal acrylic paint?
Acrylic paint begins to set as it dries, forming a solid layer of color. Let each layer dry fully before adding more detail to keep your work clean and defined.
If you’re working on a smooth surface or want extra protection, you can apply a clear acrylic sealer once the paint is completely dry. This can help extend the life of your design and reduce wear over time. Keep reading to find more detailed surface-specific prep and seal tips below.
How do you remove acrylic paint or acrylic paint marker stains?
Acrylic paint is designed to be long-lasting, so it’s best to clean it up while it’s still wet. Find stain removal tips here: Crayola Acrylic Paint Stain Tips
Where can you buy acrylic paint markers or paint pens?
Acrylic paint markers are widely available through major retailers, both in-store and online. They’re commonly found in arts and crafts aisles as well as broader retail environments.
Discover where to buy Crayola Acrylic Paint & Crayola Acrylic Paint Markers (Brush and Bullet Tip) on Crayola.com!
Why Crayola Acrylic Markers? And who are they intended for?
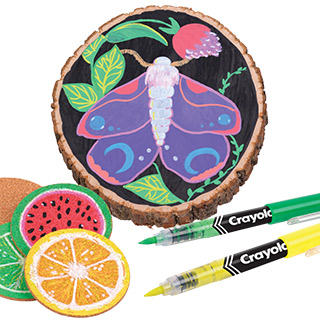
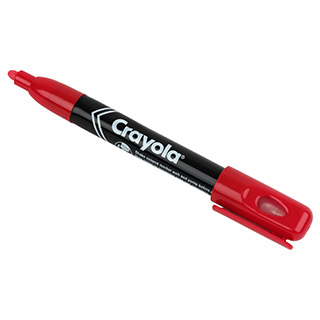
Crayola Acrylic Paint Markers are designed to deliver bold, opaque color with a smooth, controlled application across a variety of surfaces like canvas, wood, glass, and more. With options like brush tips for detailed work and bullet tips for consistent lines, they make it easy to layer, blend, and build color while maintaining precision. The fast-drying, water-based acrylic formula allows for creative flexibility, helping artists achieve vibrant, lasting results with confidence. Crayola Acrylic Markers are created with adults in mind, especially those looking for a versatile, approachable way to explore creative expression. They’re ideal for everything from detailed artwork and DIY projects to home décor and mindful, screen-free creativity, offering a balance of control, performance, and ease of use that supports both beginners and more experienced creators.
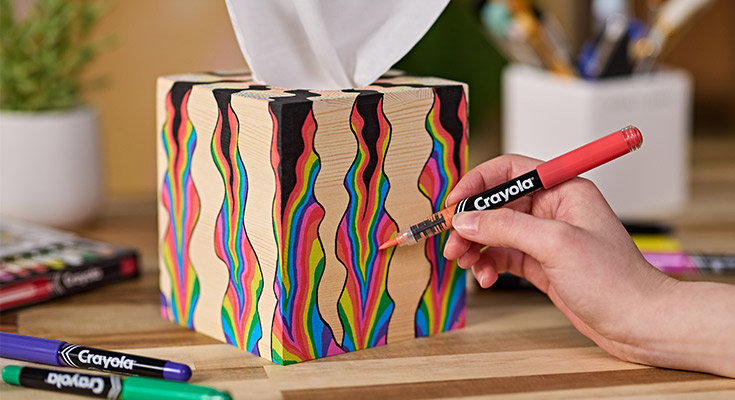
Acrylic Paint Markers make detailed art projects easier.
What should I know before getting started with Crayola Acrylic Paint Markers?
Acrylic paint markers are one of the easiest ways to get bold, vibrant color onto many surfaces. Whether you’re customizing home décor, adding details to craft projects, or creating layered artwork, these markers offer the control of a marker with the rich coverage of paint.
If you're new to acrylic paint markers, here’s everything you should know before getting started—so you can get the best results right away. With just a little prep and understanding of your surface, you can achieve bold, professional-looking results quickly.
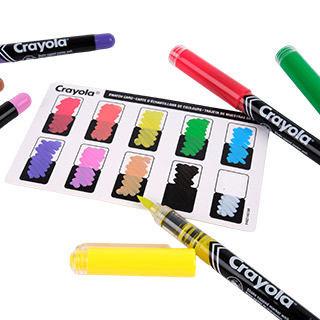
Start by setting yourself up for success. It’s always a good idea to cover your work surface before you begin—acrylic paint is designed to be long-lasting, and accidental marks can be difficult to remove once dry. Shake both bullet tip and brush tip Crayola Acrylic Paint Markers while capped before every use. As you work, take your time building your design. Swatch out your colors first. These markers really shine when used in layers, allowing you to gradually add depth, richness, and detail. Let each layer dry before adding the next so colors stay crisp and don’t muddy—unless you’re intentionally blending. If you are blending, work quickly while the paint is still wet to create soft transitions or gradients.
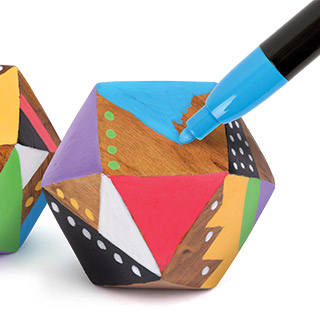
Surface choice plays a big role in how your artwork turns out. Porous materials like wood or paper tend to absorb more paint, so you may notice you need a few extra coats to achieve that bold, opaque finish. On the other hand, smooth, non-porous surfaces like glass or plastic behave very differently. The paint will sit on top rather than soaking in, meaning it can take longer to dry and may be more prone to smudging or wear over time. For these surfaces, priming beforehand or sealing afterward can help improve adhesion and durability.
It’s also important to adjust your expectations for drying time. The smoother the surface, the longer the paint will take to set, so patience is key. Rushing into additional layers or handling your piece too soon can lead to smears or fingerprints. Once your artwork is complete, handle it with care—especially if it’s on a slick surface where the paint hasn’t fully bonded.
Finally, keep in mind a few practical considerations as you create. Acrylic paint markers should not be used on items that come into contact with food, and decorated pieces aren’t dishwasher safe. Treat your finished work as decorative, and it will stay looking its best.
If you remember one thing: Prep your marker, understand your surface, and let layers dry—everything else is creative freedom.
How do I prep and seal different surfaces when using acrylic paint markers?
WOOD
Preparation: If wood is treated or varnished, lightly scuff the area with high-grit sandpaper. Wipe away dust with a damp cloth and let it dry completely before creating.
TEXTILES
Preparation:
- Wash then dry any machine-washable textiles before starting.
- Leather – wipe with a damp sponge to remove any dirt, then let fully dry.
- Suede – lightly brush the surface to remove dirt.
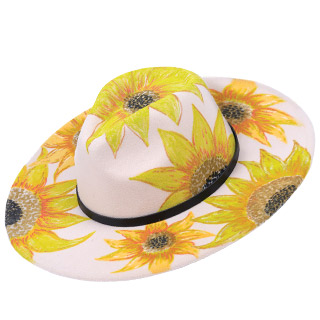
For expedited curing: Try heat-setting with a hair dryer. Use a hair dryer on high, hold 10 inches away and move in small circular movements over your artwork for several minutes.
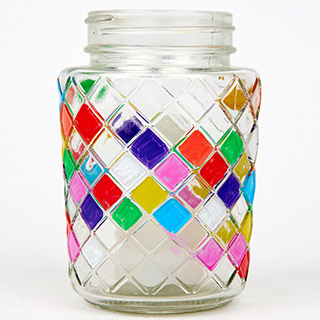
GLASS
Preparation: Wipe surface with a damp cloth and let dry before beginning.
For added permanency: After artwork dries, apply a clear acrylic sealer according to its instructions.
GLAZED/TREATED CERAMIC
Preparation: Lightly scuff the area with a high-grit sandpaper, wipe with a damp cloth to remove dust, and let dry before beginning.
For added permanency: After artwork dries, apply a clear acrylic sealer according to its instructions.
PAPER/CARDBOARD/CANVAS
Preparation and added permanency: no steps required. Just protect your workspace to prevent staining.
PLASTIC
Preparation: Wipe surface clean with a damp cloth to remove any dust.
For added permanency: after artwork dries, apply a clear acrylic sealer according to its instructions.
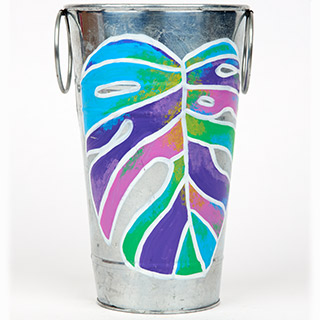
METAL
Preparation: Wipe with a damp cloth to remove dirt and let dry completely before beginning.
For added permanency: after artwork dries, apply a clear acrylic sealer according to its instructions.
ROCKS
Preparation: Wipe with a damp cloth to remove dirt and let dry completely before beginning.
For added permanency: after artwork dries, apply a clear acrylic sealer spray according to its instructions.
CORK/CORKBOARD
Preparation: Wipe with a damp cloth to remove dirt and let dry completely before beginning. Cork is very porous, so a sealant is not required.