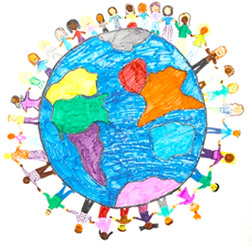
Australia
 Belgium
 Canada
 China
China Italy
Italy Mexico
 Netherlands
 UK
UK France
 Japan
Japan


Bunny Whiskers
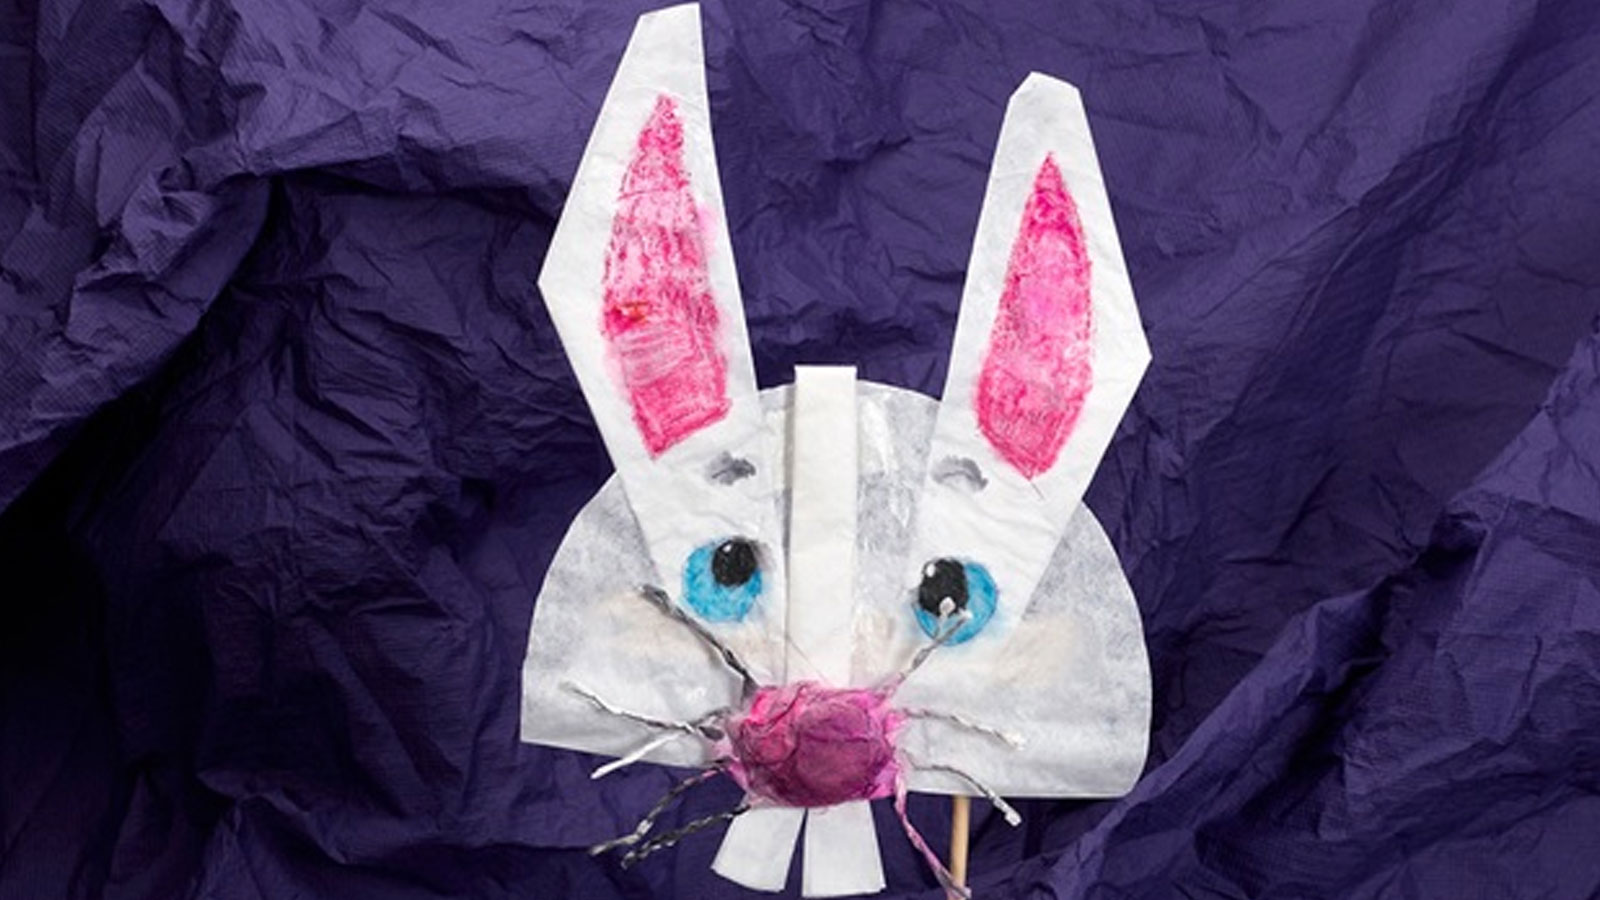
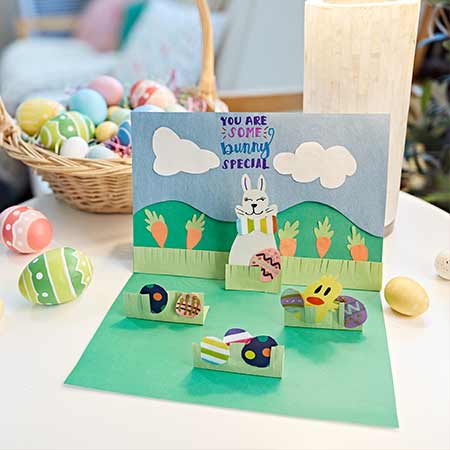
Who’s your favorite rabbit? Peter Cottontail? The Easter bunny? Bugs? The Runaway Bunny? This rabbit face can be any-bunny you like!
Supplies:
- Coffee Filters
- Craft Sticks
- Crayola No-Run School Glue
- Newspaper
- Crayola Crayons
- Crayola Scissors
Steps:
1 Which book or movie about rabbits is your favorite? A bunny is a happy, hoppy critter to have around to welcome spring or enjoy bunny books. Your whiskered rabbit can be a puppet, mask, or wall hanging!
2 With Crayola® Scissors, cut the top and bottom off of a white, basket coffee filter, leaving five bumps of filter on either side. Save the pieces.
3 For whiskers, cut toward the center along the folds between the bumps. Leave lots of space for your rabbit’s nose in the middle. You’ll have five strips of filter on either side.
4 Cover your art area with recycled newspaper. Coat each filter strip with Crayola School Glue and shape into individual whiskers. Air-dry the whiskers.
5 Ball up another coffee filter. Stuff it under the center of the whiskery filter. Glue in place to create a nose. Air-dry your bunny nose.
6 Flatten the cut-off coffee filter pieces into two rabbit teeth. Glue to bottom of the be-whisked nose.
7 Fold another filter to create a slightly larger than half-moon shape for your bunny’s face. Glue nose along straight edge.
8 To make ears, fold another coffee filter in half. Then fold in the rounded edge to form an ear. Hold the shape with glue. Make two ears. Air-dry them.
9 Use Crayola Crayons to add details to the bunny’s face, such as blue eyes and pink in the ears and nose. Bunny fur can be all white, black, black and white, or brown. Air-dry your bunny.
10 Glue craft or dowel sticks to the back of the face for behind-the-scenes support. You could also use a stick as a puppet or mask handle. Air-dry completely before using.
11