Skip to Main Content

Crayon DIY Magnets

Mag-NEAT-o! Make DIY magnets for the refrigerator or for student desk name plates with this back to school craft idea.

Ages: 4 and up, 8 and up, Tween and up, 6 and up

Create It Yourself

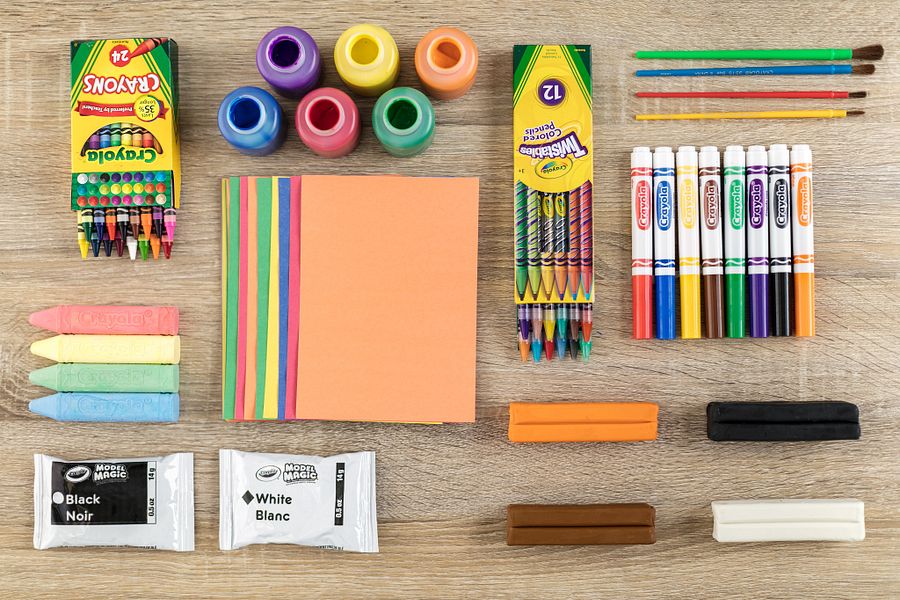
Supplies Needed

Gather all the supplies needed to bring your craft ideas to life! ...

  • Construction Paper
  • Glue
  • Paint
  • Paint Brushes
  • Craft Sticks
  • Magnetic Tape
  • Pencil(s)

Steps

  • Step 1

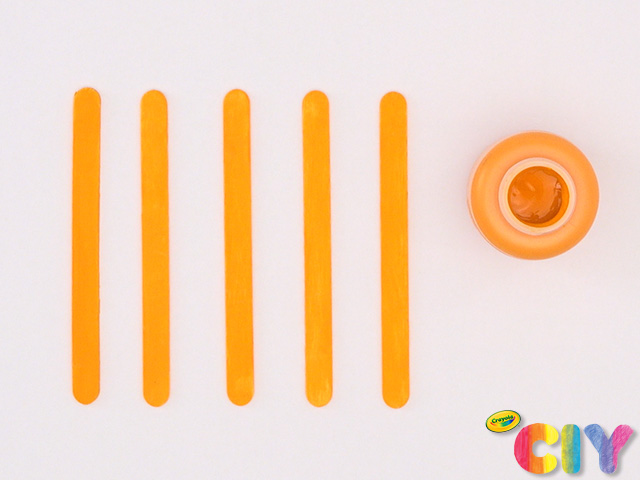
    Cover 5 craft sticks with paint. Dry 1–2 hours. Add second coat. Dry 1–2 hours.

  • Step 2

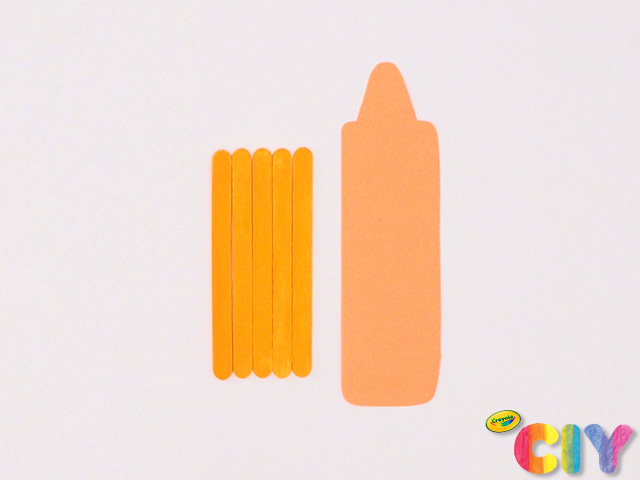
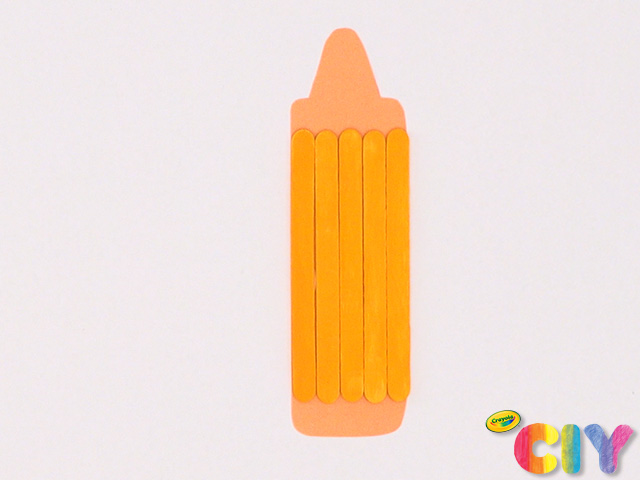
    Using craft sticks as a guide, sketch and cut out construction paper crayon.

  • Step 3

    Glue craft sticks to construction paper.

  • Step 4

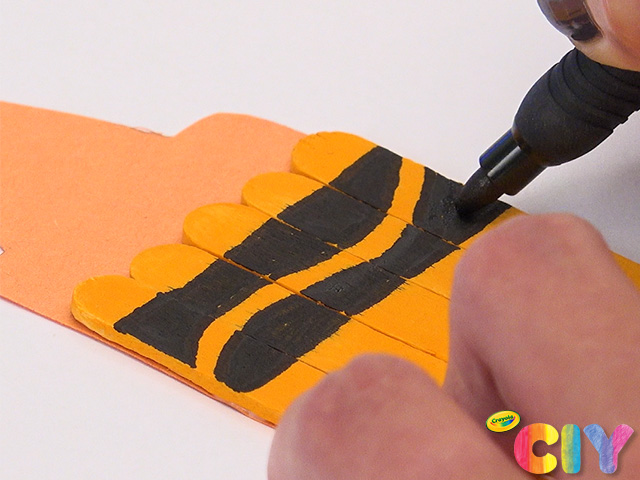
    Draw serpentine design on craft sticks with marker.

  • Step 5

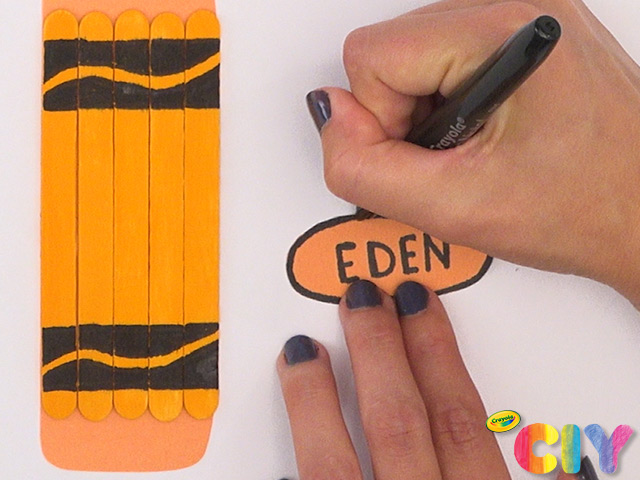
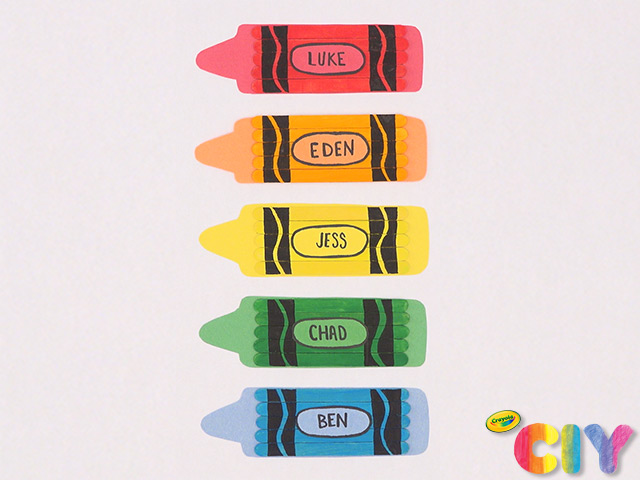
    Cut out construction paper oval. Add name and border with marker.

  • Step 6

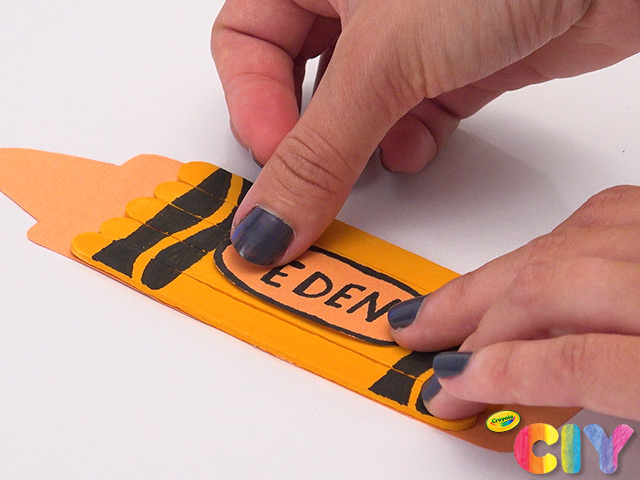
    Glue name tag to craft sticks. Let all glue steps dry 1–2 hours.

  • Step 7

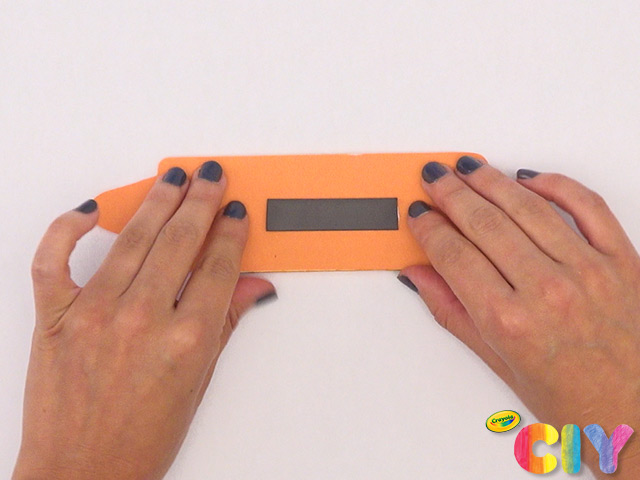
    Trim magnet from roll. Remove adhesive backing and place on back of crayon.

  • Step 8

    Repeat steps 1–7 to create a colorful collection for your class or family.

  • Step 9

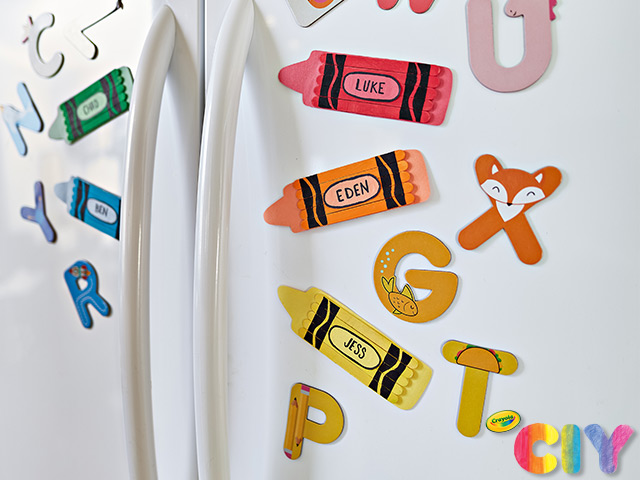
    Display crayon magnets on the fridge, a desk, or magnetic board!

Crafts

CIY Staff Tips

  • If you don’t have craft sticks at home, substitute upcycled popsicle sticks instead.

  • Use these magnetic name tags for more than school. Great for chore charts, reward charts, and beyond!

More Activities & Ideas

Unlock creativity with fun activities, free printables, and seasonal project ideas!