Skip to Main Content

Mardi Gras Shoebox Float

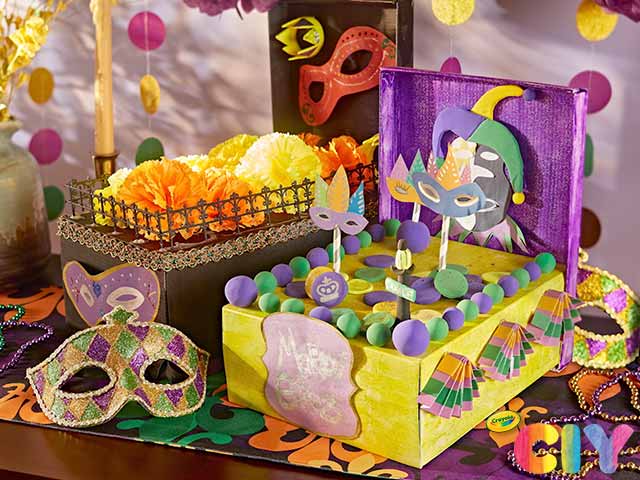
Mardi party! Join the parade at home by upcycling a shoebox into a colorful DIY Mardi Gras float.

Ages: 8 and up, Tween and up, 6 and up

Create It Yourself

Supplies Needed

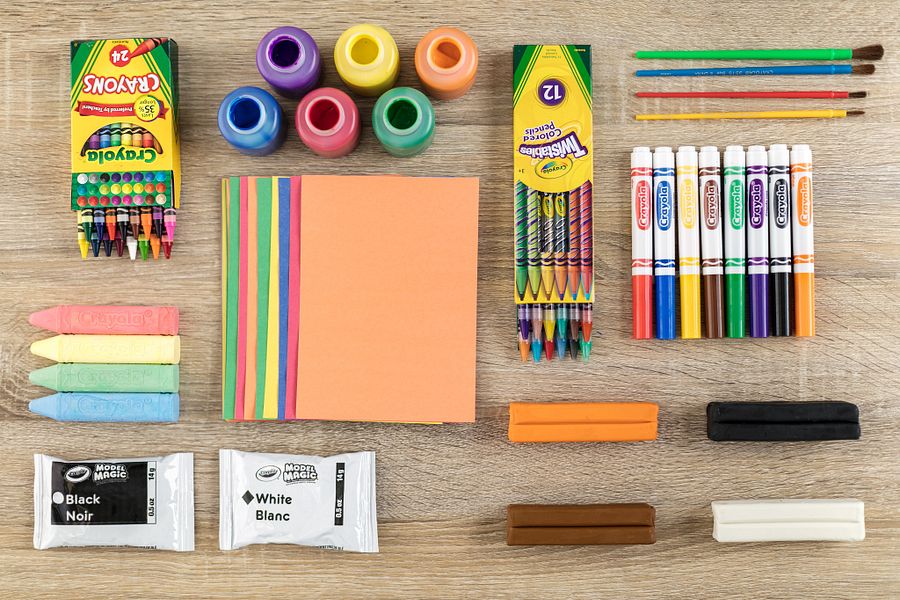
Gather all the supplies needed to bring your craft ideas to life! ...

  • Construction Paper
  • Glue
  • Markers
  • Model Magic
  • Paint
  • Paint Brushes
  • Modeling Tools
  • Pencil(s)
  • Ruler
  • Shoebox
  • Straw(s)

Steps

  • Step 1

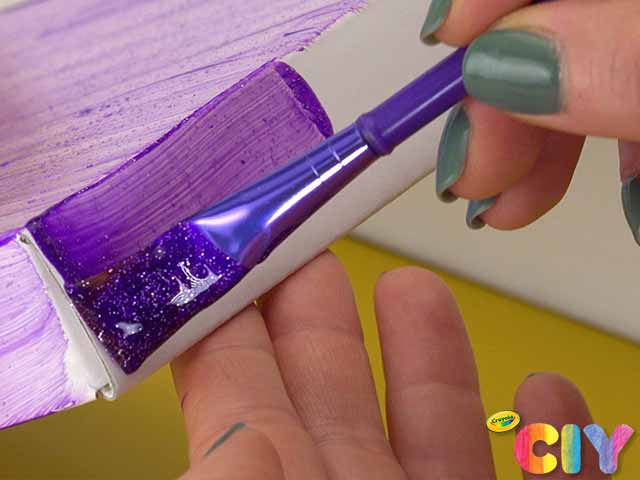
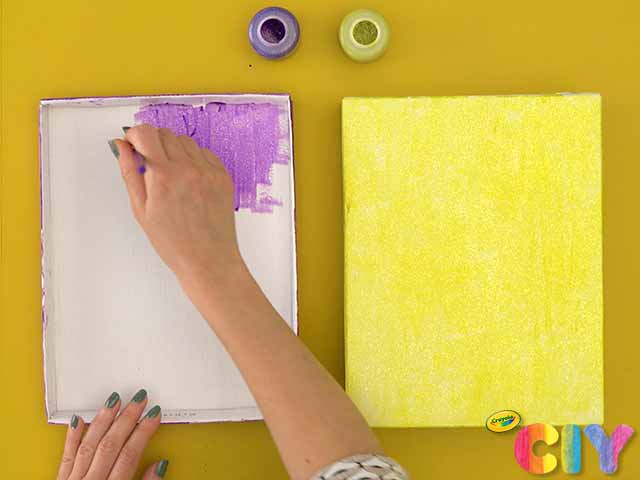
    Cover outside of shoebox with paint. Dry 1–2 hours. Add second coat. Dry 1–2 hours.

  • Step 2

    Cover inside of shoebox lid with paint. Dry 1–2 hours. Add second coat. Dry 1–2 hours.

  • Step 3

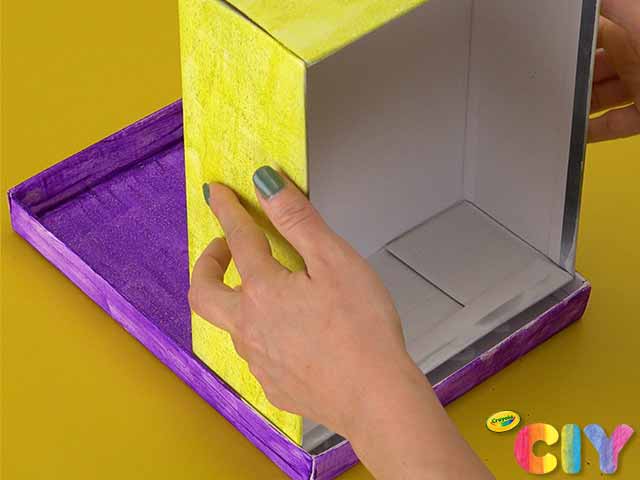
    Flip bottom of shoebox upside down and glue to inside of lid to create float.

  • Step 4

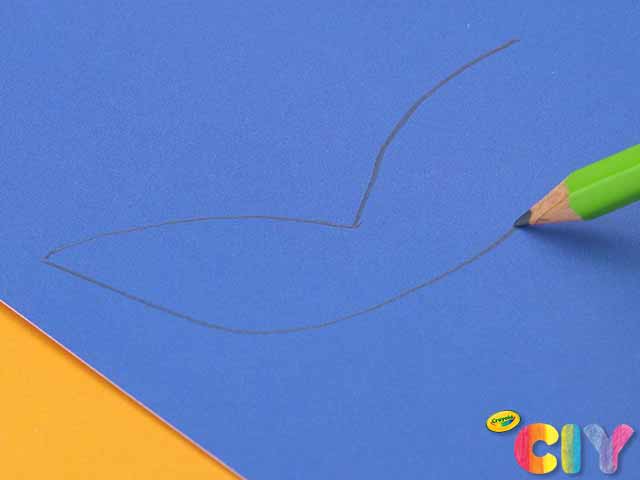
    Create elements like fans and masks with cardstock and construction paper.

  • Step 5

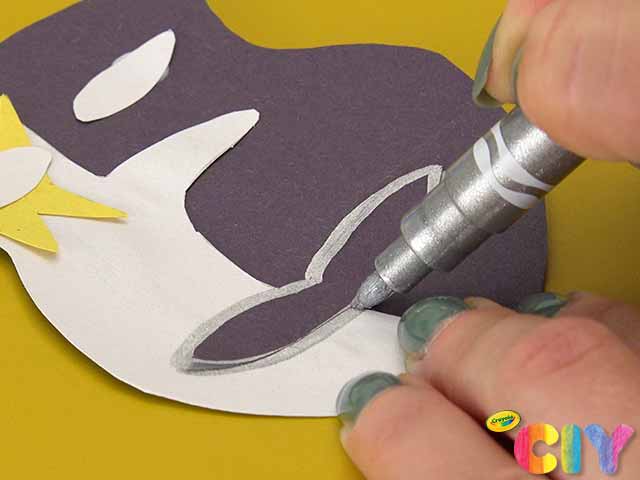
    Embellish paper decorations with markers.

  • Step 6

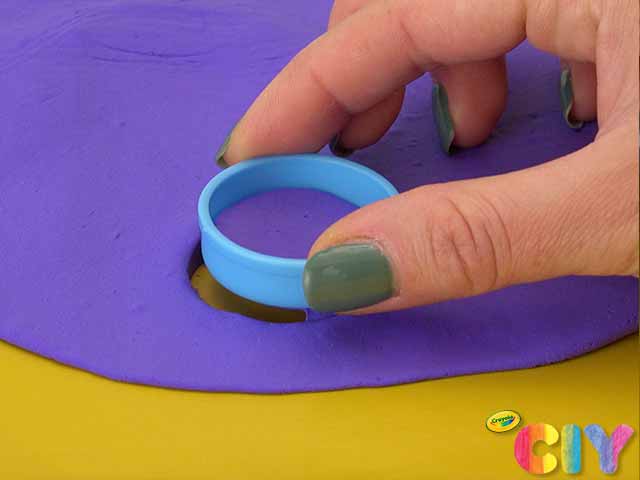
    Use modeling tools to create Model Magic elements like coins and street signs. Dry overnight.

  • Step 7

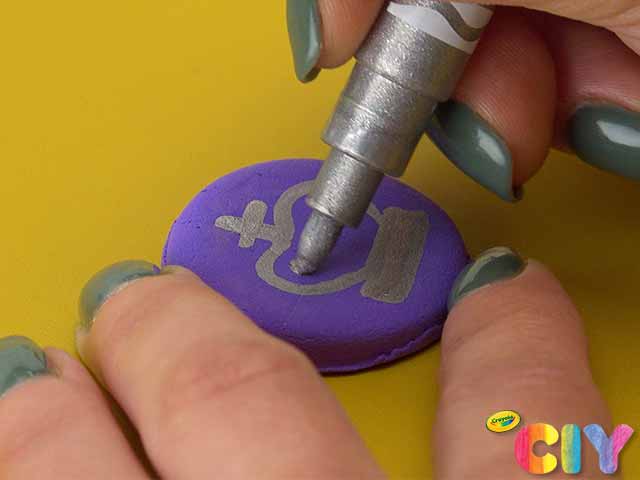
    Embellish Model Magic decorations with markers and glitter glue.

  • Step 8

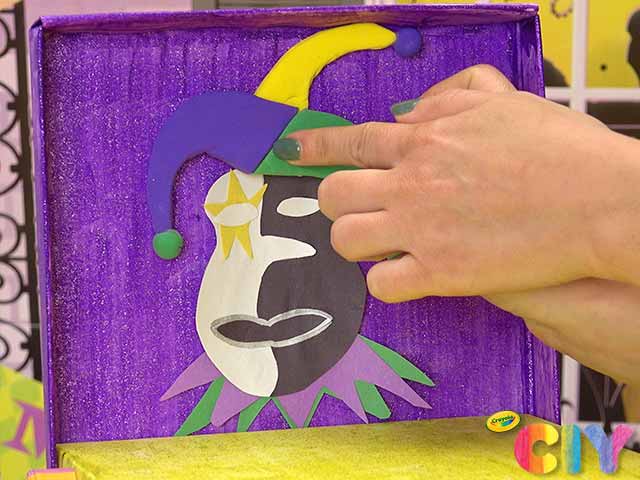
    Glue decorations to float. Dry 1–2 hours.

  • Step 9

    Add a Mardi Gras sign to front of float before parading your creation through the French Quarter!

Crafts

CIY Staff Tips

  • To create paper decorations that stand up: glue paper to straw, stick straw in small Model Magic ball, and glue ball to float.

  • Experiment with different Crayola Marker types and sizes for details and embellishments.

More Activities & Ideas

Unlock creativity with fun activities, free printables, and seasonal project ideas!