Skip to Main Content

Watercolor Calendar

Create a reusable DIY calendar to organize your schedule. Use watercolors for a splatter spray effect and write in important events each month!

Ages: Tween and up, Adult

Create It Yourself

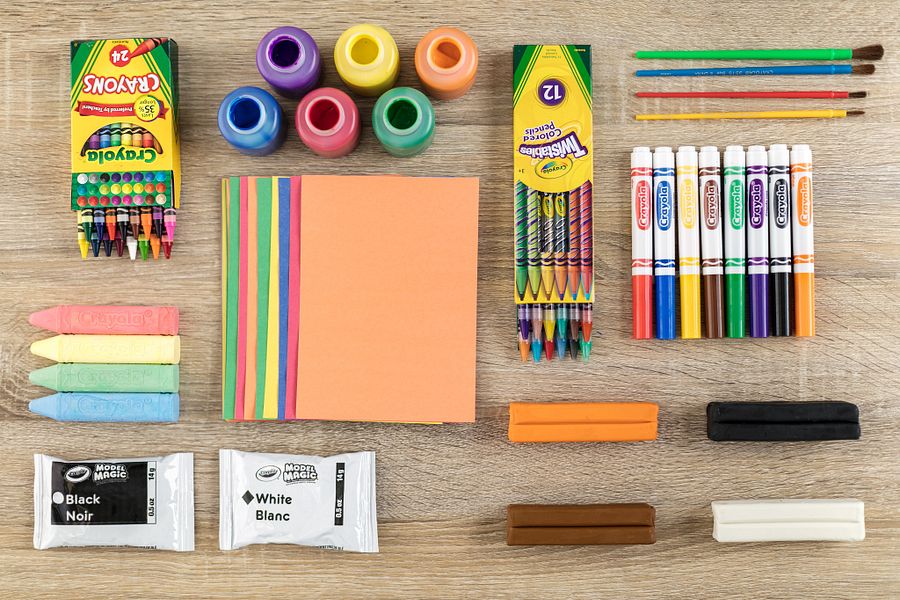
Supplies Needed

Gather all the supplies needed to bring your craft ideas to life! ...

  • Markers
  • Watercolors
  • Funnel
  • Measuring Cups
  • Pencil(s)
  • Plastic Frame
  • Poster Board
  • Ruler
  • Spray Bottle
  • Warm Water
  • Washi Tape

Steps

  • Step 1

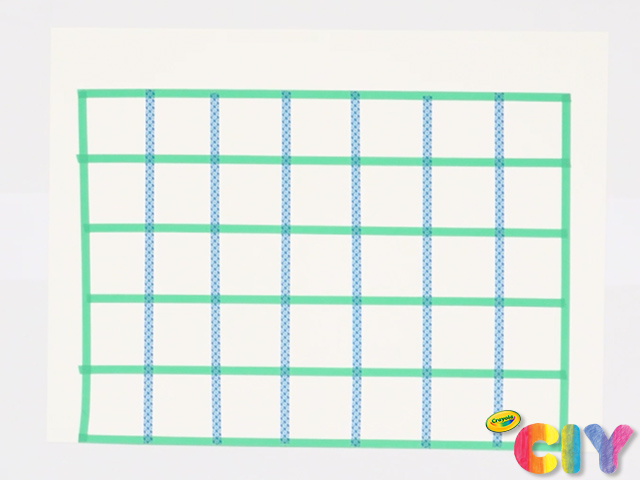
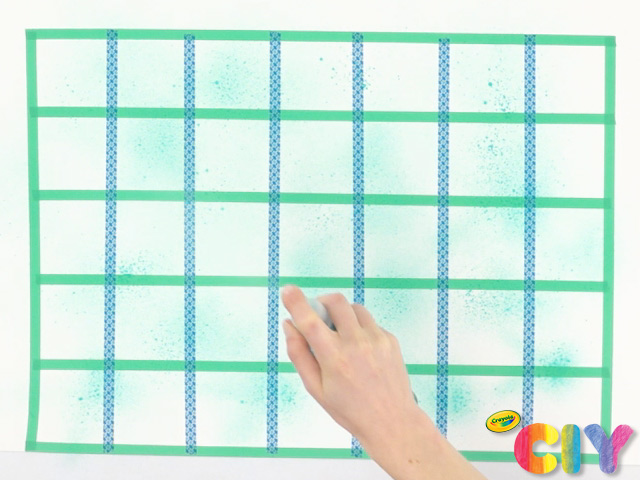
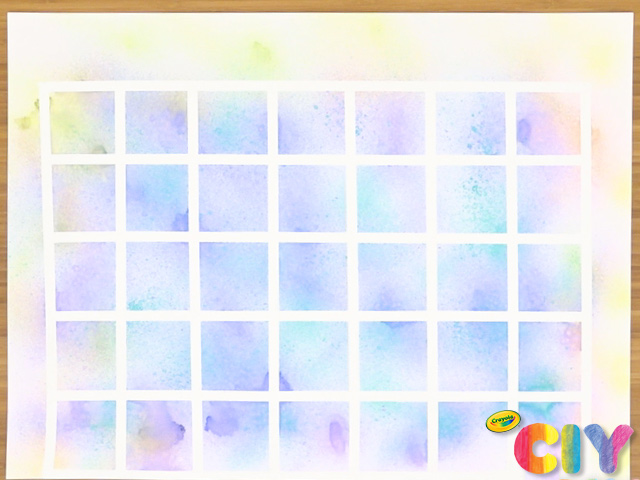
    On a piece of poster board, outline the grid for your calendar with washi tape. Use a ruler and pencil to create 7 equal boxes across and 5 equal boxes down.

  • Step 2

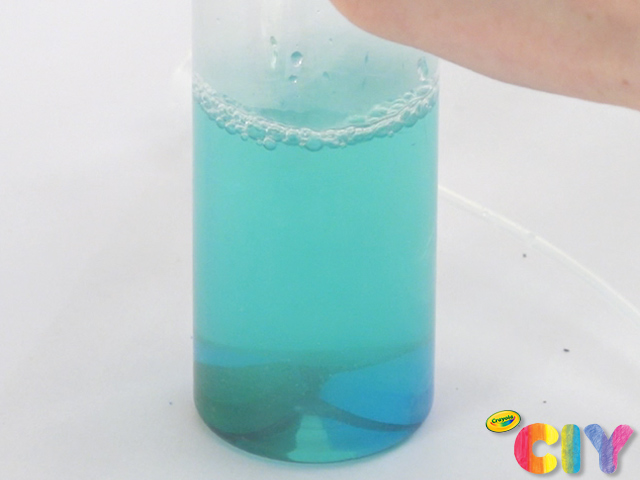
    Drop 1 or 2 watercolor tablets into a spray bottle and add 2 oz warm water.

  • Step 3

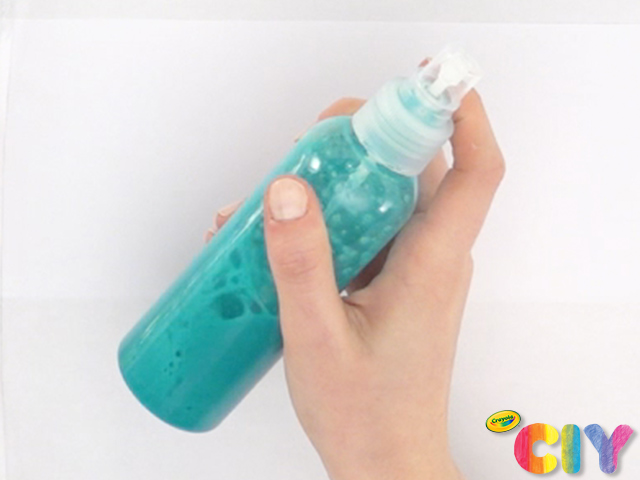
    Replace the cap on the spray bottle and shake to dissolve the watercolor tablet(s).

  • Step 4

    Spray the watercolor mixture onto the poster board.

  • Step 5

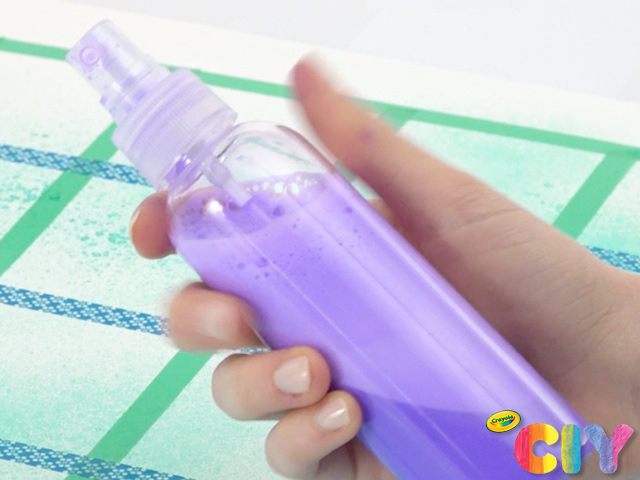
    Repeat steps 2–4 with different colors and let dry 1–2 hours.

  • Step 6

    Pull away the washi tape to reveal the calendar grid.

  • Step 7

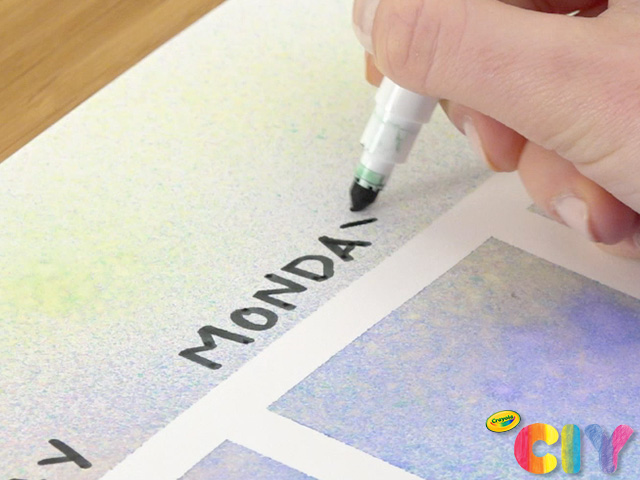
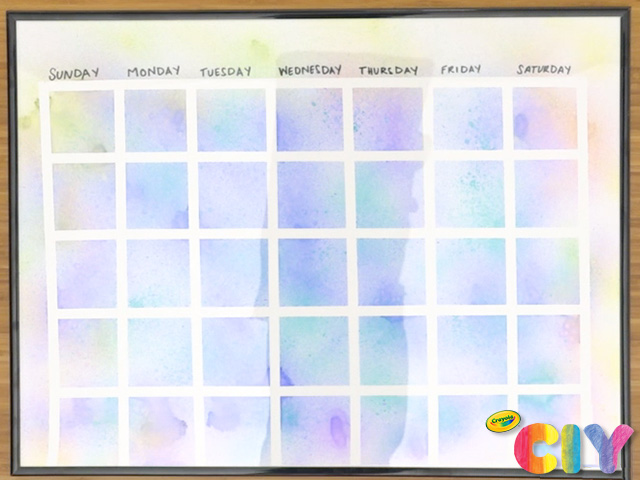
    Write the days of the week at the top of the calendar with Super Tips.

  • Step 8

    Place the poster board into a plastic frame of the same size.

  • Step 9

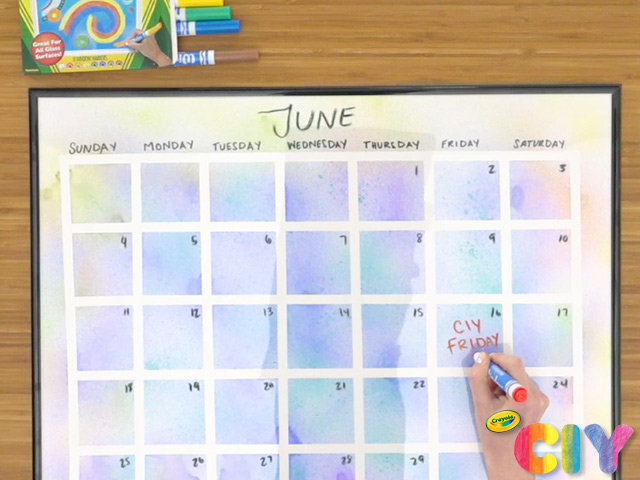
    Use window markers to add in the month, days, and your events!

Crafts

CIY Staff Tips

  • Use any size poster board or heavy paper that you’d like. To create our calendar, we used a 24” x 18” piece of poster board and created 3” x 3” squares to complete our calendar grid.
  • To start fresh every month, wipe the frame clean using a damp paper towel.

More Activities & Ideas

Unlock creativity with fun activities, free printables, and seasonal project ideas!