Skip to Main Content

DIY Egg Decorating

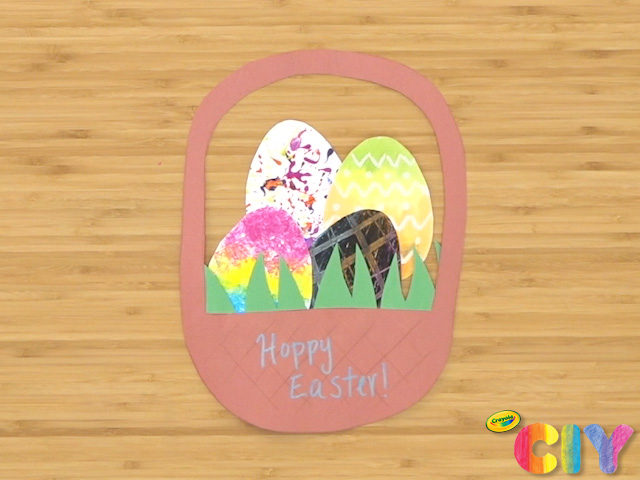
Create an egg-cellent Easter decoration you can hang just about anywhere. This easy Easter egg decorating DIY craft is in paper form!

Ages: 6 and up

Create It Yourself

Supplies Needed

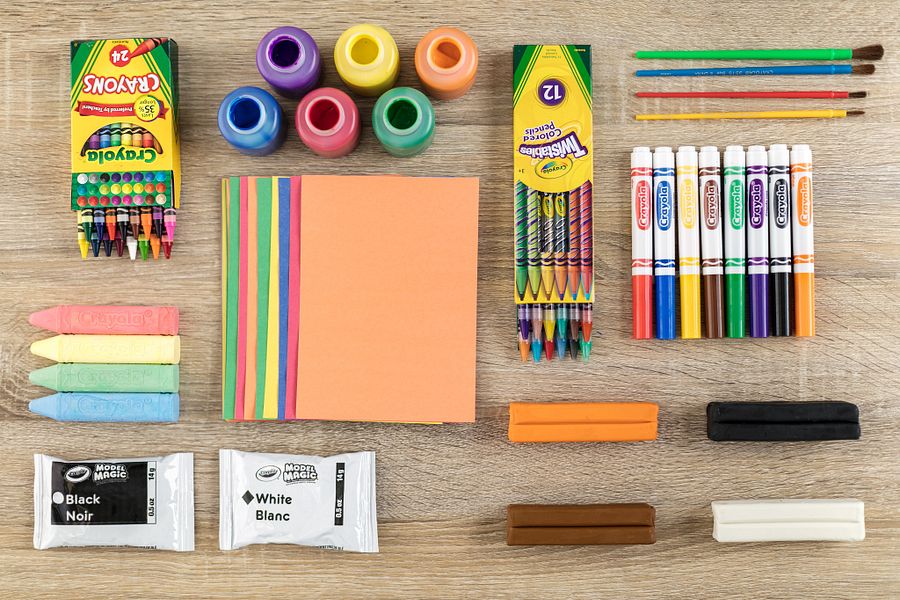
Gather all the supplies needed to bring your craft ideas to life! ...

  • Construction Paper
  • Crayons
  • Glue
  • Markers
  • Oil Pastels
  • Paint
  • Paint Brushes
  • Watercolors
  • Cardstock
  • Disposable Plate(s)
  • Paper Clip(s)
  • Sponge(s)

Steps

  • Step 1

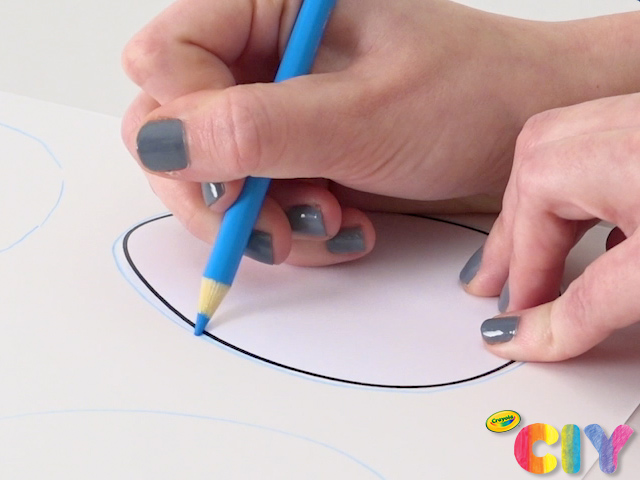
    Draw egg shapes on a piece of cardstock with your favorite creative tool.

  • Step 2

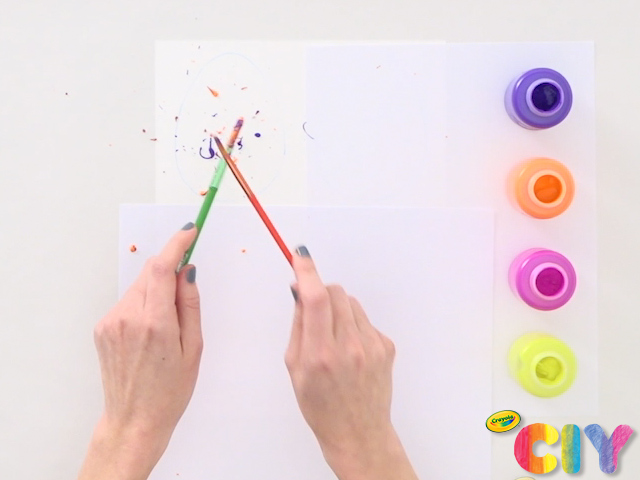
    To decorate a splatter egg, load a generous amount of washable paint onto 2 paint brushes and flick the paint at the cardstock.

  • Step 3

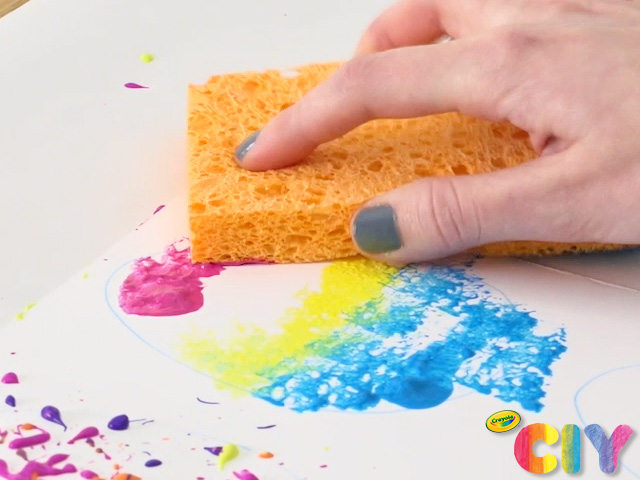
    To decorate a sponge paint egg, pour washable paint onto a disposable plate. Dip a sponge into the paint and dab onto the cardstock, filling the egg.

  • Step 4

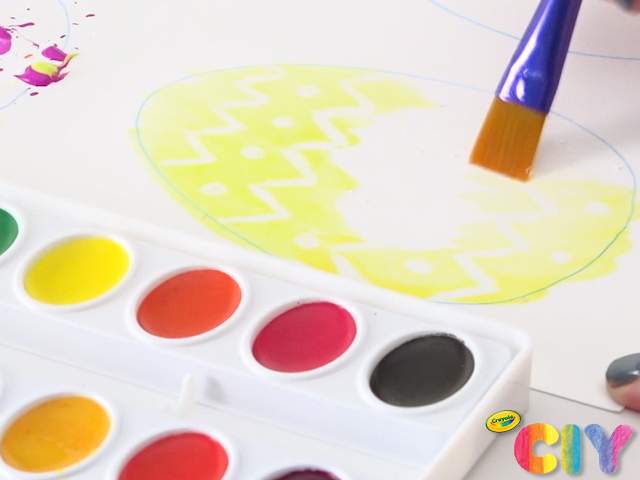
    To decorate a watercolor reveal egg, draw a design on the egg with a white crayon. Brush washable watercolors over the egg to reveal your design.

  • Step 5

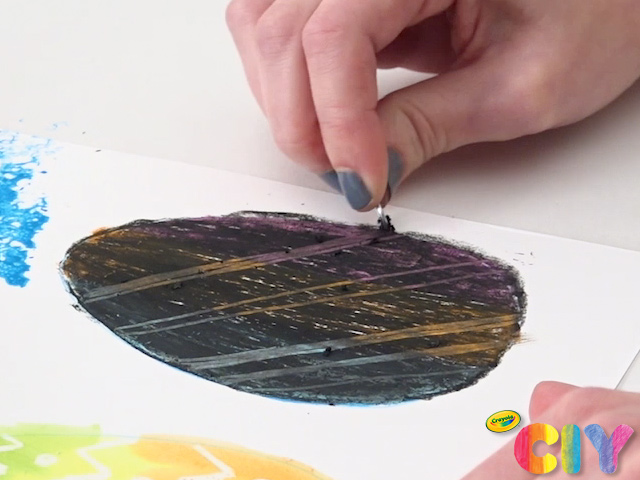
    To decorate a scratch art egg, color the egg with oil pastels. Add a layer of black oil pastel over the entire egg. Use the rounded edge of a paper clip to scratch the black layer and reveal the color underneath.

  • Step 6

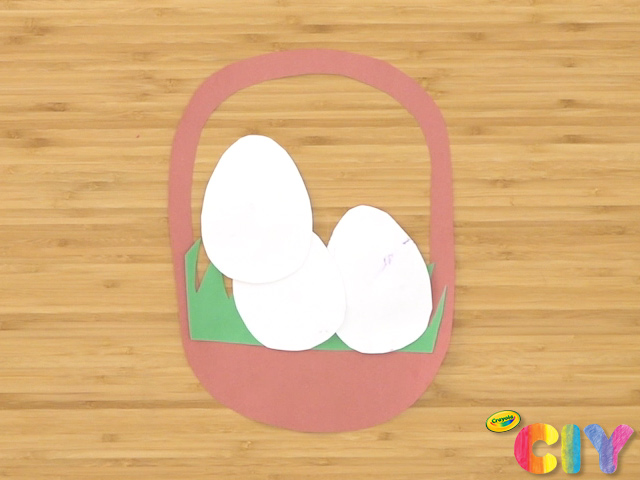
    Draw a basket and grass on construction paper with your favorite creative tool. Cut out eggs, basket, and grass with scissors. Glue together with glue stick to assemble the basket.

  • Step 7

    Write a fun Easter message on the basket with metallic markers!

Crafts

CIY Staff Tips

  • To draw the outline of the eggs and basket, we used a Crayola Colored Pencil adorned with a Flower Pencil Topper, another colorful CIY project!

More Activities & Ideas

Unlock creativity with fun activities, free printables, and seasonal project ideas!