DIY Halloween Magnets

Create frightfully fun Halloween décor with these DIY Halloween Magnets! Sculpt festive designs from Crayola Air Dry Clay, then bring them to life with colorful paint and creative details. This easy CIY combines clay crafting and decorating for a spooky seasonal project that's perfect for displaying on refrigerators, lockers, and other magnetic surfaces.

Ages: 4 and up, 8 and up, Tween and up, 6 and up, Adult

Create It Yourself

Supplies Needed

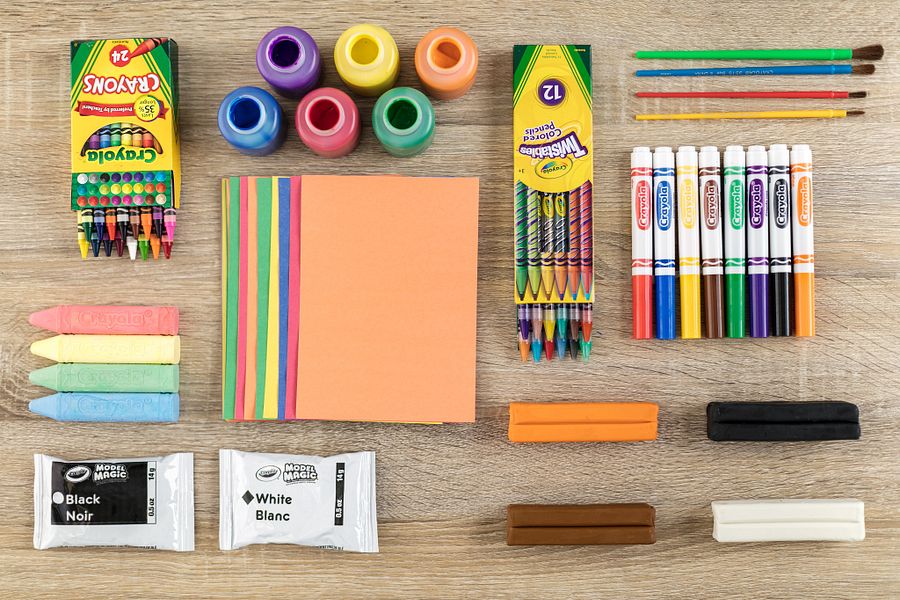
Gather all the supplies needed to bring your craft ideas to life! ...

  • Air Dry Clay
  • Paint
  • Cookie Cutter(s)
  • Glossy Sealer
  • Hot Glue Gun
  • Magnet(s)
  • Plastic Wrap

Steps

  • Step 1

    Press a piece of Crayola Air-Dry clay into a flat circle.

  • Step 2

    Use a small amount of water on your fingers to smooth any cracks or rough edges.

  • Step 3

    Cover the clay with a piece of plastic wrap then press a cookie cutter over the plastic wrap and firmly into the clay to create your Halloween design.

  • Step 4

    Carefully remove the cookie cutter and plastic wrap. Trim away any excess clay around the edges. Allow the clay shape to dry overnight.

  • Step 5

    Once dry, decorate your design with Crayola Acrylic Paint. Let the paint dry completely.

  • Step 6

    Apply a clear paint sealer to help protect your finished magnet and enhance its appearance.

  • Step 7

    When the sealer is dry, ask an adult to use hot glue to attach a magnet to the back of the clay piece.

  • Step 8

    Display your DIY Halloween Magnet on any magnetic surface and enjoy your spooky creation!

Crafts

CIY Staff Tips

  • This craft includes the use of a hot glue gun. Adult assistance required.
  • Create a set of magnets by using different cookie cutters or molds for a variety of spooky Halloween shapes.
  • Use bright colors, spooky patterns, or fun facial expressions to give each magnet its own Halloween personality.


More Activities & Ideas

Unlock creativity with fun activities, free printables, and seasonal project ideas!