DIY Halloween Welcome Mat

Welcome guests with a hauntingly fun DIY Halloween Welcome Mat! Using acrylic paint and Halloween-themed stencils, you'll create a festive pattern of ghosts, pumpkins, and other spooky shapes on a blank mat. This easy CIY is a creative way to personalize your porch decor and add a handmade touch to your Halloween celebrations all season long.

Dive into more frightfully fun projects and seasonal inspiration on our Halloween Creativity Page, packed with spooky crafts, coloring activities, and creative ideas for every little ghoul and goblin!

Ages: 8 and up, Tween and up, Adult

Create It Yourself

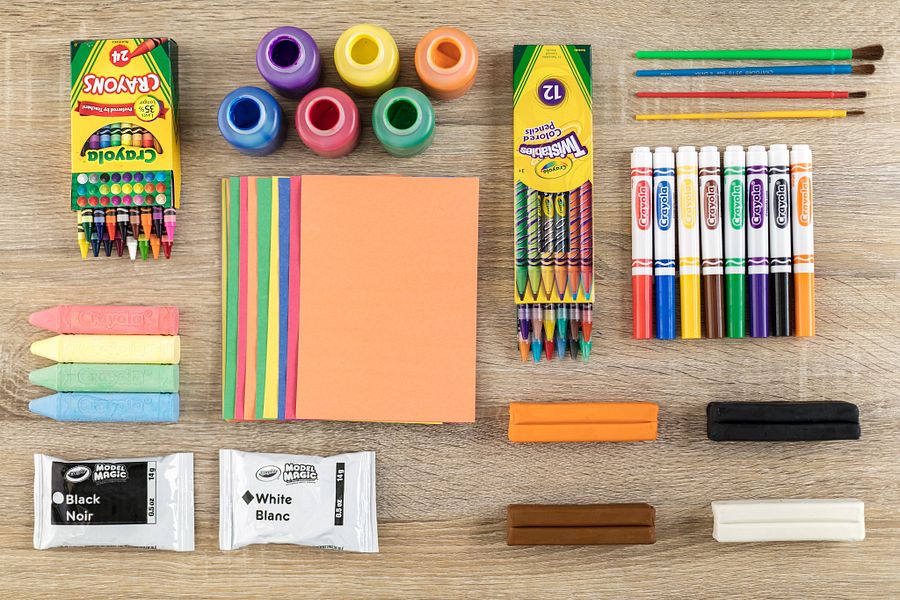
Supplies Needed

Gather all the supplies needed to bring your craft ideas to life! ...

  • Paint
  • Cookie Cutter(s)
  • Outdoor Rug

Steps

  • Step 1

    Place a Halloween-themed cookie cutter, mold, or stencil onto a blank welcome mat.

  • Step 2

    Dip a paintbrush into Crayola Acrylic Paint and dab the paint inside the stencil, covering the open area with color.

  • Step 3

    Carefully lift away the stencil to reveal the Halloween shape underneath.

  • Step 4

    Repeat the process with additional stencils and shapes, arranging them across the mat to create a festive pattern.

  • Step 5

    Once all of the shapes have been painted, use a paintbrush and additional paint to add details or touch up the designs. Continue decorating until you're happy with your Halloween welcome mat design then allow to dry completely overnight

  • Step 6

    Place your finished welcome mat outside and get ready to welcome guests, partygoers, and trick-or-treaters!

Crafts

CIY Staff Tips

Use a mix of Halloween-themed cookie cutters, molds, or stencils, such as ghosts, pumpkins, bats, or spiders, to create fun patterns.

More Activities & Ideas

Unlock creativity with fun activities, free printables, and seasonal project ideas!