Skip to Main Content

Easter Bunny Flower Pot

Bottoms up! Create our flower pot craft with an Easter bunny spin, then showcase the hoppy cheer of this DIY decoration.

Ages: 8 and up, Tween and up, 6 and up, Adult

Create It Yourself

Supplies Needed

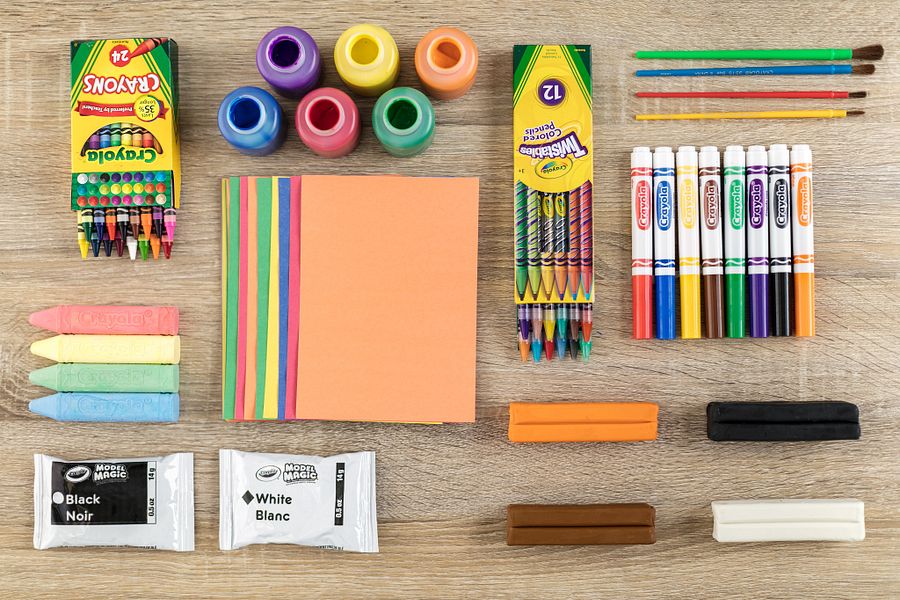
Gather all the supplies needed to bring your craft ideas to life! ...

  • Construction Paper
  • Glue
  • Model Magic
  • Paint
  • Paint Brushes
  • Flower Pot
  • Pom-Pom(s)
  • Toothpick(s)

Steps

  • Step 1

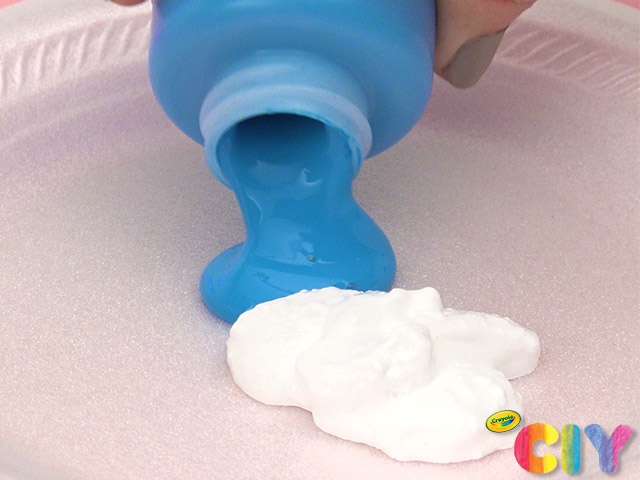
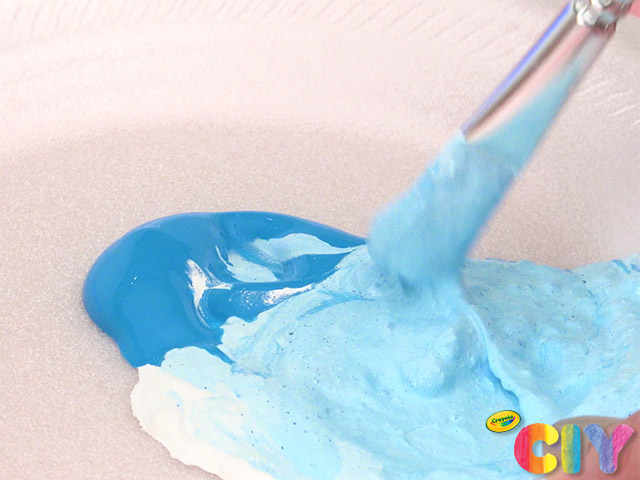
    Pour paint color of your choice and white paint onto disposable plate.

  • Step 2

    Mix paint together with paint brush to create pastel shade.

  • Step 3

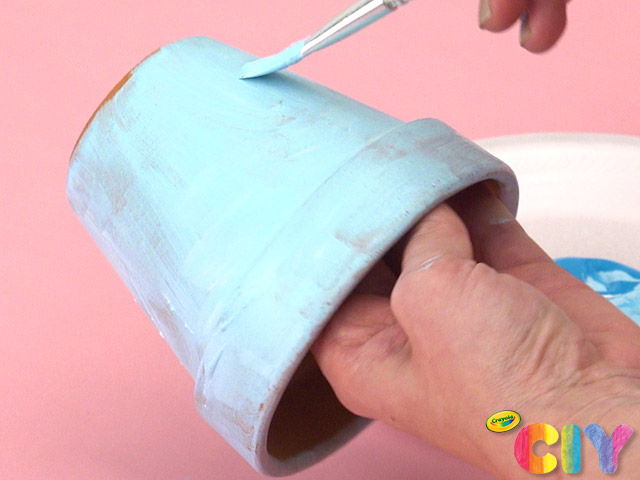
    Cover flower pot with paint. Dry 1–2 hours. Add second coat. Dry 1–2 hours.

  • Step 4

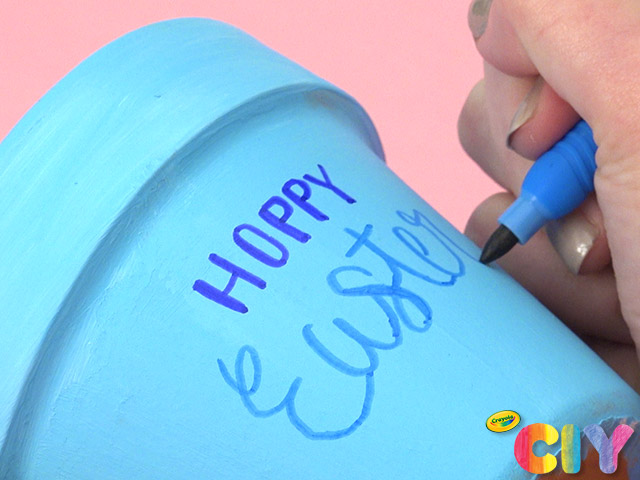
    Write fun Easter message with markers.

  • Step 5

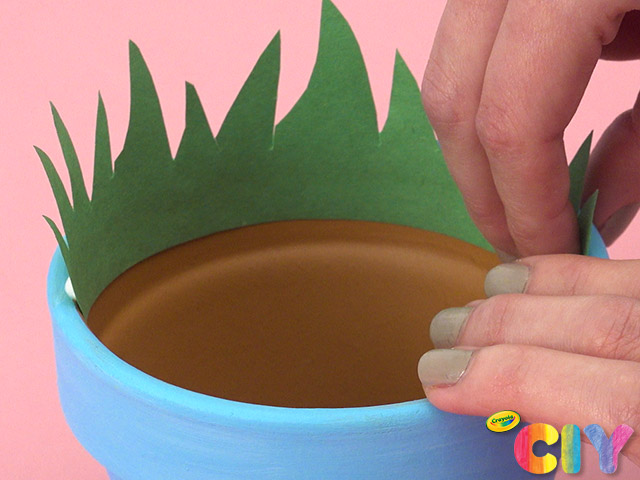
    Cut out a patch of construction paper grass. Glue to inside of flower pot.

  • Step 6

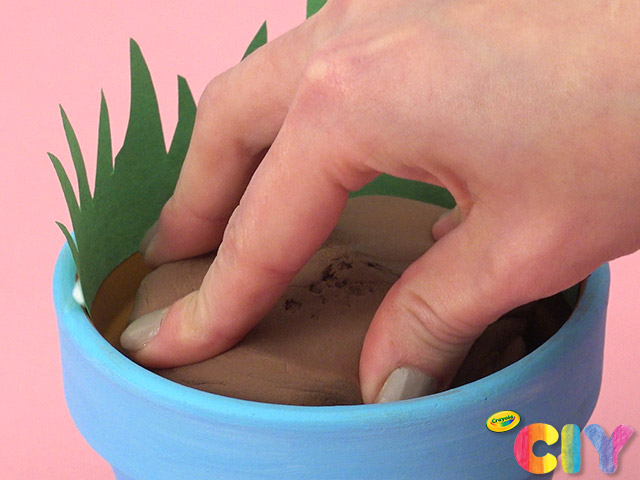
    Place a large piece of Model Magic in flower pot – almost filling the pot – to create dirt.

  • Step 7

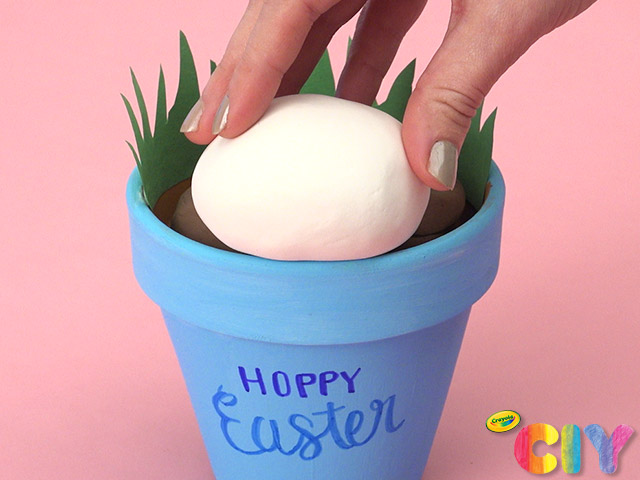
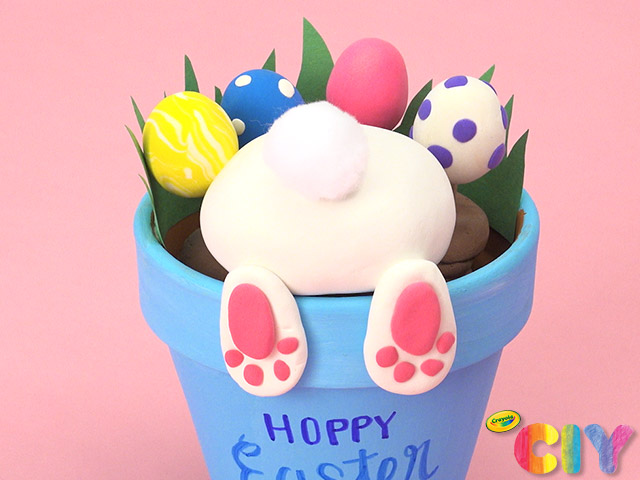
    Shape a piece of white Model Magic into an oval/egg shape to create bunny’s bottom.

  • Step 8

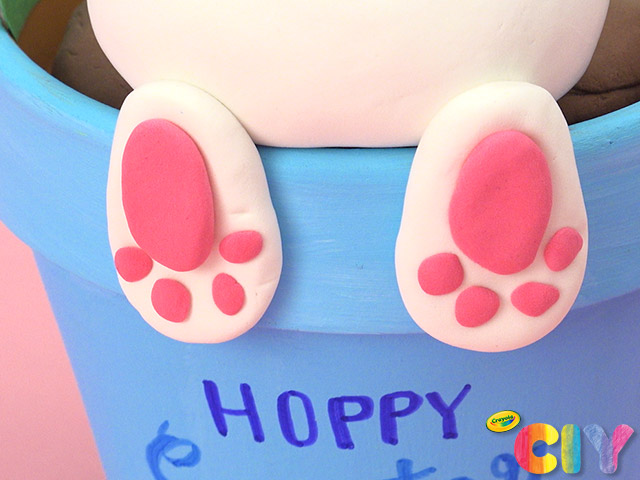
    Add Model Magic feet and toes to bunny’s bottom.

  • Step 9

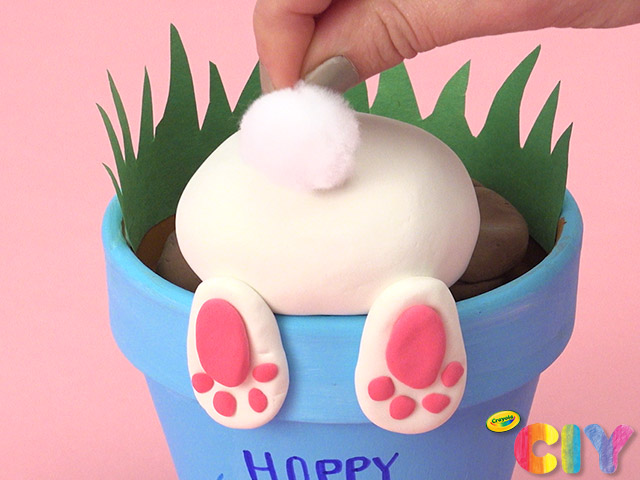
    Glue a pom-pom to Model Magic to create bunny’s tail.

  • Step 10

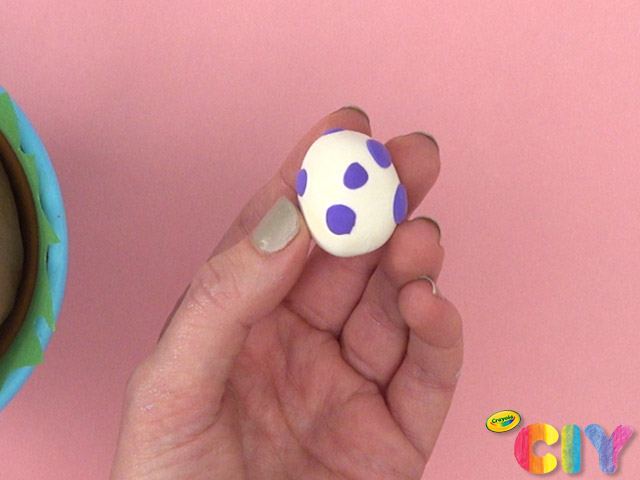
    Shape a small, colorful Easter egg out of Model Magic.

  • Step 11

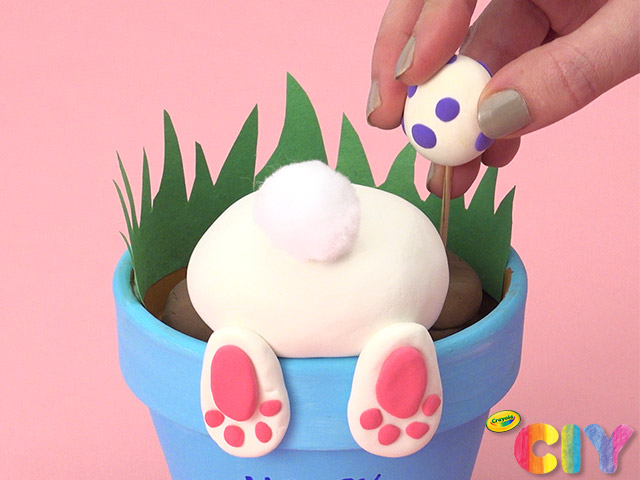
    Place one end of a toothpick in the bottom of the egg and the other end of the toothpick into the Model Magic dirt to secure.

  • Step 12

    Repeat steps 10–11 to surround your bunny with an egg-cellent scene!

Crafts

CIY Staff Tips

  • This project uses toothpicks. Adult assistance required. 

  • For more DIY Easter decorations and craft ideas, see our entire collection of Easter crafts.

More Activities & Ideas

Unlock creativity with fun activities, free printables, and seasonal project ideas!