Skip to Main Content

Paper Bag Star

Hanging star decorations are now a colorful upcycled craft! Decorate leftover brown paper bags, then transform them into a DIY Paper Star.

Ages: 4 and up, 8 and up, 6 and up

Create It Yourself

Supplies Needed

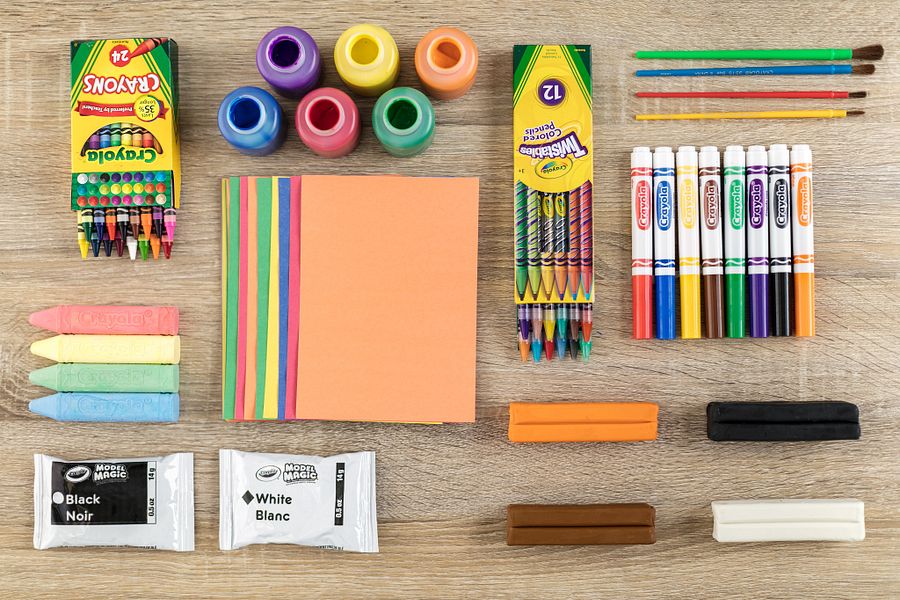
Gather all the supplies needed to bring your craft ideas to life! ...

  • Glue
  • Markers
  • Paint
  • Paint Brushes
  • Hole Punch
  • Ribbon
  • Upcycled Paper Bags

Steps

  • Step 1

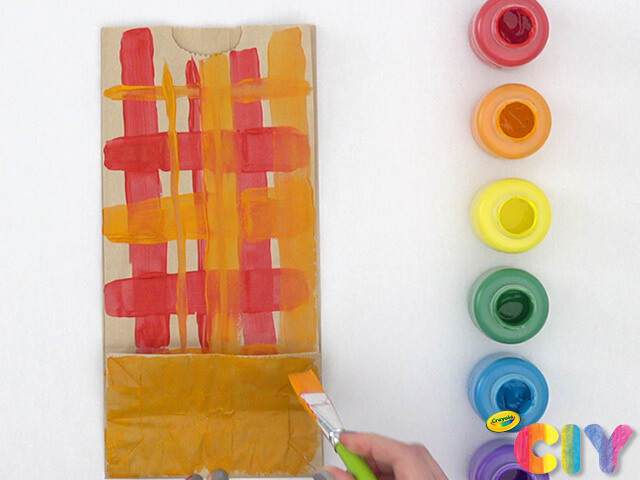
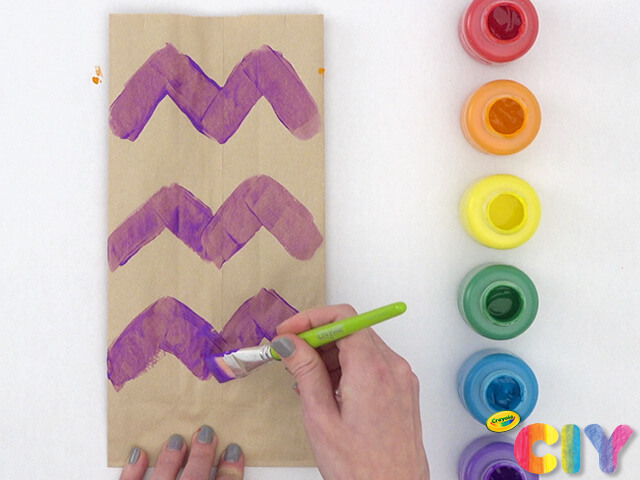
    Decorate the large and bottom panel of a paper bag with paint and paint brush. Dry 1 hour.

  • Step 2

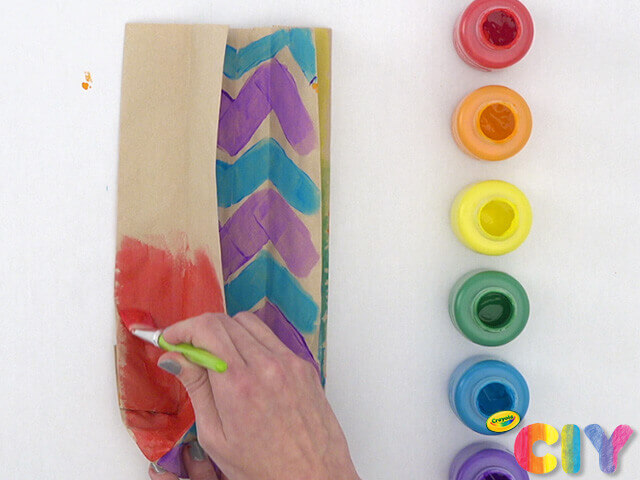
    Paint a design on the other large panel, then dry 1 hour.

  • Step 3

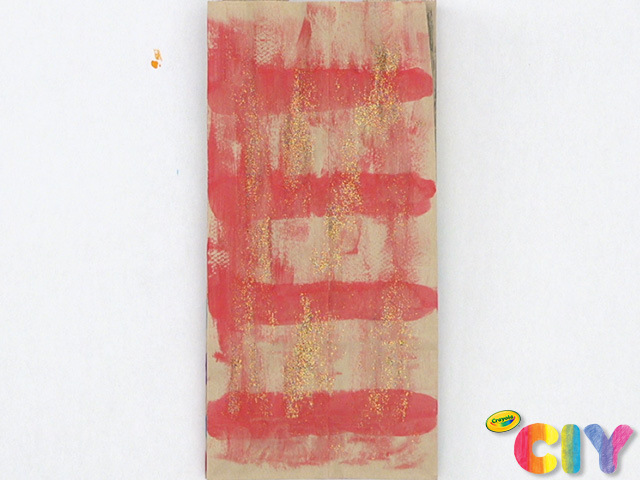
    Follow the same process on both side panels. Dry 1 hour.

  • Step 4

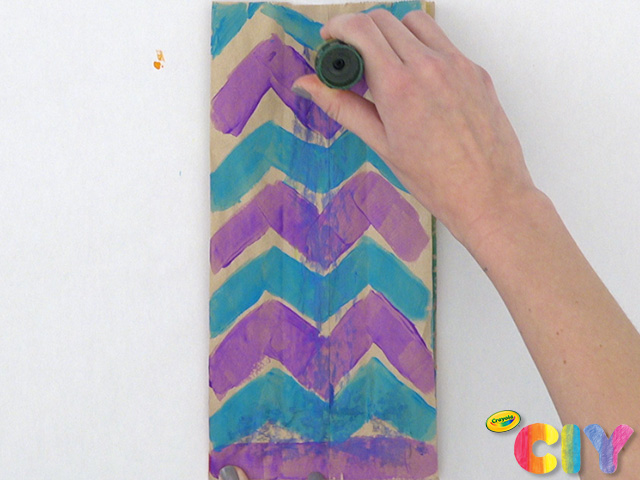
    Repeat Steps 1-3 on 7 more paper bags. Use markers to decorate with no dry time!

  • Step 5

    Hold a folded, decorated paper bag with open end at top. Make an upside-down “T” on the large panel with glue. Put another paper bag on top and press down. Repeat up until the last bag.

  • Step 6

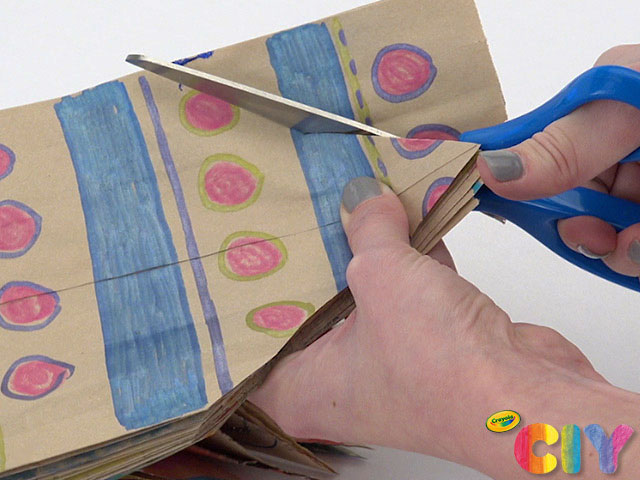
    With scissors, cut a point at the open end of the paper bag stack.

  • Step 7

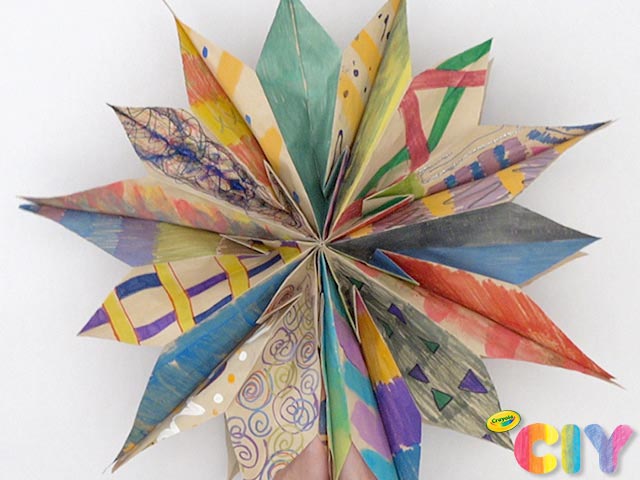
    Make upside-down “T” with glue on the large panel of the last bag. Gently fan the paper bags, then connect and glue together the first and last paper bag to make a paper star.

  • Step 8

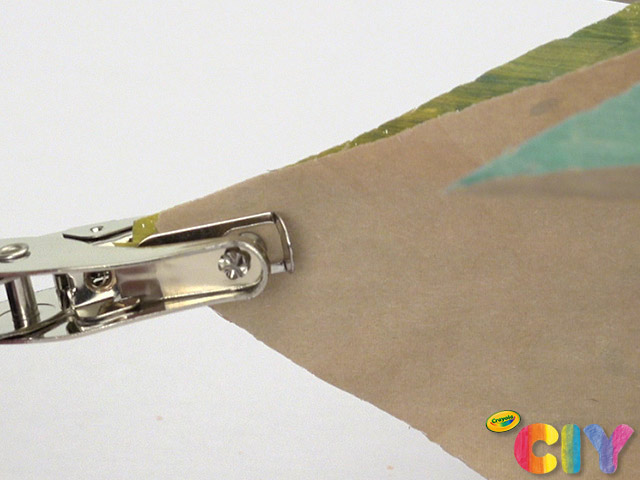
    Hole punch the top of the paper star, then feed through and tie the ribbon.

  • Step 9

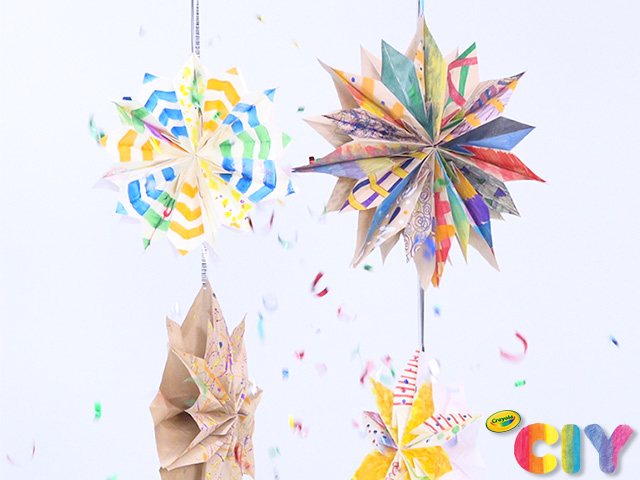
    Hang as a party decoration or everyday décor!

Crafts

CIY Staff Tips

  • Beyond paint and markers, decorate paper bags with Crayola Crayons and other coloring supplies.
  • Change up the colors to create a themed craft. Use red, white and blue for a patriotic flare. Pastels to welcome spring. Red and green for a little Christmas spirit. Blue and white for a festive Hanukkah. Black, red and green for a bright Kwanzaa. The possibilities are endless!

More Activities & Ideas

Unlock creativity with fun activities, free printables, and seasonal project ideas!