Skip to content
Would you like to visit your local site?

Australia

We noticed you’re located in New Zealand. There isn't a local site available. Would you like to visit the Australian site?

Australia

Would you like to visit your local site?

Belgium

Would you like to visit your local site?

Canada

Would you like to visit your local site?

China

Would you like to visit your local site?

Italy

Would you like to visit your local site?

Mexico

Would you like to visit your local site?

Netherlands

Would you like to visit your local site?

UK

Would you like to visit your local site?

France

Would you like to visit your local site?

Japan

Skip to Navigation
Search
Create It Yourself logo
Art Supplies and Crafts surrounding Create it Yourself logo.

Suspension Bridge

Suspension Bridge CIY Poster Frame

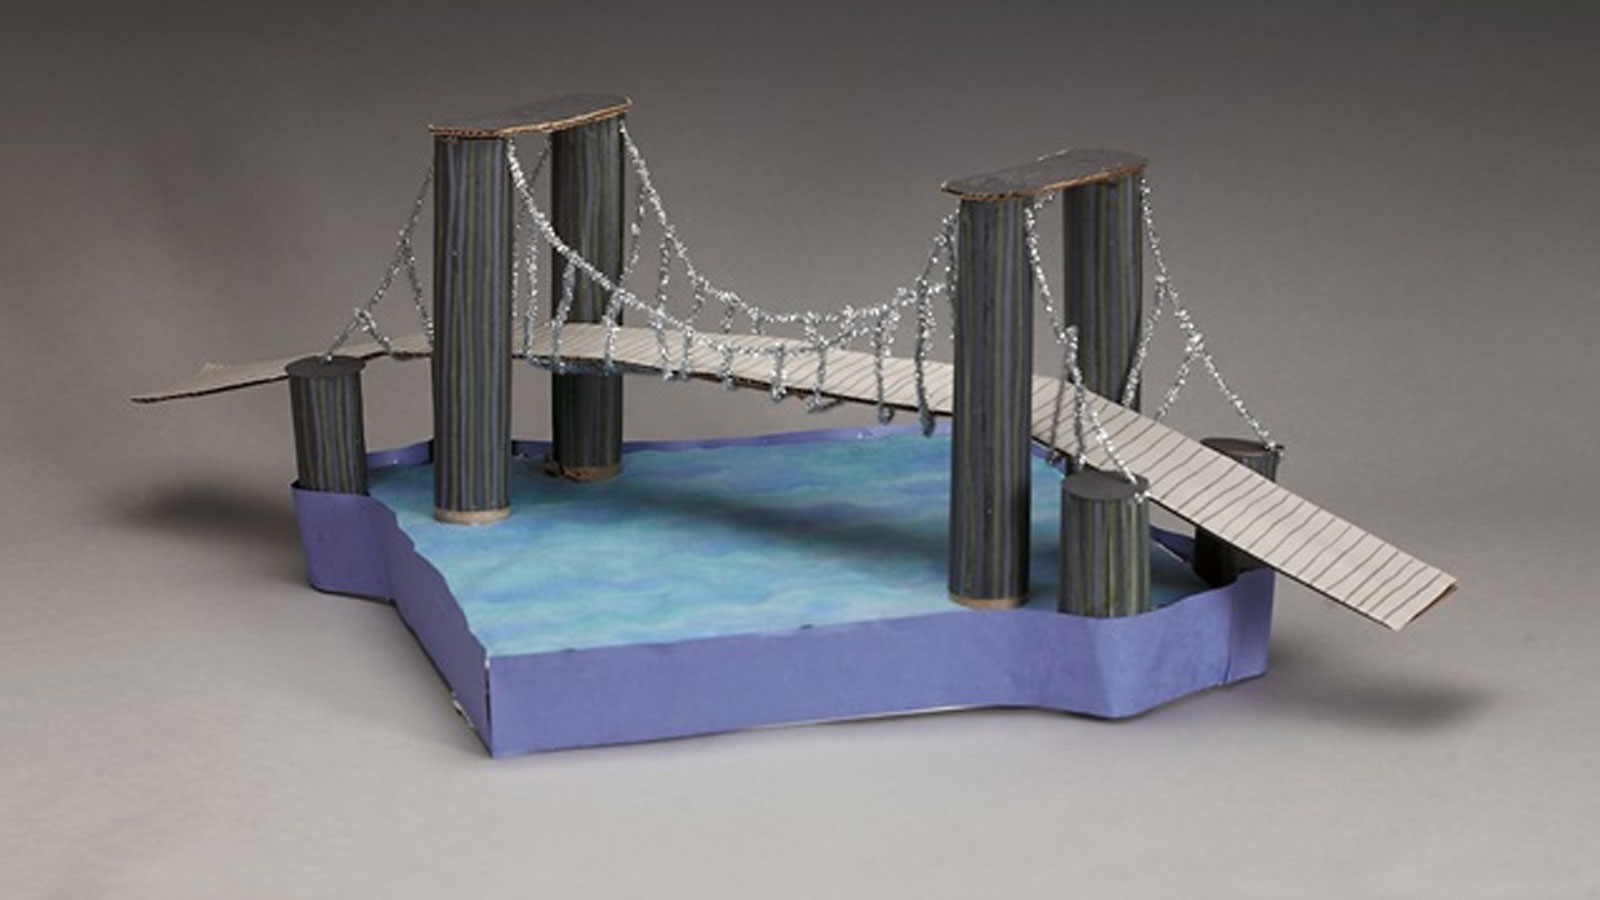
Beautiful to look at, light and strong, suspension bridges are longer than any other type of bridge. Make a bridge that spans rivers, canyons, valleys, or railroad beds.

Steps:

1

1 Use books and videos to find out about different types of bridges. Look at pictures of suspension bridges. Learn the names of their parts such as towers, anchorages, cables, hangers, and deck. Read about how the forces of compression and tension are controlled on a suspension bridge. If possible, go with your family on a drive over a suspension bridge.

2

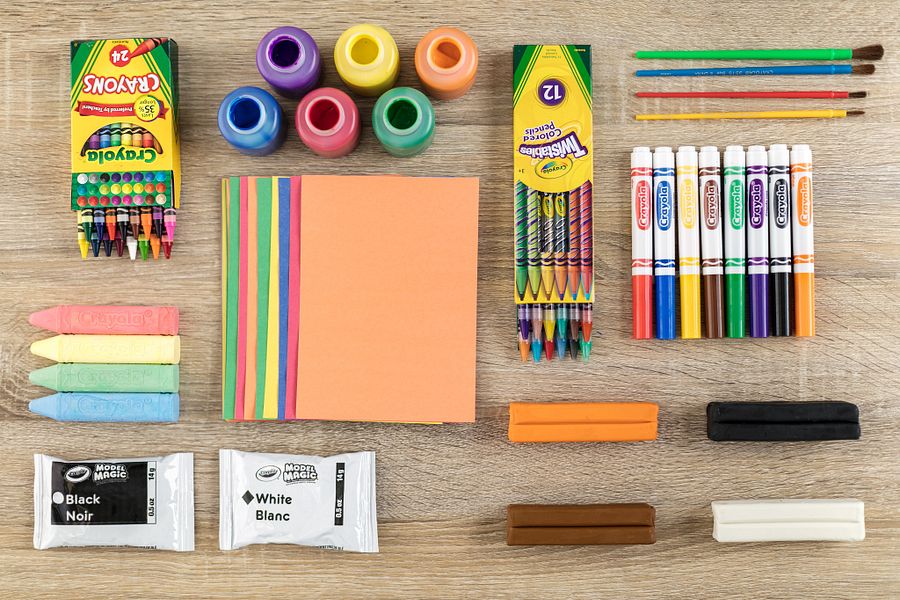
2 Cover your art area with newspaper. To make water under the bridge, use Crayola® Washable Markers to color wide stripes of blue and green on large pieces of construction paper. Spray water lightly over the stripes. Notice the soft, blurry, water-like effects made by the spray. Dry. Use Crayola School Glue to glue the paper to the top of a large pizza box or similar cardboard base.

3

3 To build bridge towers and their anchorages, use Crayola Metallic Colored Pencils and Crayola Metallic FX Crayons to draw vertical stripes on black construction paper. Use Crayola Scissors to cut the paper to fit around four cardboard paper towel rolls (towers) and two paper towel rolls that are cut in half (anchorages). Glue the paper around the rolls. Dry.

4

4 Glue the bridge towers on the watery base and the anchorages to the sides of the base. Dry.

5

5 To construct the cables, cut small slits in the top of each tower and anchorage. Make a knot in the end of a chenille stick. Lodge the knotted end into the slit so it will not slip out. Make additional cable length by wrapping chenille sticks tightly together. Hang chenille strip(s) in an arc, reaching from tower to tower and from tower to anchorage. Do this on both sides of the bridge, forming parallel cables.

6

6 Measure the width and length needed for your bridge deck. Cut it out of corrugated cardboard. If you wish, cut construction paper to cover the top of your deck. Add bridge seams using markers or Crayola Metallic FX Crayons. Glue to the cardboard base. Dry

7

7 Suspend the deck of your bridge with chenille stick hangers. Bend the tip of a chenille stick around the cable on one side of the bridge, pass it under the deck and bend the other tip to fasten it to the cable on the other side. Do this along the entire l

8

8 Glue construction paper caps on top of the towers and anchorage tubes. Dry.

Back to top