Skip to content
Would you like to visit your local site?

Australia

We noticed you’re located in New Zealand. There isn't a local site available. Would you like to visit the Australian site?

Australia

Would you like to visit your local site?

Belgium

Would you like to visit your local site?

Canada

Would you like to visit your local site?

China

Would you like to visit your local site?

Italy

Would you like to visit your local site?

Mexico

Would you like to visit your local site?

Netherlands

Would you like to visit your local site?

UK

Would you like to visit your local site?

France

Would you like to visit your local site?

Japan

Skip to Navigation
Search
Create It Yourself logo
Art Supplies and Crafts surrounding Create it Yourself logo.

Tin Can Planter

Tin-Can-Planter_Poster-Frame
Loading Color Wheel

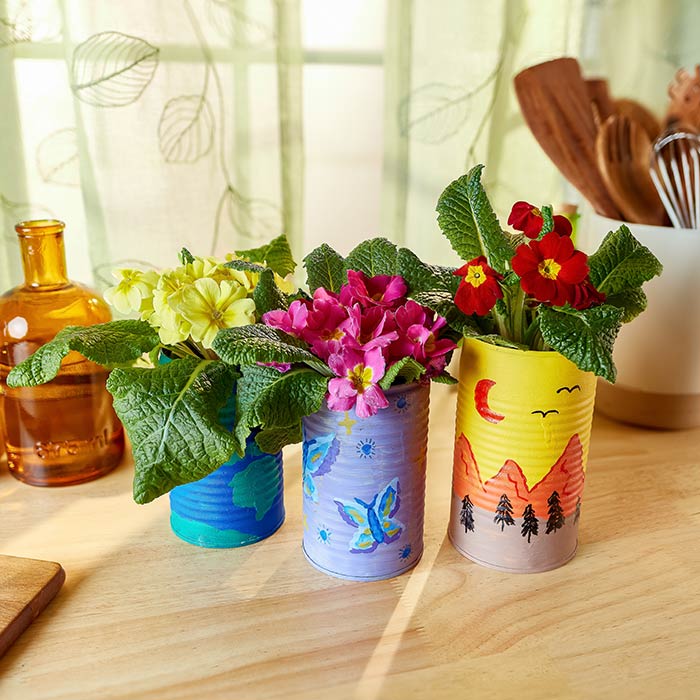
It's grow time! Upcycle a tin can into a painted DIY planter for Earth Day, springtime, or any occasion.

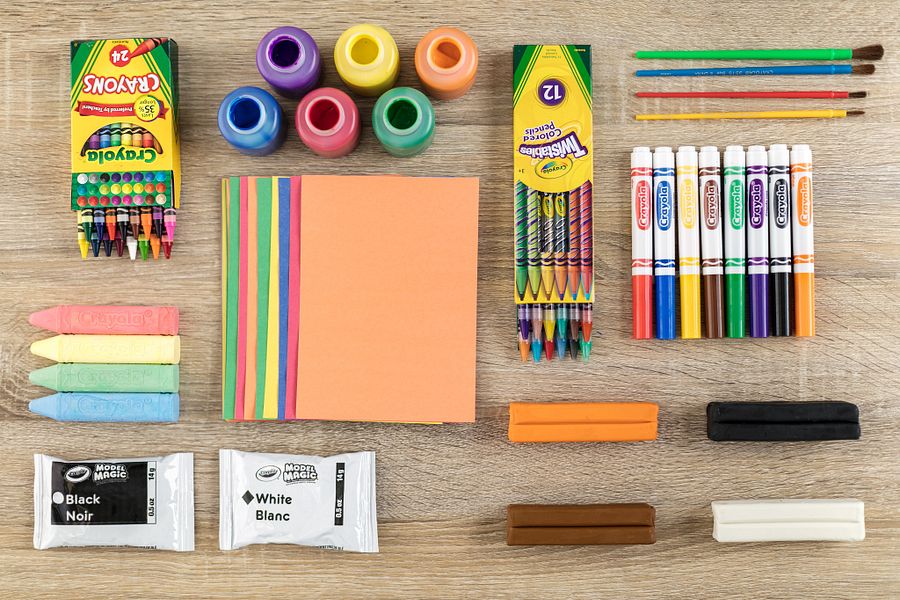
Supplies:

Steps:

Show Images
1
Tin-Can-Planter_Step-01

1 Cover tin can with paint. Dry 1–2 hours. Add second coat. Dry 1–2 hours.

2
Tin-Can-Planter_Step-02

2 Pour additional paint colors onto disposable plate.

3
Tin-Can-Planter_Step-03

3 Paint nature background or landscape on tin can. Dry 1–2 hours.

4
Tin-Can-Planter_Step-04

4 Add details with markers.

5
Tin-Can-Planter_Step-05

5 Fill tin can with topsoil and plant flower.

6
Tin-Can-Planter_Step-06

6 Create a collection of cans with your favorite scenes from nature!

CIY Staff Tips:

  • Be careful of any uneven edges on the tin can. Adult assistance required.
  • Mix paint colors together with paint brush to create different colors or shades!
  • Save any leftover paint for more DIY craft projects.
  • Check out our other upcycled craft projects for Earth Day or any day!
Back to top