Skip to Main Content

Tissue Box Piggy Bank

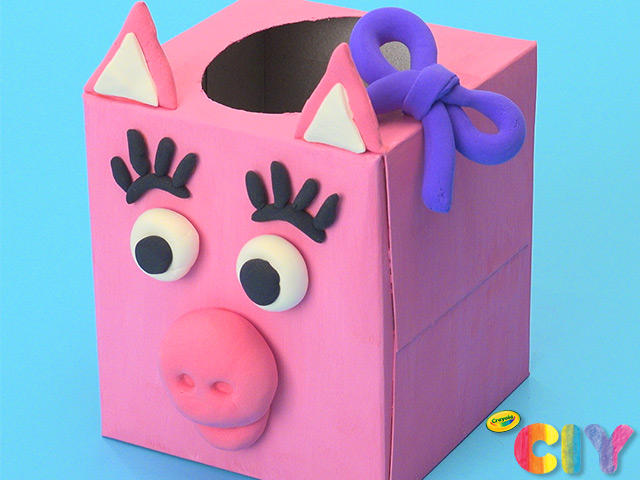
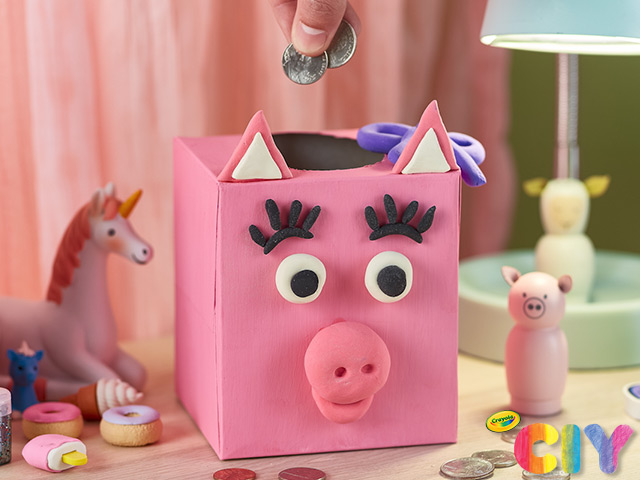
This craft is kind of a pig deal! Bank on our upcycled craft that turns a tissue box into a DIY piggy bank.

Ages: 8 and up, 6 and up

Create It Yourself

Supplies Needed

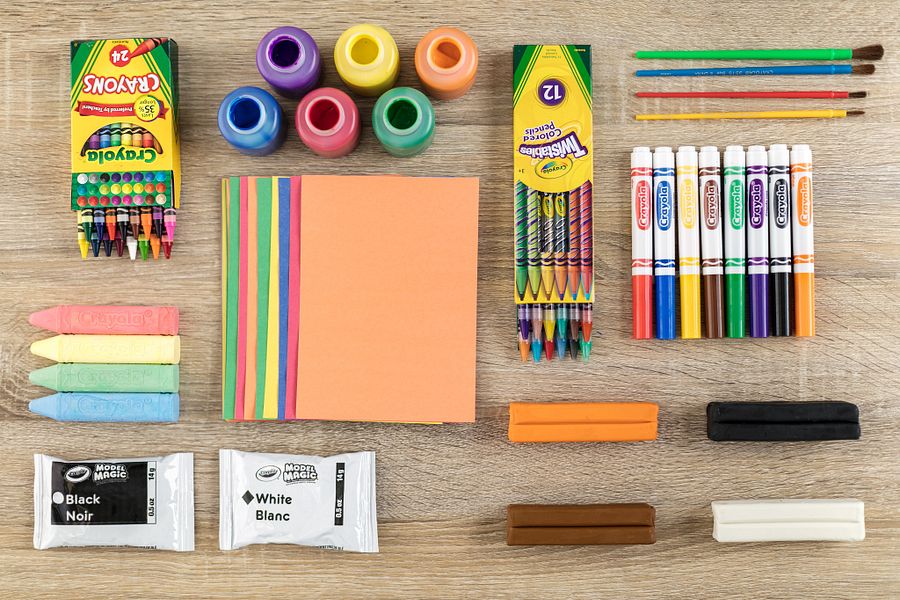
Gather all the supplies needed to bring your craft ideas to life! ...

  • Glue
  • Model Magic
  • Paint Brushes
  • Disposable Plate(s)
  • Pencil(s)
  • Tissue Box

Steps

  • Step 1

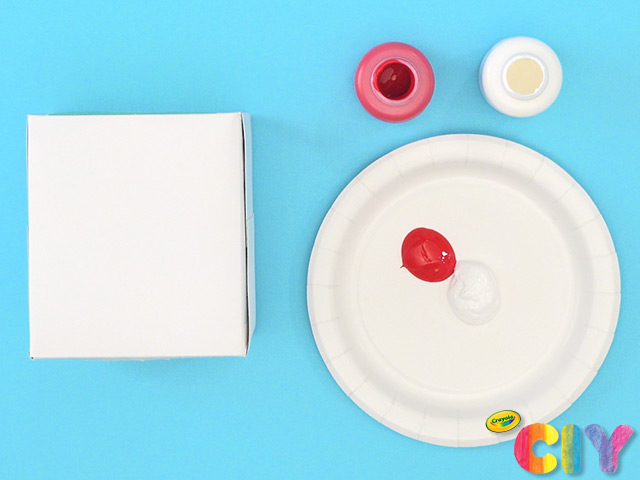
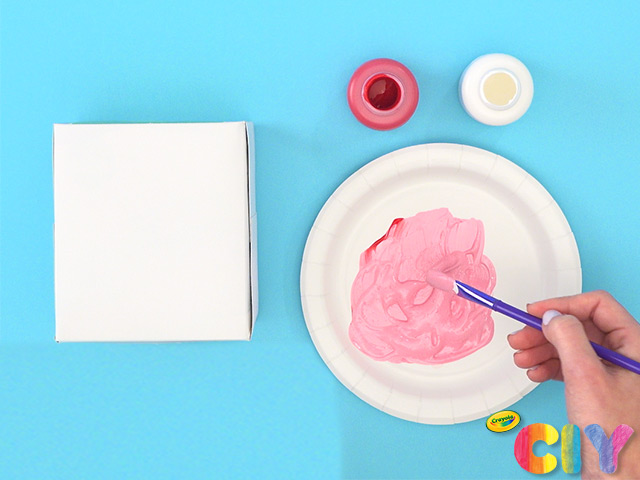
    Pour white and red paint onto disposable plate.

  • Step 2

    Mix paint together with paint brush to create pink shade.

  • Step 3

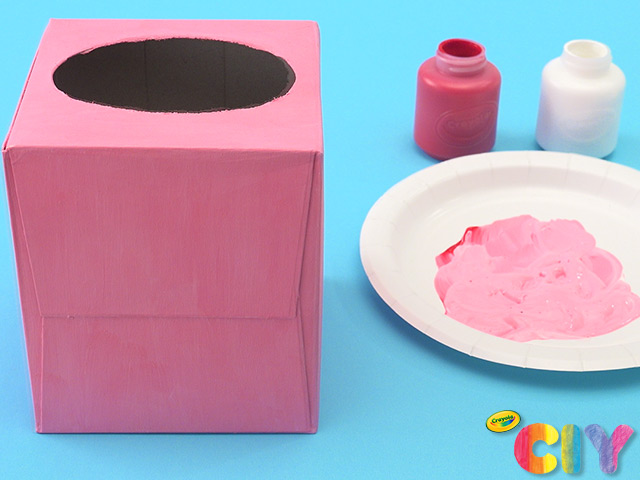
    Cover tissue box with paint. Dry 1–2 hours. Add second coat. Dry 1–2 hours.

  • Step 4

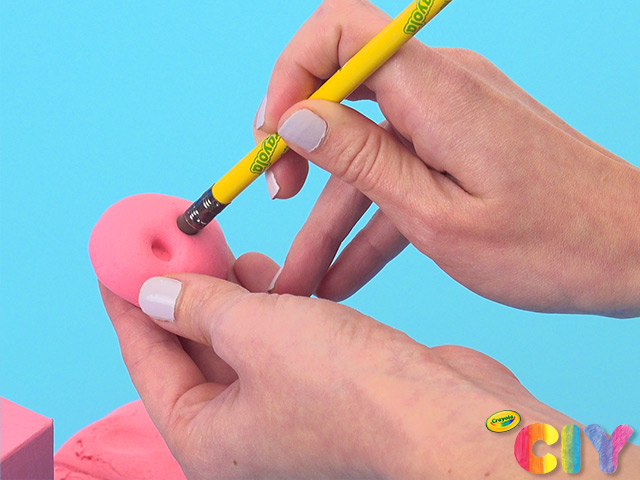
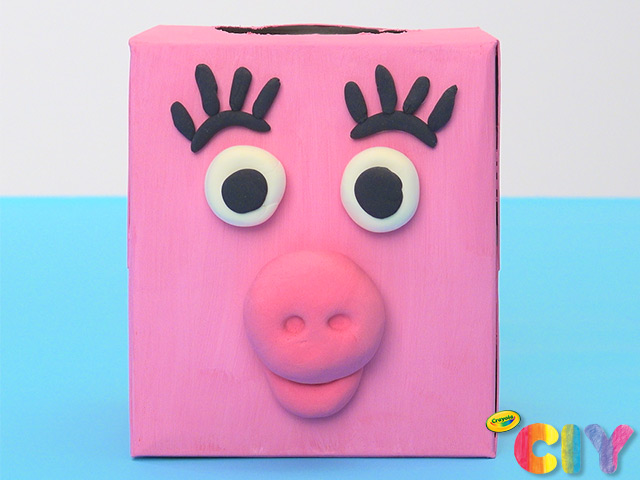
    Shape Model Magic snout and mouth. Use pencil eraser to make indents to create nostrils.

  • Step 5

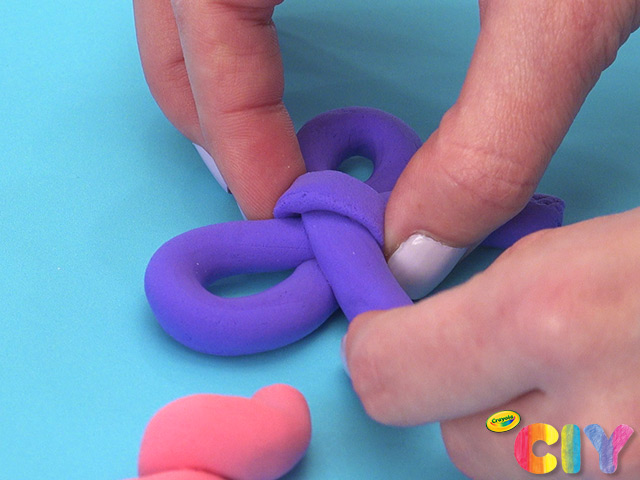
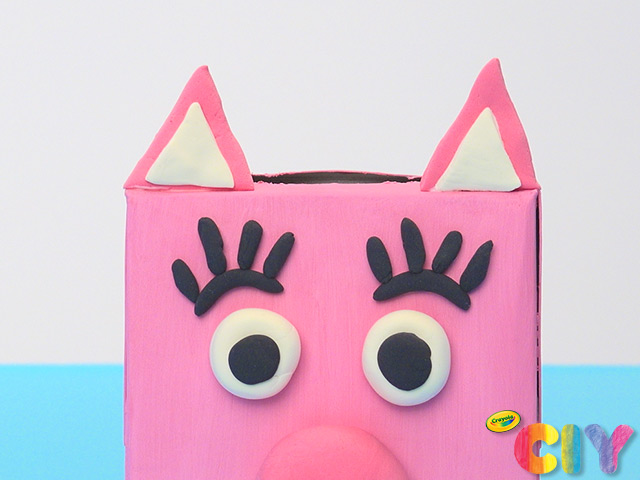
    Shape Model Magic tail, ears, eyes, eyebrows, and bow.

  • Step 6

    Glue facial features to front of box.

  • Step 7

    Glue ears to top of box.

  • Step 8

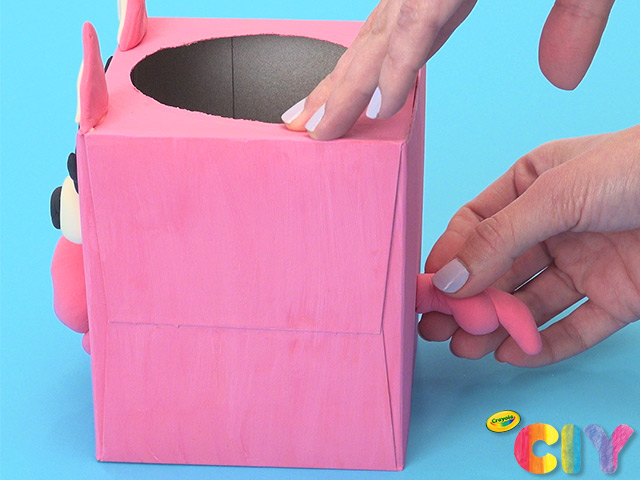
    Glue tail to back of box.

  • Step 9

    Glue bow to top of box. Let all Model Magic and glue steps dry overnight.

  • Step 10

    Drop in coins and fill your piggy bank! 

Crafts

CIY Staff Tips

  • Model Magic pieces that haven’t dried will easily adhere to one another. For added strength, or to attach dried pieces of Model Magic together, use our No-Run Washable School Glue.

  • We used Crayola Scissors to help shape our Model Magic, but you could also use our Model Magic Shape ‘n Cut Tools.

More Activities & Ideas

Unlock creativity with fun activities, free printables, and seasonal project ideas!