Australia
 Belgium
 Canada
 China
China Italy
Italy Mexico
 Netherlands
 UK
UK France
 Japan
Japan


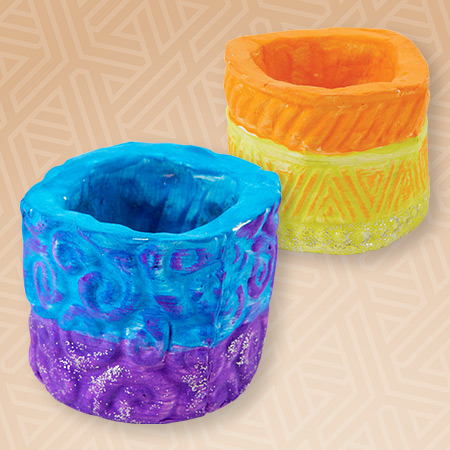
Signature DIY Trinket Tray

Whether you use it as a jewelry dish, key holder, or catchall dish, this DIY craft (made in 60 minutes or less!) can't be missed! Plus, the main supplies you need are all in a Signature Craft Kit.

- Tools: Paint, Air Dry Clay
- Theme: Rainy Day Crafts
- Age: 8+, Tween+, Adult
Steps:

1 Unwrap each pack of air dry clay and divide into 3 pieces.

2 Take 1 piece of each color and stack them. Then cut or break in half.

3 Stack the 6 pieces together. Pull apart and stack 2–3 more times.

4 Twist gently and roll into a ball. Flatten and smooth into an even layer about 1/4” thick.
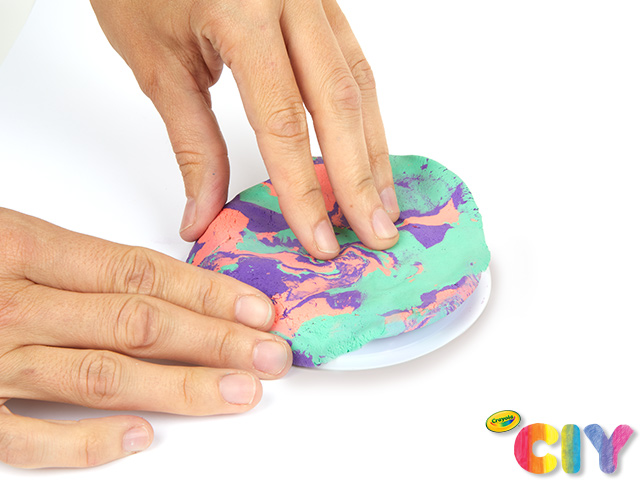
5 Place the mold on work surface. Lay clay on top of it. Press lightly and smooth clay until it hugs the mold.

6 Use a drop of water on fingertip to smooth and flatten edges.

7 Every 5–8 hours, gently peel the edges of the mold away from the clay. Do not try to pull clay and mold apart – clay will release from mold when fully dry.

8 Decorate with gold and silver paint accents as desired, letting paint dry about 15 minutes.
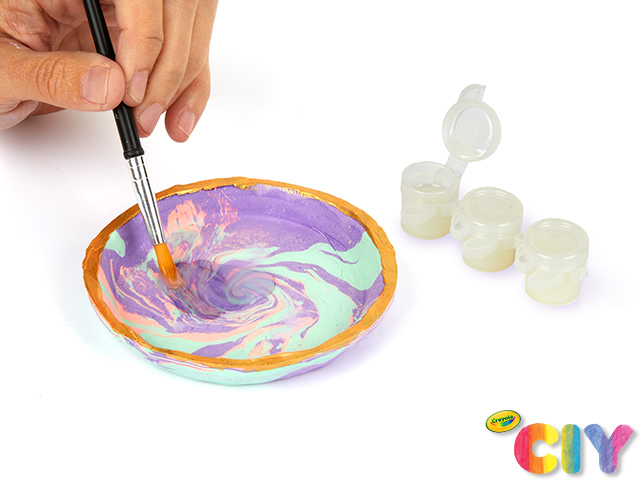
9 Rinse brush, then glaze entire bowl for a shiny finish. Let dry 3–4 hours. Repeat steps 2–8 to make 2 more bowls.
CIY Staff Tips:
- Before starting, protect all work surfaces and clothing. Air Dry Clay contains colorants that may stain household surfaces.
- Acrylic Paints are permanent when dry. Wipe up any paint spills when still wet.
- Until you are ready to use it, store unused Air Dry Clay in a re-sealable plastic bag.
- Single Air Dry Clay colors may be used for trinket bowls. Marbleizing is recommended for more interesting effects.