 Australia
 Belgium
 Canada
 China
China Italy
Italy Mexico
 Netherlands
 UK
UK France
 Japan
Japan


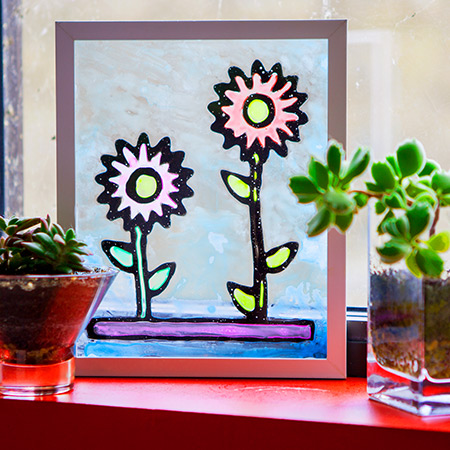
Signature Shadow Box Frame

Create this beautiful DIY Shadow Box Frame in 60 minutes or less—it's a fun craft idea! Plus, the main supplies you need are all in a Signature Craft Kit.
Steps:

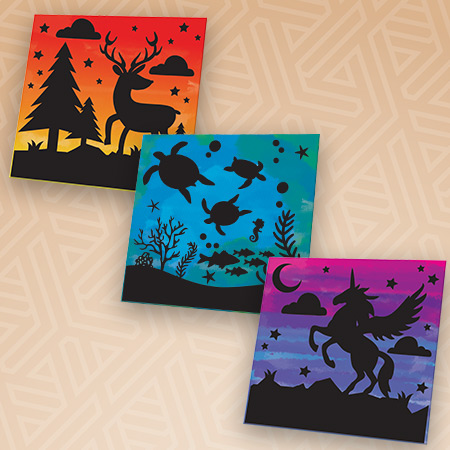
1 Carefully cut the shape strips you want.
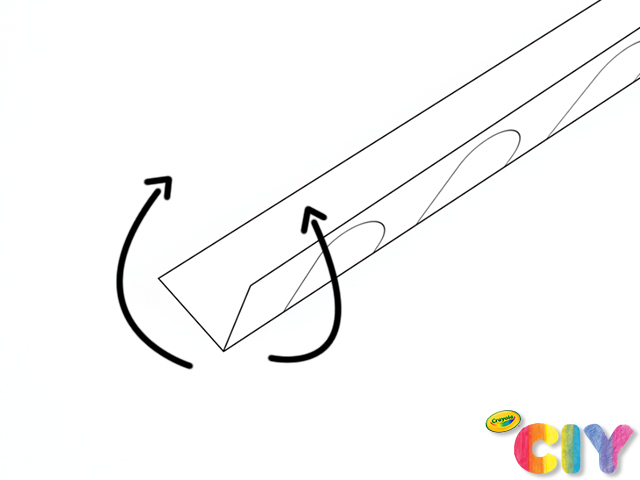
2 Fold each strip along the center line with shape facing out.
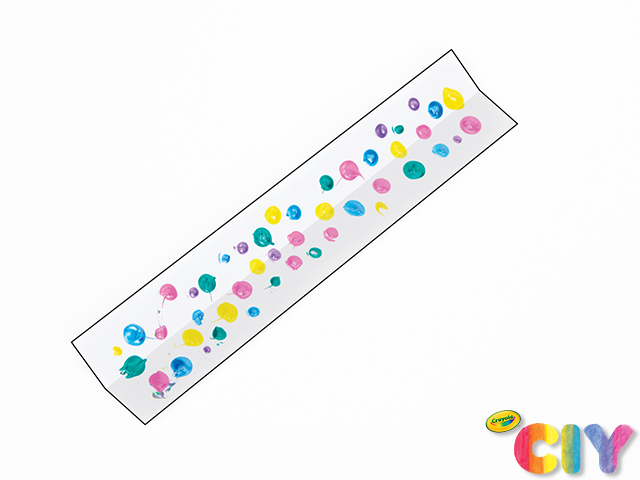
3 Open strip up and press flat. Apply small dots of paint on each side.

4 Fold sides together and press evenly to spread paint over the strip. Wipe off excess that oozes out of the sides.

5 Open strip and let dry completely – about 15 minutes.

6 Fold strip in half and cut out shapes along outlines. Repeat until you have 18 total shapes.

7 On back of the shadow box, slide both turn buttons down to release backboard. Glue 1st set of shapes to the white side.
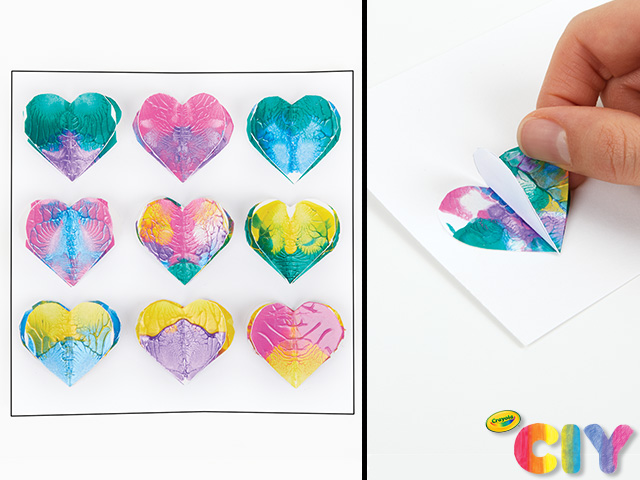
8 Glue 2nd set of shapes on the outside (unpainted side) fold. Press 2nd shape to the flat one. Let glue dry completely, then gently push up sides of each shape for a 3D look.

9 Carefully place backboard into frame. Slide turn buttons back up. If desired, use extra paint to paint the frame. Proudly display or give as a gift!
CIY Staff Tips:
- Before starting, protect all work surfaces and clothing.
- Acrylic Paints are permanent when dry. Wipe up any paint spills when still wet.
- Plan your design before starting – all hearts? Hearts and diamonds? Mix and match all 3 shapes?
- You will need 18 shapes total – 2 of each shape in your arrangement (3 rows of 3).